


New ICF time-lapse videos
doubletagger
11 years ago
Related Stories
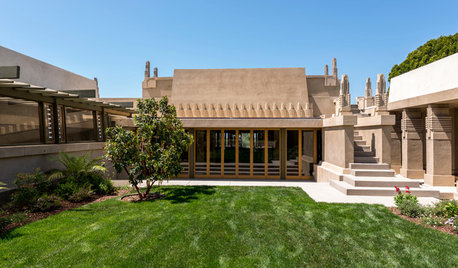
MOST POPULARExclusive Video of Wright’s Jaw-Dropping Hollyhock House
Immerse yourself in the stunningly restored Frank Lloyd Wright masterpiece
Full Story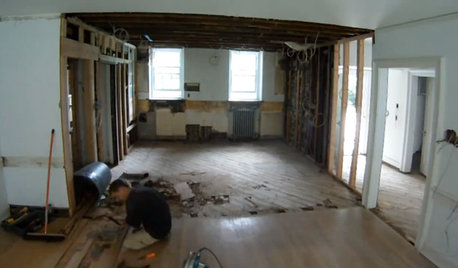
REMODELING GUIDESWatch an Entire Kitchen Remodel in 3½ Minutes
Zip through from the gutting phase to the gorgeous result, thanks to the magic of time-lapse video
Full Story
SALVAGEBike-Chain Chandeliers You've Got to See
Take a video ride with us to see how an artist creates amazing lighting fixtures solely from bike parts
Full Story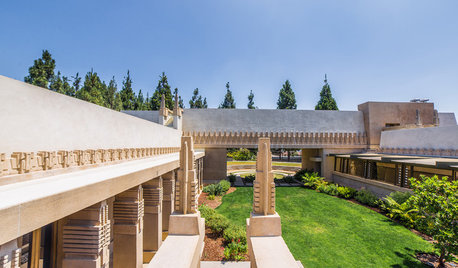
HOUZZ TVFly With a Drone Over Frank Lloyd Wright's Hollyhock House
Join us as we take a mesmerizing flight through and over Frank Lloyd Wright’s Hollyhock House
Full Story
DECORATING GUIDESHow to Paint Perfect Wall Stripes
Draw the line on lackluster walls with crisply painted stripes. Here's the secret to getting them right
Full Story
ARCHITECTUREDiscover the Intriguing Possibilities for 3D Printing for Architecture
Would you live in a home made of printed plastic? With 3D printing, the options push architecture's limits
Full Story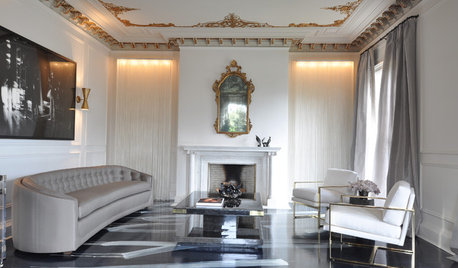
DECORATING GUIDESStencil Your Ceiling for a Luxurious Look
Add interest in one of the least expected places with a decorative detail you can likely do yourself
Full Story
LIFELate Again? Eliminate the Things Holding You Up in the Morning
If you find yourself constantly running late for appointments, work and get-togethers, these tips could help
Full Story
REMODELING GUIDESShould You Stay or Should You Go for a Remodel? 10 Points to Ponder
Consider these renovation realities to help you decide whether to budget for temporary housing
Full Story
BATHROOM DESIGNWarm Up Your Bathroom With Heated Floors
If your bathroom floor is leaving you cold, try warming up to an electric heating system
Full StoryMore Discussions


sweet.reverie
gaonmymind
Related Professionals
Frisco Architects & Building Designers · South Barrington Architects & Building Designers · Taylors Architects & Building Designers · Mililani Town Design-Build Firms · Valencia Home Builders · Kearns Home Builders · Four Corners General Contractors · Bay Shore General Contractors · Dunkirk General Contractors · Franklin General Contractors · Hanford General Contractors · Riverdale General Contractors · San Bruno General Contractors · Spanaway General Contractors · Travilah General Contractorsdbrad_gw
doubletaggerOriginal Author
dbrad_gw
lazy_gardens
lazy_gardens
doubletaggerOriginal Author
lazy_gardens
doubletaggerOriginal Author