


Gaps in house wrap
jdez
10 years ago
Related Stories
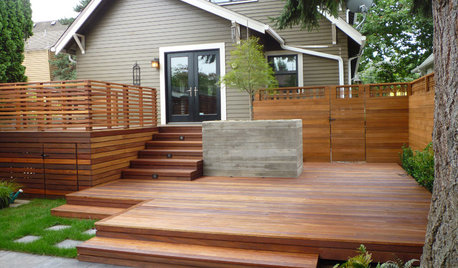
GARDENING AND LANDSCAPINGThat Gap Under the Deck: Hide It or Use It!
6 ways to transform a landscape eyesore into a landscape feature
Full Story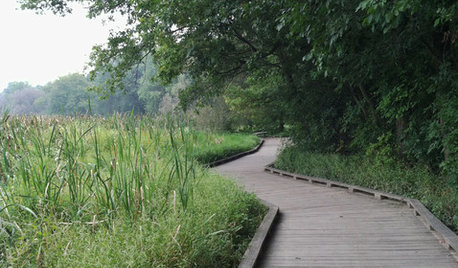
GARDENING AND LANDSCAPINGBoardwalks Bridge the Gap to Nature
Previously inaccessible parts of the landscape can roll out the welcome mat with help from these clever and beautiful pathways
Full Story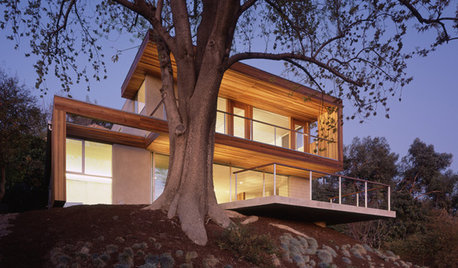
ARCHITECTURERibbon Houses, Wrapped in Style
Bold Continuous Lines Unify Floors, Walls and Ceilings
Full Story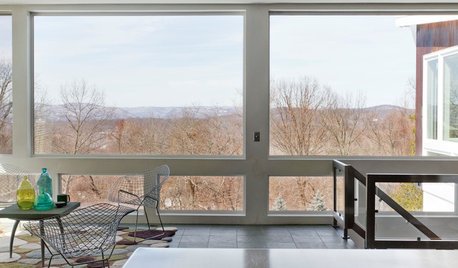
HOUZZ TOURSMy Houzz: A Classic Midcentury Home Wrapped in Windows
A couple's 4-year restoration and renovation results in a bright look for their wood-paneled house in New York
Full Story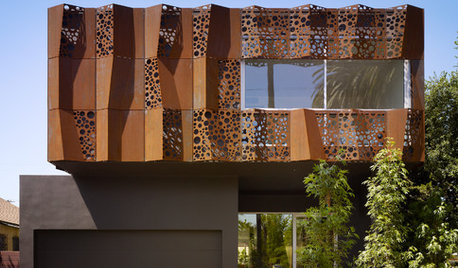
CONTEMPORARY HOMESHouzz Tour: Dappled Light Inspires Artistic Wrapping
Cor-Ten cut with circles mimics the effect of a massive pine tree’s canopy, for a striking look inside and out
Full Story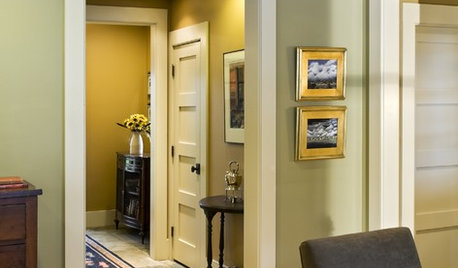
REMODELING GUIDESArchitect's Toolbox — Trim Wraps Up Style for Rooms
Dynamic 'ribbons' of trim work wonders to provide that important finishing touch and set off your room's architecture
Full Story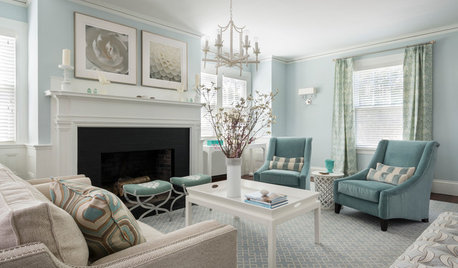
LIVING ROOMSRoom of the Day: Wrapped in Blues and Silvery Hues
Chic and comfortable, this coastal Rhode Island living room honors its classic architecture but keeps things fresh with a cool palette
Full Story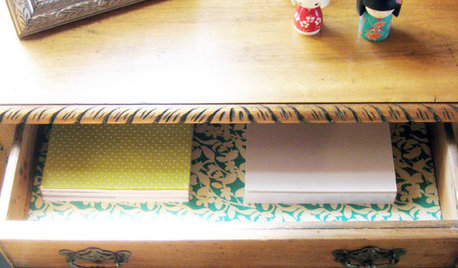
DECORATING GUIDES10 Ways to Reuse Wrapping Paper
Don't just toss your prettiest paper in the trash or recycling bin — gift wrap scraps can make wonderful home decor
Full Story
HOLIDAYS9 Ultimate Gift Wrapping and Crafts Stations
Ribbons spooling through an open door; colored paper nipping at your nose — workstations like these make the holiday season even brighter
Full Story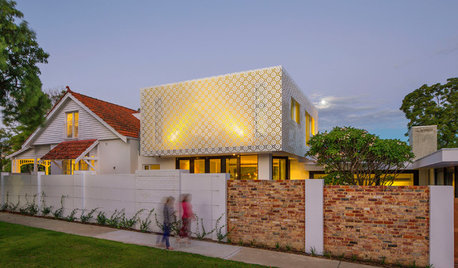
ARCHITECTUREHouzz Tour: A Vintage Home Wrapped Up in a Box
A work-at-home couple completes an eye-catching contemporary renovation that builds on an Arts and Crafts home
Full StoryMore Discussions


worthy
jennybc
Related Professionals
Euless Architects & Building Designers · Hockessin Architects & Building Designers · Royal Palm Beach Architects & Building Designers · South Lake Tahoe Architects & Building Designers · Riverbank Home Builders · Seguin Home Builders · Vista Park Home Builders · Auburn General Contractors · Big Lake General Contractors · Franklin General Contractors · Kentwood General Contractors · Markham General Contractors · South Windsor General Contractors · Universal City General Contractors · Austintown General Contractorsrenovator8
_sophiewheeler
jdezOriginal Author
worthy
worthy
renovator8
jdezOriginal Author
virgilcarter
rollie
robin0919
kirkhall
jdezOriginal Author
Oaktown
jdezOriginal Author
worthy
renovator8
jdezOriginal Author
millworkman
virgilcarter
renovator8
rollie
renovator8
virgilcarter
jdezOriginal Author
renovator8
Awnmyown
worthy
renovator8