


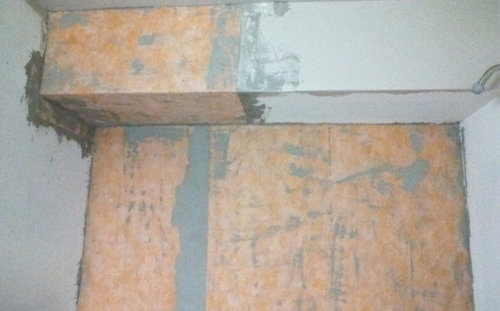
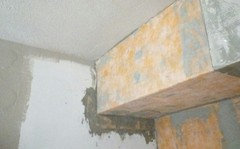
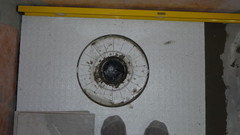
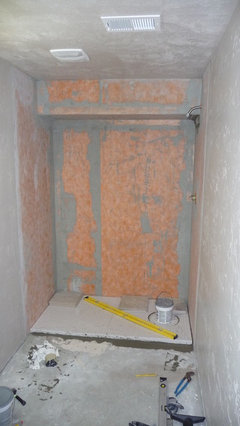
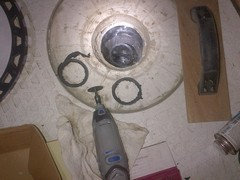
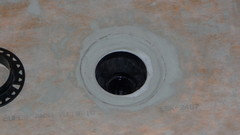
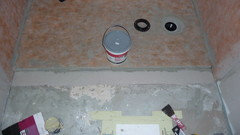
Kerdi Situation
wilkinte
10 years ago
Featured Answer
Sort by:Oldest
Comments (29)
 PRO
PROJoseph Corlett, LLC
10 years ago
wilkinte
10 years agoRelated Professionals
Fox Lake Kitchen & Bathroom Designers · Woodlawn Kitchen & Bathroom Designers · Bethel Park Kitchen & Bathroom Remodelers · Folsom Kitchen & Bathroom Remodelers · Jefferson Hills Kitchen & Bathroom Remodelers · West Palm Beach Kitchen & Bathroom Remodelers · Glenn Heights Kitchen & Bathroom Remodelers · Cornelius Glass & Shower Door Dealers · Lockport Cabinets & Cabinetry · Riverbank Cabinets & Cabinetry · Warr Acres Cabinets & Cabinetry · Tabernacle Cabinets & Cabinetry · Edmond Window Treatments · Littleton Window Treatments · Westfield Window Treatments
enduring
10 years agowilkinte
10 years agoMongoCT
10 years agowilkinte
10 years ago- PRO
Joseph Corlett, LLC
10 years ago wilkinte
10 years agoMongoCT
10 years agowilkinte
10 years agowilkinte
10 years agowilkinte
10 years agoMongoCT
10 years agowilkinte
10 years agowilkinte
10 years agowilkinte
10 years agoenduring
10 years agowilkinte
10 years agowilkinte
10 years agowilkinte
10 years agowilkinte
10 years agowilkinte
10 years agowilkinte
10 years agoStoneTech
10 years agoMongoCT
10 years agowilkinte
10 years agoStoneTech
10 years agowilkinte
10 years ago


Related Stories
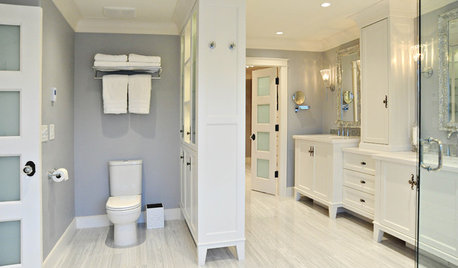
BATHROOM DESIGNBath Remodeling: So, Where to Put the Toilet?
There's a lot to consider: paneling, baseboards, shower door. Before you install the toilet, get situated with these tips
Full Story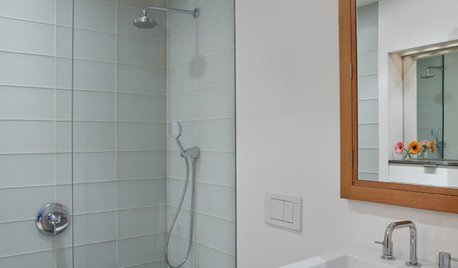
BATHROOM DESIGNConvert Your Tub Space to a Shower — the Planning Phase
Step 1 in swapping your tub for a sleek new shower: Get all the remodel details down on paper
Full Story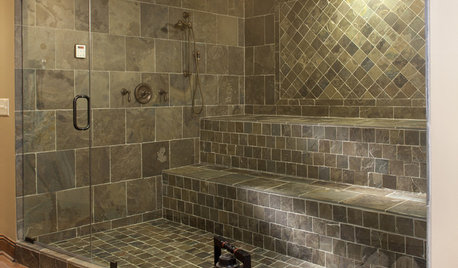
SHOWERSSteam Showers Bring a Beloved Spa Feature Home
Get the benefits of a time-honored ritual without firing up the coals, thanks to easier-than-ever home steam systems
Full Story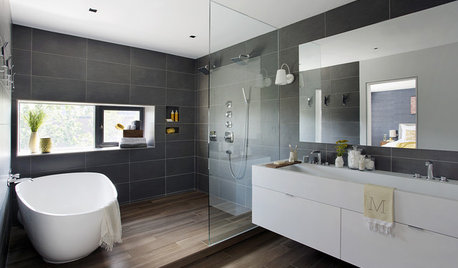
SHOWERSYour Guide to Shower Floor Materials
Discover the pros and cons of marble, travertine, porcelain and more
Full Story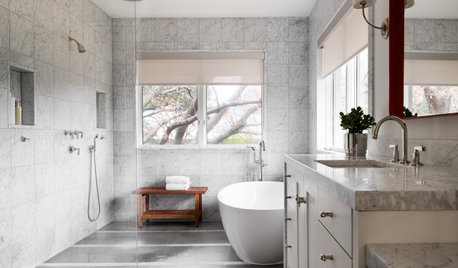
BATHROOM DESIGNDoorless Showers Open a World of Possibilities
Universal design and an open bathroom feel are just two benefits. Here’s how to make the most of these design darlings
Full Story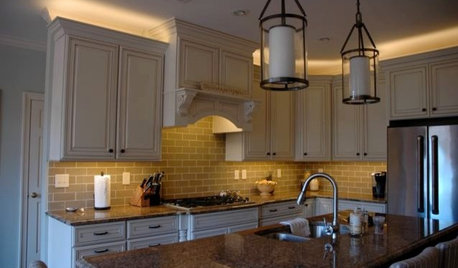
LIGHTINGThe Lowdown on High-Efficiency LED Lighting
Learn about LED tapes, ropes, pucks and more to create a flexible and energy-efficient lighting design that looks great
Full Story
BATHROOM DESIGN10 Top Tips for Getting Bathroom Tile Right
Good planning is essential for bathroom tile that's set properly and works with the rest of your renovation. These tips help you do it right
Full Story
BATHROOM WORKBOOKHow to Remodel a Bathroom
Create a vision, make a budget, choose your style and materials, hire the right pros and get the project done
Full Story
MOST POPULARPros and Cons of 5 Popular Kitchen Flooring Materials
Which kitchen flooring is right for you? An expert gives us the rundown
Full Story


wilkinteOriginal Author