


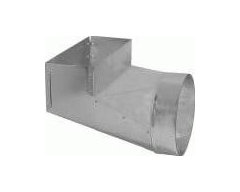
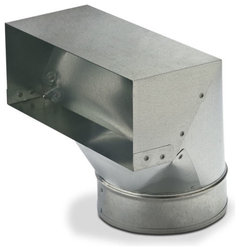
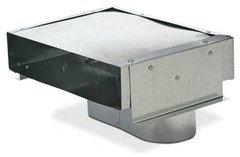
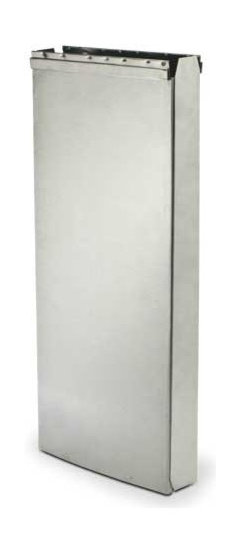
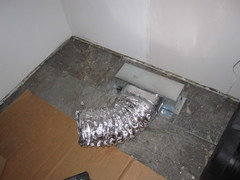
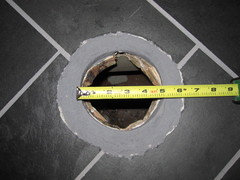
Toe Kick Ducting Help
enduring
10 years ago

Featured Answer
Comments (19)

MongoCT
10 years agoRelated Professionals
Gainesville Kitchen & Bathroom Designers · Ridgewood Kitchen & Bathroom Designers · University City Kitchen & Bathroom Remodelers · Grain Valley Kitchen & Bathroom Remodelers · Islip Kitchen & Bathroom Remodelers · Rancho Palos Verdes Kitchen & Bathroom Remodelers · Republic Kitchen & Bathroom Remodelers · Skokie Kitchen & Bathroom Remodelers · Upper Saint Clair Kitchen & Bathroom Remodelers · Springville Glass & Shower Door Dealers · Bon Air Cabinets & Cabinetry · Farmers Branch Cabinets & Cabinetry · Newcastle Cabinets & Cabinetry · Central Cabinets & Cabinetry · Oklahoma City Window TreatmentsMongoCT
10 years ago
enduring
10 years agoMongoCT
10 years agoenduring
10 years agoMongoCT
10 years agoenduring
10 years agoenduring
10 years agoraehelen
10 years agoenduring
10 years agoraehelen
10 years agoenduring
10 years agoraehelen
10 years agoenduring
10 years agolillo
10 years agoraehelen
10 years agoenduring
10 years agoenduring
10 years ago


Related Stories
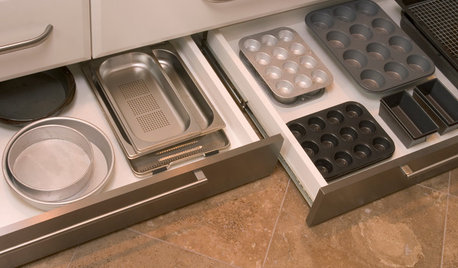
GREAT HOME PROJECTSHow to Add Toe Kick Drawers for More Storage
Great project: Install low-lying drawers in your kitchen or bath to hold step stools, pet bowls, linens and more
Full Story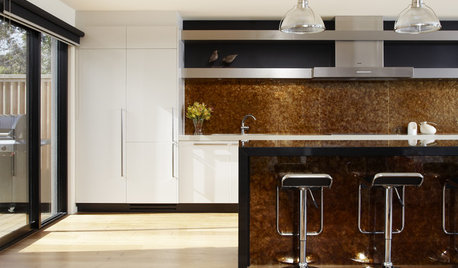
REMODELING GUIDES10 Design Features to Kick Your Remodel Up a Notch
You’ve done the legwork on your home renovation or new build. Now it’s time to plan your reward
Full Story
LIFE12 Effective Strategies to Help You Sleep
End the nightmare of tossing and turning at bedtime with these tips for letting go and drifting off
Full Story
REMODELING GUIDESKey Measurements to Help You Design the Perfect Home Office
Fit all your work surfaces, equipment and storage with comfortable clearances by keeping these dimensions in mind
Full Story
LIFEYou Said It: ‘Put It Back’ If It Won’t Help Your House, and More Wisdom
Highlights from the week include stopping clutter from getting past the door, fall planting ideas and a grandfather’s gift of love
Full StoryKITCHEN DESIGNThe Kitchen Storage Space That Hides at Floor Level
Cabinet toe kicks can cleverly house a bank of wide drawers — or be dressed up to add a flourish to your kitchen design
Full Story
REMODELING GUIDESHow to Hide Your Home's Mechanics
Get ideas for clever ways to disguise your ducts, air returns, drains and more
Full Story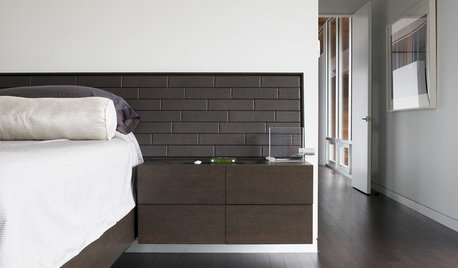
FLOORSFloors Warm Up to Radiant Heat
Toasty toes and money saved are just two benefits of radiant heat under your concrete, wood or tile floors
Full Story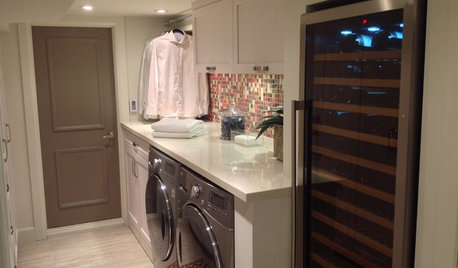
LAUNDRY ROOMSLaundry Room Redo Adds Function, Looks and Storage
After demolishing their old laundry room, this couple felt stuck. A design pro helped them get on track — and even find room to store wine
Full Story
REMODELING GUIDES11 Reasons to Love Wall-to-Wall Carpeting Again
Is it time to kick the hard stuff? Your feet, wallet and downstairs neighbors may be nodding
Full Story
enduringOriginal Author