


Sneak Peak Vanity and Laundry Cabinets
enduring
10 years ago


Related Stories
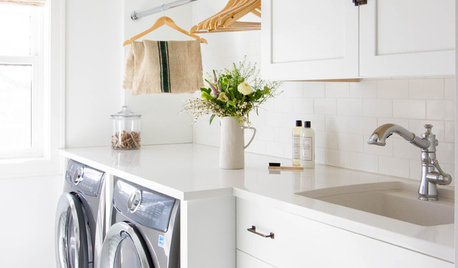
MOST POPULARHow to Remodel the Laundry Room
Use this step-by-step guide to figure out what you want and how to make it happen
Full Story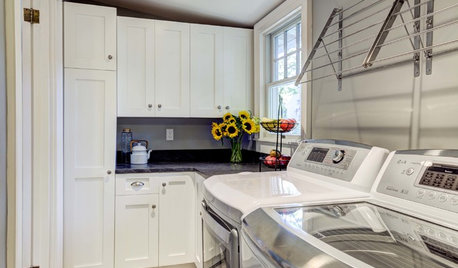
THE HARDWORKING HOMEWhere to Put the Laundry Room
The Hardworking Home: We weigh the pros and cons of washing your clothes in the basement, kitchen, bathroom and more
Full Story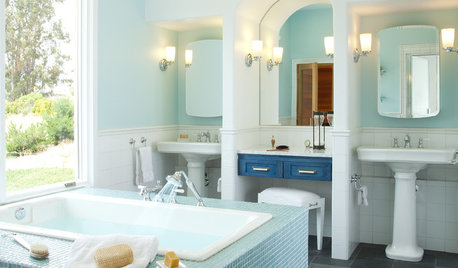
BATHROOM DESIGNBathroom Storage: Where to Keep the Towels
Clever nooks, rails and baskets keep fluffy towels right at hand
Full Story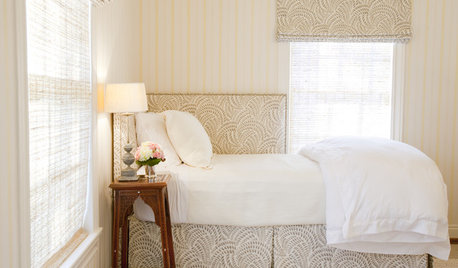
DECORATING GUIDESThe Cure for Houzz Envy: Guest Room Touches Anyone Can Do
Make overnight guests feel comfy and cozy with small, inexpensive niceties
Full Story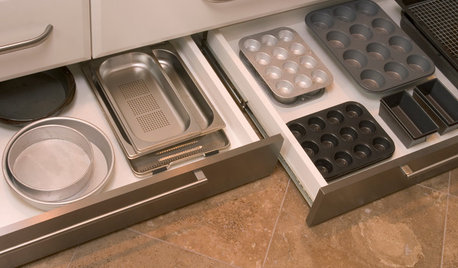
GREAT HOME PROJECTSHow to Add Toe Kick Drawers for More Storage
Great project: Install low-lying drawers in your kitchen or bath to hold step stools, pet bowls, linens and more
Full Story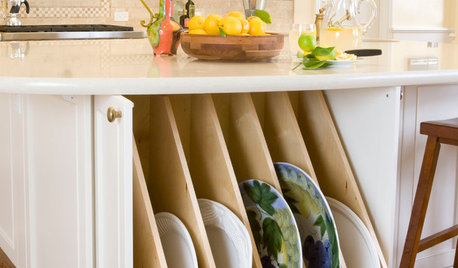
KITCHEN STORAGE13 Popular Kitchen Storage Ideas and What They Cost
Corner drawers, appliance garages, platter storage and in-counter knife slots are a few details you may not want to leave out
Full Story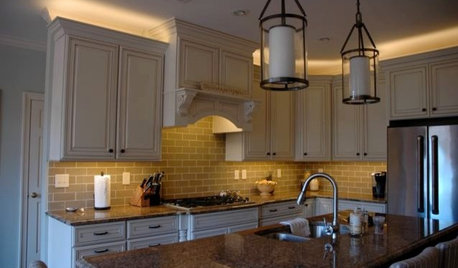
LIGHTINGThe Lowdown on High-Efficiency LED Lighting
Learn about LED tapes, ropes, pucks and more to create a flexible and energy-efficient lighting design that looks great
Full Story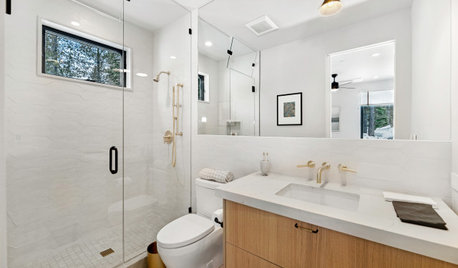
BATHROOM DESIGNKey Measurements to Make the Most of Your Bathroom
Fit everything comfortably in a small or medium-size bath by knowing standard dimensions for fixtures and clearances
Full Story
COLORColor of the Year: Off-White Is On Trend for 2016
See why four paint brands have chosen a shade of white as their hot hue for the new year
Full Story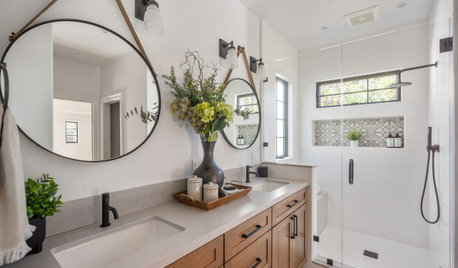
BATHROOM DESIGN5 Common Bathroom Design Mistakes to Avoid
Get your bath right for the long haul by dodging these blunders in toilet placement, shower type and more
Full Story

anna_in_tx
enduringOriginal Author
Related Professionals
Amherst Kitchen & Bathroom Designers · Newington Kitchen & Bathroom Designers · Boca Raton Kitchen & Bathroom Remodelers · Hoffman Estates Kitchen & Bathroom Remodelers · Independence Kitchen & Bathroom Remodelers · Overland Park Kitchen & Bathroom Remodelers · Waukegan Kitchen & Bathroom Remodelers · Ashburn Glass & Shower Door Dealers · Greentown Glass & Shower Door Dealers · Christiansburg Cabinets & Cabinetry · Indian Creek Cabinets & Cabinetry · Lackawanna Cabinets & Cabinetry · Tinton Falls Cabinets & Cabinetry · Wildomar Cabinets & Cabinetry · Seattle Window Treatmentslillo
enduringOriginal Author
itltrot
busybee3
enduringOriginal Author
raehelen
enduringOriginal Author
busybee3
Pipdog
this_old_1969_ranch
azmom
enduringOriginal Author
enduringOriginal Author
Anne Harris
enduringOriginal Author
Anne Harris
leela4
enduringOriginal Author
leela4