


Beginning of master bathroom remodel!
Alexz7272
9 years ago


Related Stories
REMODELING GUIDES10 Things to Do Before the Renovation Begins
Prep and plan with this insight in hand to make your home remodeling project run more smoothly
Full Story
TASTEMAKERSWorld of Design: Where Color Trends Begin
Colors go in and out of vogue. Here’s how they make their way into our home decor
Full Story
CONTRACTOR TIPS6 Lessons Learned From a Master Suite Remodel
One project yields some universal truths about the remodeling process
Full Story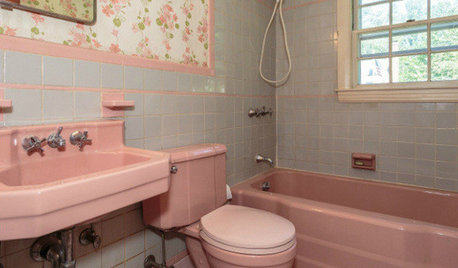
BATHROOM COLOR8 Ways to Spruce Up an Older Bathroom (Without Remodeling)
Mint tiles got you feeling blue? Don’t demolish — distract the eye by updating small details
Full Story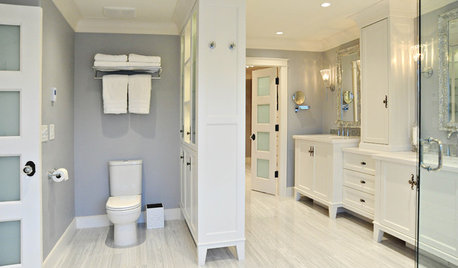
BATHROOM DESIGNBath Remodeling: So, Where to Put the Toilet?
There's a lot to consider: paneling, baseboards, shower door. Before you install the toilet, get situated with these tips
Full Story
BATHROOM DESIGN14 Design Tips to Know Before Remodeling Your Bathroom
Learn a few tried and true design tricks to prevent headaches during your next bathroom project
Full Story
BATHROOM DESIGN18 Dream Items to Punch Up a Master-Bath Wish List
A designer shared features she'd love to include in her own bathroom remodel. Houzz readers responded with their top amenities. Take a look
Full Story
BATHROOM DESIGN10 Things to Consider Before Remodeling Your Bathroom
A designer shares her tips for your bathroom renovation
Full Story
REMODELING GUIDESHow People Upgrade Their Main Bathrooms, and How Much They Spend
The latest Houzz Bathroom Trends Study reveals the most common budgets, features and trends in master baths. Now about that tub …
Full Story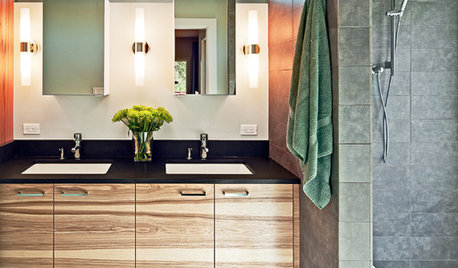
BATHROOM DESIGNA Designer Shares Her Master-Bathroom Wish List
She's planning her own renovation and daydreaming about what to include. What amenities are must-haves in your remodel or new build?
Full StoryMore Discussions
monicakm_gw
monicakm_gw
Related Professionals
Cuyahoga Falls Kitchen & Bathroom Designers · Palm Harbor Kitchen & Bathroom Designers · Sunrise Manor Kitchen & Bathroom Remodelers · Morgan Hill Kitchen & Bathroom Remodelers · Rancho Cordova Kitchen & Bathroom Remodelers · Skokie Kitchen & Bathroom Remodelers · San Bruno Glass & Shower Door Dealers · Spring Glass & Shower Door Dealers · Victorville Glass & Shower Door Dealers · Berkeley Heights Cabinets & Cabinetry · Black Forest Cabinets & Cabinetry · Prior Lake Cabinets & Cabinetry · Brenham Window Treatments · Oklahoma City Window Treatments · Bell Window Treatmentsmonicakm_gw
Alexz7272Original Author
Alexz7272Original Author
polly929
Errant_gw
schicksal
MongoCT
MongoCT