


12x24 tile "dipping" at corners?
sawallis
9 years ago
Featured Answer
Sort by:Oldest
Comments (14)

live_wire_oak
9 years agoRelated Professionals
Brownsville Kitchen & Bathroom Designers · Commerce City Kitchen & Bathroom Designers · Lincoln Kitchen & Bathroom Remodelers · Oklahoma City Kitchen & Bathroom Remodelers · Shawnee Kitchen & Bathroom Remodelers · Tuckahoe Kitchen & Bathroom Remodelers · Vashon Kitchen & Bathroom Remodelers · Atlanta Glass & Shower Door Dealers · Windsor Glass & Shower Door Dealers · Kissimmee Glass & Shower Door Dealers · Allentown Cabinets & Cabinetry · Lockport Cabinets & Cabinetry · Tenafly Cabinets & Cabinetry · Tinton Falls Cabinets & Cabinetry · Sayreville Window Treatments
Bunny
9 years ago
sawallis
9 years agoscpalmetto
9 years agoUser
9 years agoMongoCT
9 years agosawallis
9 years agoscpalmetto
9 years agoStoneTech
9 years ago
suzanne_sl
9 years agoVertise
9 years agosawallis
9 years agoVertise
9 years ago
Related Stories
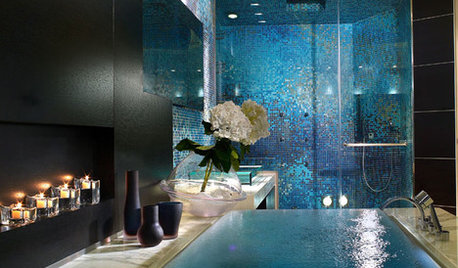
BATHROOM DESIGNDip Into a Watery Blue Bathroom
Relax and Refresh in a Soothing Bath of Blue, Turquoise or Aqua
Full Story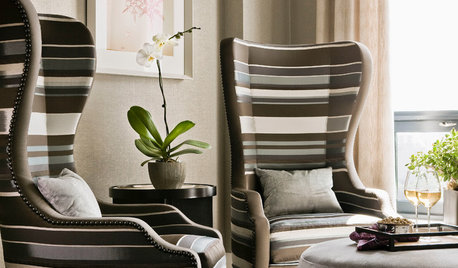
DECORATING GUIDES12 Smart Ideas for Decorating Empty Corners
Fill a neglected corner with something useful, attractive or both, using these dozen thoughtful decorating strategies
Full Story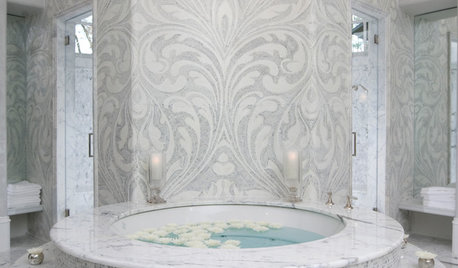
BATHROOM DESIGNPolish Your Bathroom's Look With Wrapped Tile
Corner the market on compliments for your bathroom renovation by paying attention to where the walls meet and the edges round
Full Story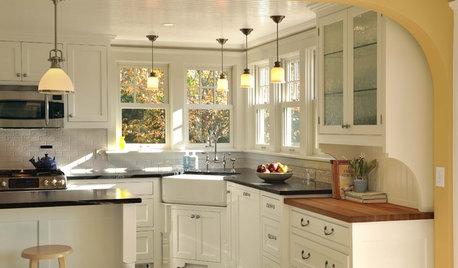
KITCHEN DESIGNIs a Kitchen Corner Sink Right for You?
We cover all the angles of the kitchen corner, from savvy storage to traffic issues, so you can make a smart decision about your sink
Full Story
FIREPLACESDesign Dilemma: Difficult Corner Fireplace
Where to Put the TV? Help a Houzz Reader Set Up His New Living Room
Full Story
HOMES AROUND THE WORLDHouzz Tour: Family House With a Surprise Around Every Corner
If houses could smile, this 1903 New Zealand villa might have the biggest grin of them all
Full Story
BATHROOM DESIGNBath Style: Ready to Try a Larger Tile?
Large-Format Rectangular Tiles GIve a Bathroom a Fresh New Look
Full Story
KITCHEN BACKSPLASHESHow to Install a Tile Backsplash
If you've got a steady hand, a few easy-to-find supplies and patience, you can install a tile backsplash in a kitchen or bathroom
Full Story
REMODELING GUIDESFinishing Touches: Pro Tricks for Installing Fixtures in Your Tile
Cracked tile, broken drill bits and sloppy-looking fixture installations? Not when you follow these pro tips
Full Story
DECORATING GUIDESBudget Decorator: Let’s Go Thrifting
Dip into the treasure trove of secondhand pieces for decor that shows your resourcefulness as much as your personality
Full StoryMore Discussions


scpalmetto