


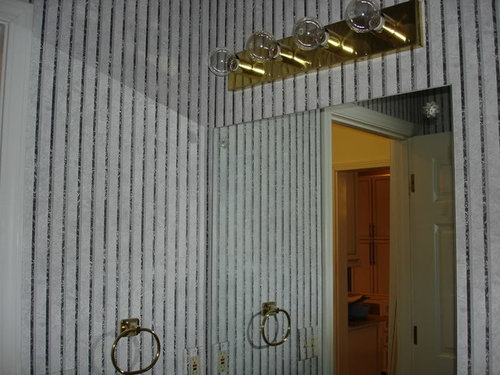
Powder Room DIY remodel play-by-play
weedyacres
16 years ago

Sort by:Oldest
Comments (20)
Related Stories
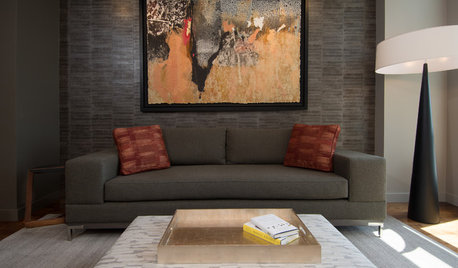
DECORATING GUIDESRoom of the Day: Playing All the Angles in an Art Lover’s Living Room
Odd angles are no match for a Portland designer with an appreciation of art display and an eye for good flow
Full Story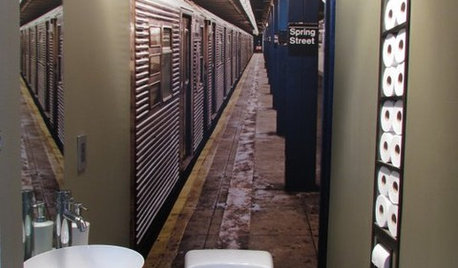
POWDER ROOMSNow Arriving on Platform 2, a Playful Powder Room
Subway graphics from a New York City station add unexpected depth and humor to a tiny half bath in California
Full Story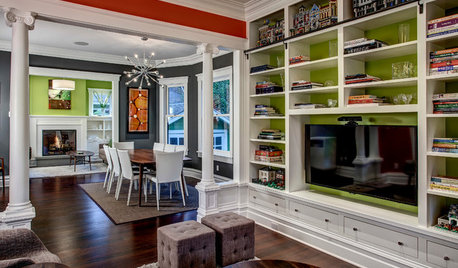
HOUZZ TV FAVORITESHouzz Tour: A Home Built for Lego Play
Candy colored and classically inspired, this remodeled Seattle home combines the best of past and present
Full Story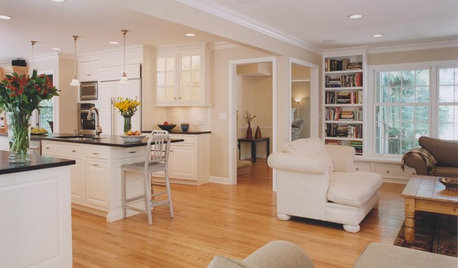
REMODELING GUIDESRenovation Ideas: Playing With a Colonial’s Floor Plan
Make small changes or go for a total redo to make your colonial work better for the way you live
Full Story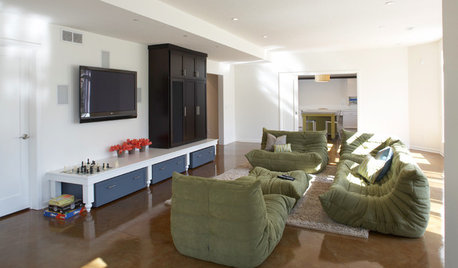
REMODELING GUIDESA Basement Remodel Sets the Stage for Flexible Play
Embracing change, this light-filled basement readily shifts between kids' play activities and grown-up entertaining
Full Story
ECLECTIC HOMESHouzz Tour: Swanky and Playful in the British Countryside
Big beanbags, a Bubble chair, lacy black laquer — this family home proves there's more to U.K. country life than cottages and chintz
Full Story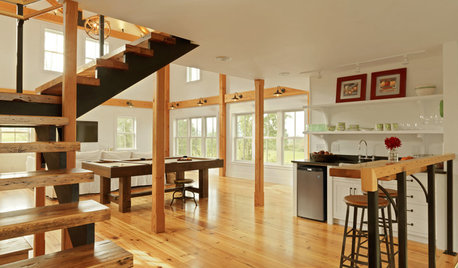
BARN HOMESHouzz Tour: A Transformed Carriage House Opens for Play
With a new, open plan, a dark workshop becomes a welcoming ‘play barn’ in the Vermont countryside
Full Story
ARCHITECTUREHouzz Tour: Modern Plays Nice in a Historic Houston Neighborhood
Subtle modern details make this new home stand out from its elderly neighbors without disrespecting them
Full Story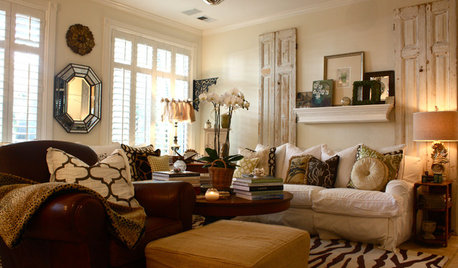
HOUZZ TOURSMy Houzz: Patterns at Play in a Scotts Valley Home
A simple California tract house gets a personalized, layered look, with every last design detail thoughtfully considered
Full Story
DECORATING GUIDES13 Low-Commitment Ways to Play With Pattern
Go as lively as you want. Easily changed patterns mean how long the look stays is up to you
Full Story
elaine_mi
weedyacresOriginal Author
Related Professionals
Bethpage Kitchen & Bathroom Designers · Hammond Kitchen & Bathroom Designers · Montrose Kitchen & Bathroom Designers · Sunrise Manor Kitchen & Bathroom Remodelers · Artondale Kitchen & Bathroom Remodelers · Blasdell Kitchen & Bathroom Remodelers · Glen Allen Kitchen & Bathroom Remodelers · Port Angeles Kitchen & Bathroom Remodelers · South Plainfield Kitchen & Bathroom Remodelers · Larkspur Glass & Shower Door Dealers · Spring Glass & Shower Door Dealers · Indian Trail Glass & Shower Door Dealers · Canton Cabinets & Cabinetry · Roanoke Cabinets & Cabinetry · El Sobrante Window Treatmentsslc2053
Buehl
weedyacresOriginal Author
weedyacresOriginal Author
kbmas0n
mahatmacat1
weedyacresOriginal Author
boystown
codnuggets
weedyacresOriginal Author
codnuggets
weedyacresOriginal Author
weedyacresOriginal Author
weedyacresOriginal Author
weedyacresOriginal Author
Midge57
Flowerchild
aunttomichael