


Shower Install start to finish
camii41
9 years ago
Sort by:Oldest
Comments (5)
Related Stories

REMODELING GUIDESContractor Tips: How to Install Tile
Before you pick up a single tile, pull from these tips for expert results
Full Story
KITCHEN BACKSPLASHESHow to Install a Tile Backsplash
If you've got a steady hand, a few easy-to-find supplies and patience, you can install a tile backsplash in a kitchen or bathroom
Full Story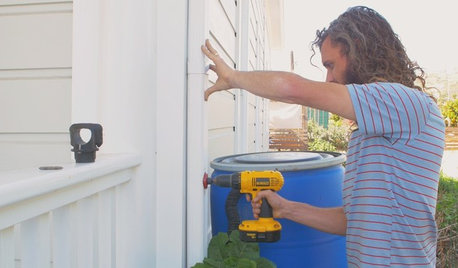
HOUZZ TVHouzz TV: How to Install a Rain Barrel
This DIY tutorial shows how easy it can be to capture rainwater from your roof to use in your garden later
Full Story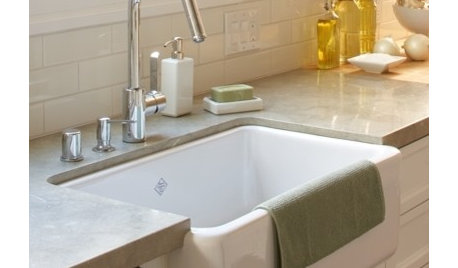
CONTRACTOR TIPSContractor Tips: Countertop Installation from Start to Finish
From counter templates to ongoing care, a professional contractor shares what you need to know
Full Story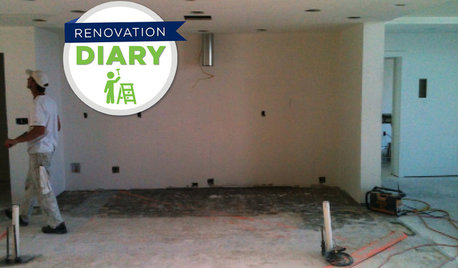
REMODELING GUIDESRanch House Remodel: Installing the Interior Finishes
Renovation Diary, Part 5: Check in on a Florida remodel as the bamboo flooring is laid, the bathroom tiles are set and more
Full Story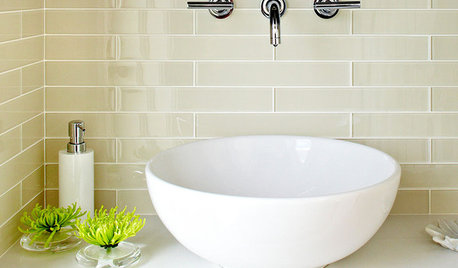
REMODELING GUIDESFinishing Touches: Pro Tricks for Installing Fixtures in Your Tile
Cracked tile, broken drill bits and sloppy-looking fixture installations? Not when you follow these pro tips
Full Story
BATHROOM DESIGNShould You Install a Urinal at Home?
Wall-mounted pit stops are handy in more than just man caves — and they can look better than you might think
Full Story
GARDENING GUIDESHow to Install a Drip Irrigation System
Save time and water with a drip watering system in your vegetable garden — a little patience now will pay off later
Full Story
FENCES AND GATESHow to Install a Wood Fence
Gain privacy and separate areas with one of the most economical fencing choices: stained, painted or untreated wood
Full Story
BATHROOM DESIGNHow to Install a Toilet in an Hour
Putting a new commode in a bathroom or powder room yourself saves plumber fees, and it's less scary than you might expect
Full Story


MongoCT
camii41Original Author
Related Professionals
Federal Heights Kitchen & Bathroom Designers · Magna Kitchen & Bathroom Designers · St. Louis Kitchen & Bathroom Designers · Cleveland Kitchen & Bathroom Remodelers · Dearborn Kitchen & Bathroom Remodelers · Lynn Haven Kitchen & Bathroom Remodelers · Oxon Hill Kitchen & Bathroom Remodelers · Prairie Village Kitchen & Bathroom Remodelers · Mountain View Glass & Shower Door Dealers · The Crossings Glass & Shower Door Dealers · Ham Lake Cabinets & Cabinetry · Harrison Cabinets & Cabinetry · Little Chute Cabinets & Cabinetry · Plymouth Cabinets & Cabinetry · Spring Valley Cabinets & Cabinetrycamii41Original Author
MongoCT
camii41Original Author