


What's the Ultimate cost of DIY tile tub/shower surround?
wagnerpe
11 years ago
Featured Answer
Sort by:Oldest
Comments (8)

MongoCT
11 years agowagnerpe
11 years agoRelated Professionals
Everett Kitchen & Bathroom Designers · Fullerton Kitchen & Bathroom Remodelers · 20781 Kitchen & Bathroom Remodelers · Manassas Kitchen & Bathroom Remodelers · Ogden Kitchen & Bathroom Remodelers · Port Arthur Kitchen & Bathroom Remodelers · Vashon Kitchen & Bathroom Remodelers · Vienna Kitchen & Bathroom Remodelers · Plant City Kitchen & Bathroom Remodelers · Palestine Kitchen & Bathroom Remodelers · Martinez Glass & Shower Door Dealers · Bon Air Cabinets & Cabinetry · Rowland Heights Cabinets & Cabinetry · Feasterville Trevose Window Treatments · The Woodlands Window Treatments
terezosa / terriks
11 years agowagnerpe
11 years agoMongoCT
11 years agomabeldingeldine_gw
11 years agomahatmacat1
11 years ago
Related Stories
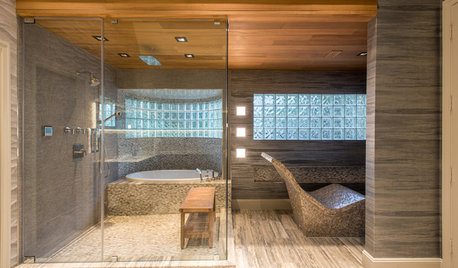
DREAM SPACESRoom of the Day: Dreaming Big Inspires an Ultimate Bath of Luxury
Talk about a dream space. This bathroom has a heated lounge seat, fireplace, TV, steam shower and more
Full Story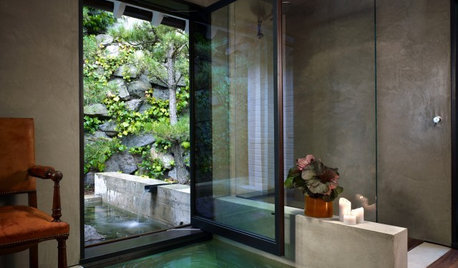
BATHROOM DESIGNGreen and Clean: Ecofriendly Tub and Shower Surrounds
Keep your bathroom beautiful and your footprint green with long-lasting, ecofriendly surface materials
Full Story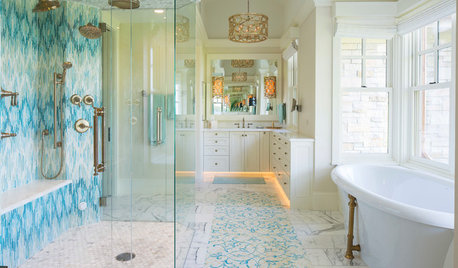
DREAM SPACESNew This Week: 4 Modern and Spacious Dream Bathrooms
For the ultimate bathroom experience, cozy up to heated shower benches, large soaking tubs and high-end tile
Full Story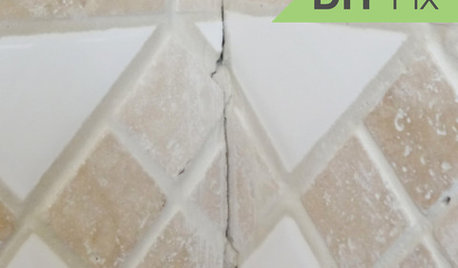
BATHROOM TILEQuick Fix: Repair Cracked Bathroom Grout
Banish an eyesore and safeguard your bathroom from water damage in 30 minutes or less with this DIY repair
Full Story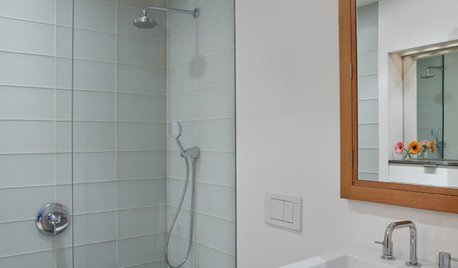
BATHROOM DESIGNConvert Your Tub Space to a Shower — the Planning Phase
Step 1 in swapping your tub for a sleek new shower: Get all the remodel details down on paper
Full Story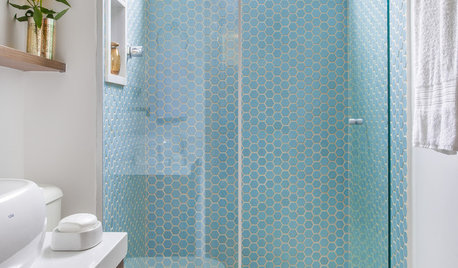
SHOWERSShower Design: 13 Tricks With Tile and Other Materials
Playing with stripes, angles, tones and more can add drama to your shower enclosure
Full Story
TRAVEL BY DESIGNUltimate Vacation: 8 Incredible Rentable Homes Around the World
Travel in high style with the whole family or a group of friends, courtesy of a luxury penthouse, villa, loft and more you can rent
Full Story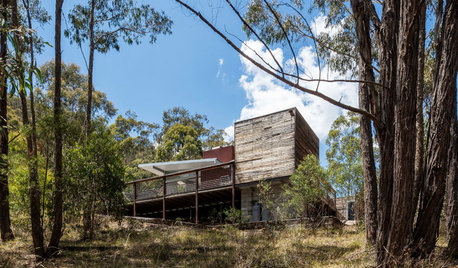
VACATION HOMESHouzz Tour: Rock Climbers Create the Ultimate Mountain Getaway
Two friends build a vacation home in Australia’s Blue Mountains, where they can relax with others after a day of climbing
Full Story
REMODELING GUIDESTop 10 Tips for Choosing Shower Tile
Slip resistance, curves and even the mineral content of your water all affect which tile is best for your shower
Full Story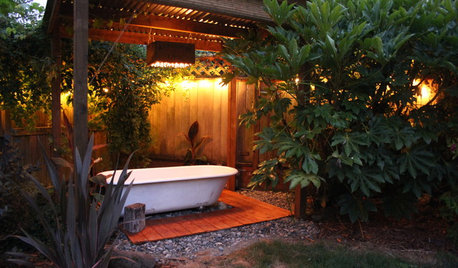
GARDENING AND LANDSCAPINGSee a Soothing Backyard Bathhouse Born From a Salvaged Tub
Creative thinking and DIY skills give a Portland couple a pergola-covered 'hot tub' under the stars
Full Story


MongoCT