


Kerdi over hardibacker - advice
nc8861
15 years ago
Featured Answer
Comments (13)

yadax3
15 years agolast modified: 9 years ago
terezosa / terriks
15 years agolast modified: 9 years agoRelated Professionals
Amherst Kitchen & Bathroom Designers · Bonita Kitchen & Bathroom Designers · Carson Kitchen & Bathroom Designers · Martinsburg Kitchen & Bathroom Designers · Portland Kitchen & Bathroom Designers · Brentwood Kitchen & Bathroom Remodelers · Warren Kitchen & Bathroom Remodelers · Fairmont Kitchen & Bathroom Remodelers · Philadelphia Glass & Shower Door Dealers · Land O Lakes Cabinets & Cabinetry · Middletown Cabinets & Cabinetry · Mount Prospect Cabinets & Cabinetry · Salt Lake City Window Treatments · San Jose Window Treatments · St. Louis Window Treatmentsbill_vincent
15 years agolast modified: 9 years agonc8861
15 years agolast modified: 9 years agoMongoCT
15 years agolast modified: 9 years agonc8861
15 years agolast modified: 9 years agosombreuil_mongrel
15 years agolast modified: 9 years agonc8861
15 years agolast modified: 9 years agobill_vincent
15 years agolast modified: 9 years agonc8861
15 years agolast modified: 9 years agoMongoCT
15 years agolast modified: 9 years agonc8861
15 years agolast modified: 9 years ago
Related Stories
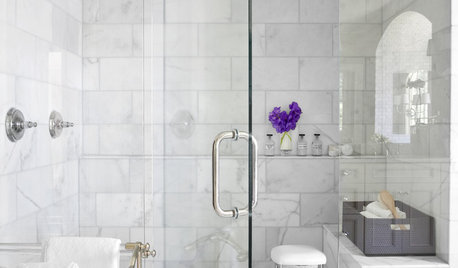
REMODELING GUIDESWhy Marble Might Be Wrong for Your Bathroom
You love its beauty and instant high-quality appeal, but bathroom marble has its drawbacks. Here's what to know before you buy
Full Story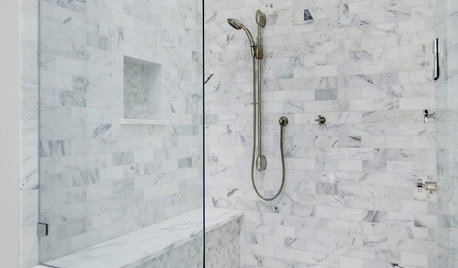
BATHROOM DESIGNConvert Your Tub Space Into a Shower — Waterproofing and Drainage
Step 4 in swapping your tub for a sleek new shower: Pick your waterproofing materials and drain, and don't forget to test
Full Story
BATHROOM DESIGNHow to Build a Better Shower Curb
Work with your contractors and installers to ensure a safe, stylish curb that keeps the water where it belongs
Full Story
BATHROOM DESIGNConvert Your Tub Space to a Shower — the Planning Phase
Step 1 in swapping your tub for a sleek new shower: Get all the remodel details down on paper
Full Story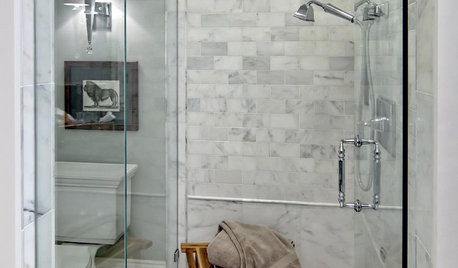
BATHROOM DESIGNHow to Settle on a Shower Bench
We help a Houzz user ask all the right questions for designing a stylish, practical and safe shower bench
Full Story
BATHROOM DESIGNHow to Choose Tile for a Steam Shower
In steamy quarters, tile needs to stand up to all that water and vapor in style. Here's how to get it right the first time
Full Story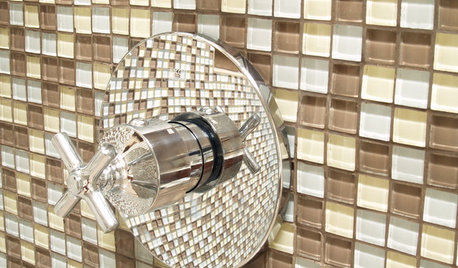
BATHROOM DESIGNConvert Your Tub Space to a Shower — the Fixtures-Shopping Phase
Step 2 in swapping your tub for a sleek new shower: Determine your mechanical needs and buy quality fixtures
Full Story
LIGHTINGThe Lowdown on High-Efficiency LED Lighting
Learn about LED tapes, ropes, pucks and more to create a flexible and energy-efficient lighting design that looks great
Full Story
BATHROOM DESIGN10 Top Tips for Getting Bathroom Tile Right
Good planning is essential for bathroom tile that's set properly and works with the rest of your renovation. These tips help you do it right
Full StorySponsored
Columbus Area's Luxury Design Build Firm | 17x Best of Houzz Winner!
More Discussions
MongoCT