


Bathroom tile and prep questions
pjb999
15 years ago
Sort by:Oldest
Comments (5)
Related Stories
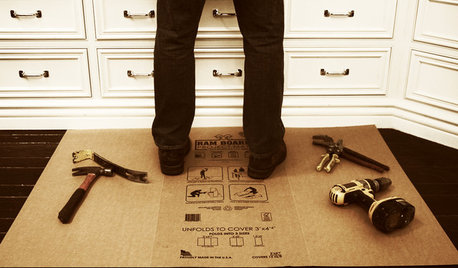
BATHROOM DESIGNOut With the Old Tile: 8 Steps to Prep for Demolition
This isn't a light DIY project: You'll need heavy-duty tools and plenty of protection for your home and yourself
Full Story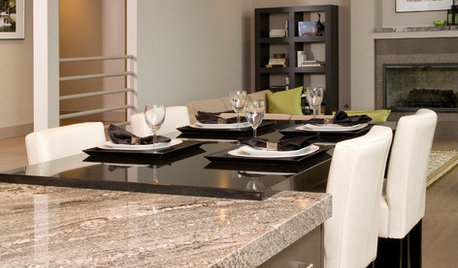
REMODELING GUIDES9 Hard Questions to Ask When Shopping for Stone
Learn all about stone sizes, cracks, color issues and more so problems don't chip away at your design happiness later
Full Story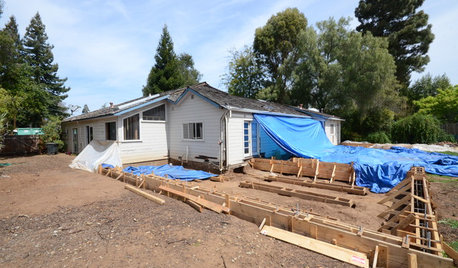
REMODELING GUIDESSurvive Your Home Remodel: 11 Must-Ask Questions
Plan ahead to keep minor hassles from turning into major headaches during an extensive renovation
Full Story
GREEN BUILDINGConsidering Concrete Floors? 3 Green-Minded Questions to Ask
Learn what’s in your concrete and about sustainability to make a healthy choice for your home and the earth
Full Story
MOST POPULAR8 Questions to Ask Yourself Before Meeting With Your Designer
Thinking in advance about how you use your space will get your first design consultation off to its best start
Full Story
DOORS5 Questions to Ask Before Installing a Barn Door
Find out whether that barn door you love is the right solution for your space
Full Story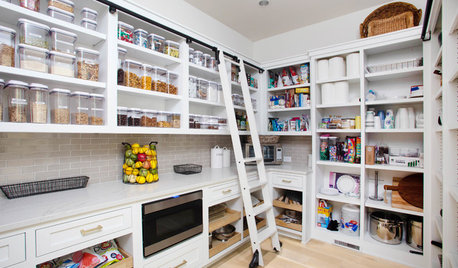
KITCHEN DESIGN9 Questions to Ask When Planning a Kitchen Pantry
Avoid blunders and get the storage space and layout you need by asking these questions before you begin
Full Story
SELLING YOUR HOUSEFix It or Not? What to Know When Prepping Your Home for Sale
Find out whether a repair is worth making before you put your house on the market
Full Story
SELLING YOUR HOUSEKitchen Ideas: 8 Ways to Prep for Resale
Some key updates to your kitchen will help you sell your house. Here’s what you need to know
Full Story
MONTHLY HOME CHECKLISTSYour Checklist for Quick Houseguest Prep
Follow these steps to get your home ready in a hurry for overnight visitors
Full StoryMore Discussions

MongoCT
pjb999Original Author
Related Professionals
Baltimore Kitchen & Bathroom Designers · Clute Kitchen & Bathroom Designers · Dearborn Kitchen & Bathroom Remodelers · Key Biscayne Kitchen & Bathroom Remodelers · Overland Park Kitchen & Bathroom Remodelers · Pearl City Kitchen & Bathroom Remodelers · Pico Rivera Kitchen & Bathroom Remodelers · Rochester Kitchen & Bathroom Remodelers · Richmond Glass & Shower Door Dealers · West Valley City Glass & Shower Door Dealers · Greentown Glass & Shower Door Dealers · Highland Village Cabinets & Cabinetry · El Mirage Window Treatments · Rockville Window Treatments · San Rafael Window TreatmentsMongoCT
pjb999Original Author
Domenico_nelli_yahoo_com