


Help, Ditra didn't set down as intended. What to do?
enduring
11 years ago
Sort by:Oldest
Comments (8)
Related Stories
SMALL KITCHENS10 Things You Didn't Think Would Fit in a Small Kitchen
Don't assume you have to do without those windows, that island, a home office space, your prized collections or an eat-in nook
Full Story
ORGANIZINGHelp for Whittling Down the Photo Pile
Consider these 6 points your personal pare-down assistant, making organizing your photo collection easier
Full Story
HOUZZ TOURSMy Houzz: 38 Years of Renovations Help Artists Live Their Dream
Twin art studios. Space for every book and model ship. After four decades of remodeling, this farmhouse has two happy homeowners
Full Story
LIFEDecluttering — How to Get the Help You Need
Don't worry if you can't shed stuff and organize alone; help is at your disposal
Full Story
MOST POPULAR9 Real Ways You Can Help After a House Fire
Suggestions from someone who lost her home to fire — and experienced the staggering generosity of community
Full Story
DECLUTTERINGDownsizing Help: Choosing What Furniture to Leave Behind
What to take, what to buy, how to make your favorite furniture fit ... get some answers from a homeowner who scaled way down
Full Story
DECLUTTERINGDownsizing Help: How to Get Rid of Your Extra Stuff
Sell, consign, donate? We walk you through the options so you can sail through scaling down
Full Story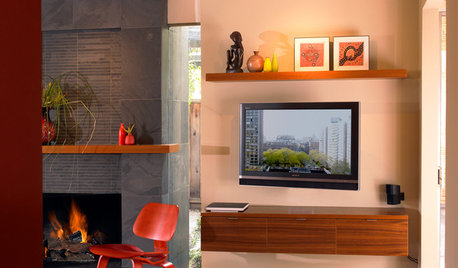
DECORATING GUIDESDecorate With Intention: Helping Your TV Blend In
Somewhere between hiding the tube in a cabinet and letting it rule the room are these 11 creative solutions
Full Story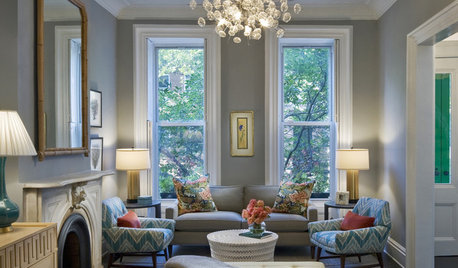
COLORPick-a-Paint Help: How to Quit Procrastinating on Color Choice
If you're up to your ears in paint chips but no further to pinning down a hue, our new 3-part series is for you
Full Story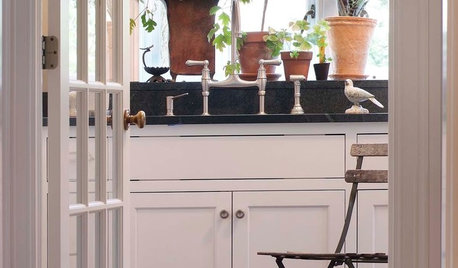
HEALTHY HOMEDecorate With Intention: Let Your House Help You De-Stress
Break free of automatic TV time and learn how to really unwind and recharge with these easy ideas that don't cost a dime
Full StoryMore Discussions

enduringOriginal Author
cathie2029
Related Professionals
Hammond Kitchen & Bathroom Designers · South Farmingdale Kitchen & Bathroom Designers · South Farmingdale Kitchen & Bathroom Designers · Glendale Kitchen & Bathroom Remodelers · New Port Richey East Kitchen & Bathroom Remodelers · North Arlington Kitchen & Bathroom Remodelers · Skokie Kitchen & Bathroom Remodelers · Tuckahoe Kitchen & Bathroom Remodelers · Vienna Kitchen & Bathroom Remodelers · Land O Lakes Cabinets & Cabinetry · Wyckoff Cabinets & Cabinetry · Atascocita Cabinets & Cabinetry · Fraser Window Treatments · Northbrook Window Treatments · Walnut Creek Window TreatmentsenduringOriginal Author
enduringOriginal Author
cathie2029
enduringOriginal Author
cathie2029
enduringOriginal Author