


Master bath renovation pictures
jdougjo
10 years ago
Related Stories
REMODELING GUIDESNew Home Renovation Study Paints Positive Growth Picture
More than two-thirds of industry professionals say 2014 was a good year and 2015 is looking hopeful
Full Story
REMODELING GUIDESHouzz Survey: Renovations Are Up in 2013
Home improvement projects are on the rise, with kitchens and baths still topping the popularity chart
Full Story
BATHROOM DESIGNRoom of the Day: Master Bath Gets the Luxe Treatment
A Texas couple’s long-awaited master bathroom renovation adds square footage and elegance
Full Story
BEDROOMSBefore and After: French Country Master Suite Renovation
Sheila Rich helps couple reconfigure dark, dated rooms to welcome elegance, efficiency and relaxation
Full Story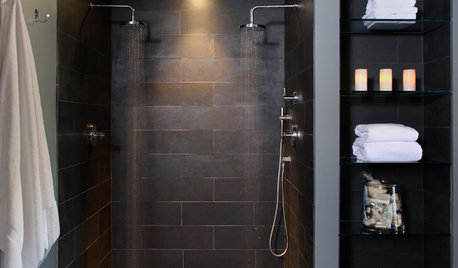
BATHROOM DESIGN10 Elements of a Dream Master Bath
A heavenly bathroom could be just a few features away. Would any of these be must-haves for your renovation?
Full Story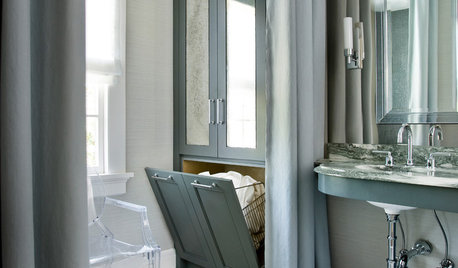
BATHROOM DESIGNRoom of the Day: Elegant Master-Bath Update
A 1970s redo didn't work with the rest of the gracious 1915 Colonial-style home. A new renovation brings elegance to the space
Full Story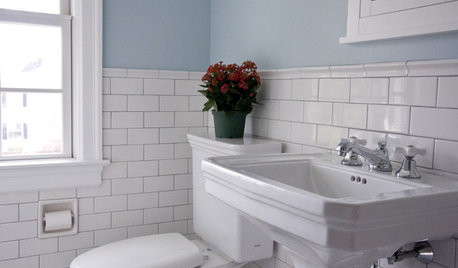
BATHROOM DESIGNRoom of the Day: Renovation Retains a 1920s Bath’s Vintage Charm
A ceiling leak spurs this family to stop patching and go for the gut
Full Story
BUDGETING YOUR PROJECTHouzz Call: What Did Your Kitchen Renovation Teach You About Budgeting?
Cost is often the biggest shocker in a home renovation project. Share your wisdom to help your fellow Houzzers
Full Story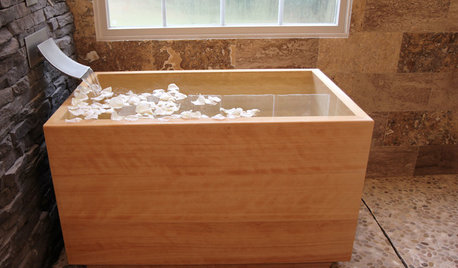
BATHTUBSRoom of the Day: Restorative Power of a Japanese Soaking Tub
A traditional tub made of hinoki wood sets a calming tone in this master bath renovation
Full Story
SELLING YOUR HOUSEThe Latest Info on Renovating Your Home to Sell
Pro advice about where to put your remodeling dollars for success in selling your home
Full StoryMore Discussions

cat_mom
miruca
Related Professionals
Ballenger Creek Kitchen & Bathroom Designers · El Sobrante Kitchen & Bathroom Designers · Saratoga Springs Kitchen & Bathroom Designers · Schaumburg Kitchen & Bathroom Designers · East Tulare County Kitchen & Bathroom Remodelers · Crestline Kitchen & Bathroom Remodelers · Fort Washington Kitchen & Bathroom Remodelers · Newberg Kitchen & Bathroom Remodelers · San Bernardino Glass & Shower Door Dealers · Buena Park Cabinets & Cabinetry · Oakland Park Cabinets & Cabinetry · Bellwood Cabinets & Cabinetry · Aurora Window Treatments · Ojus Window Treatments · Riverside Window TreatmentsjdougjoOriginal Author
raehelen
jdougjoOriginal Author
jdougjoOriginal Author
miruca
kam76
jdougjoOriginal Author
jdougjoOriginal Author
williamsem
jdougjoOriginal Author
jdougjoOriginal Author