


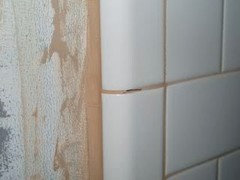
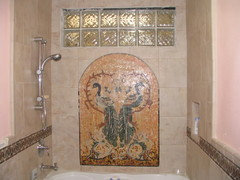
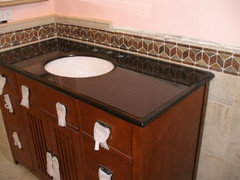
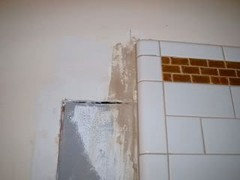
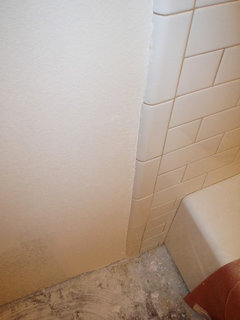
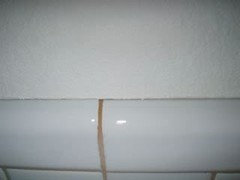
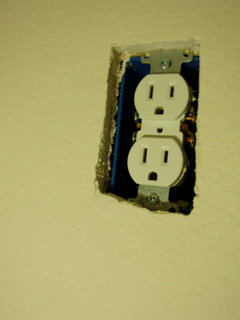
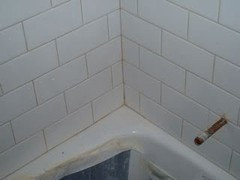
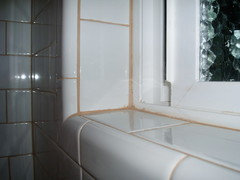
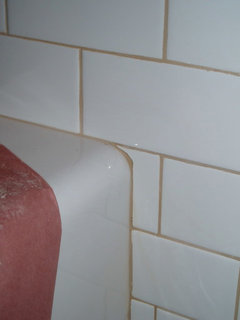
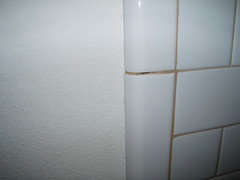
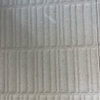
HELP tile is botched....now what do I do?????
16 years ago
Featured Answer
Sort by:Oldest
Comments (45)
 16 years ago
- 16 years ago
Related Professionals
Albany Kitchen & Bathroom Designers · Henderson Kitchen & Bathroom Designers · Lockport Kitchen & Bathroom Designers · Elk Grove Village Kitchen & Bathroom Remodelers · Kendale Lakes Kitchen & Bathroom Remodelers · Schiller Park Kitchen & Bathroom Remodelers · Sicklerville Kitchen & Bathroom Remodelers · Miami Glass & Shower Door Dealers · Spring Glass & Shower Door Dealers · Plymouth Cabinets & Cabinetry · Warr Acres Cabinets & Cabinetry · Huntington Beach Window Treatments · Ojus Window Treatments · Salt Lake City Window Treatments · Sayreville Window Treatments- 16 years ago
- 16 years ago
- 16 years ago
- 16 years ago
- 16 years ago
- 16 years ago
- 16 years ago
- 16 years ago
- 16 years ago
- 16 years ago
- 16 years ago
- 16 years ago
- 16 years ago
- 16 years ago
- 16 years ago
- 16 years ago
- 16 years ago
- 16 years ago
- 16 years ago
- 16 years ago
- 16 years ago
- 16 years ago
- 16 years ago
- 16 years ago
- 16 years ago
- 16 years ago
- 16 years ago
- 16 years ago
- 16 years ago
- 16 years ago
- 16 years ago
- 16 years ago
- 16 years ago
- 16 years ago
- 16 years ago
- 16 years ago
- 16 years ago
- 16 years ago
- 16 years ago
- 16 years ago
- 16 years ago
- 16 years ago


Related Stories

EXTERIORSHelp! What Color Should I Paint My House Exterior?
Real homeowners get real help in choosing paint palettes. Bonus: 3 tips for everyone on picking exterior colors
Full Story
WORKING WITH PROS3 Reasons You Might Want a Designer's Help
See how a designer can turn your decorating and remodeling visions into reality, and how to collaborate best for a positive experience
Full Story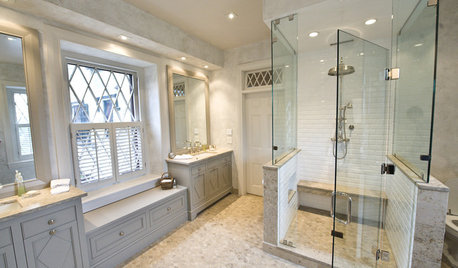
WINDOWSDiamond Muntins Help Windows Look Sharp
As the real deal or a decorative grille, diamond window muntins show attention to detail and add traditional flair
Full Story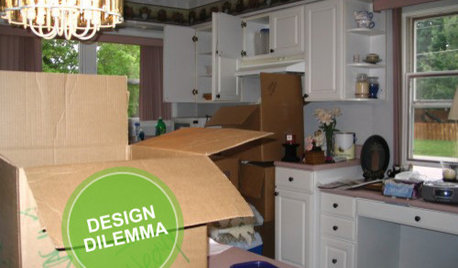
KITCHEN DESIGNDesign Dilemma: My Kitchen Needs Help!
See how you can update a kitchen with new countertops, light fixtures, paint and hardware
Full Story
ORGANIZINGDo It for the Kids! A Few Routines Help a Home Run More Smoothly
Not a Naturally Organized person? These tips can help you tackle the onslaught of papers, meals, laundry — and even help you find your keys
Full Story
HOUSEKEEPINGWhen You Need Real Housekeeping Help
Which is scarier, Lifetime's 'Devious Maids' show or that area behind the toilet? If the toilet wins, you'll need these tips
Full Story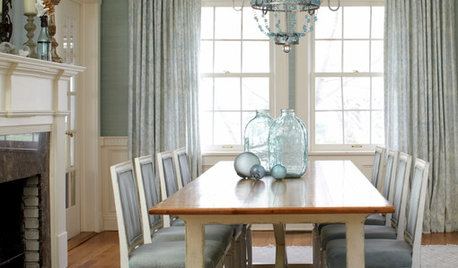
REMODELING GUIDESRoom of the Day: Antiques Help a Dining Room Grow Up
Artfully distressed pieces and elegant colors take a formerly child-focused space into sophisticated territory
Full Story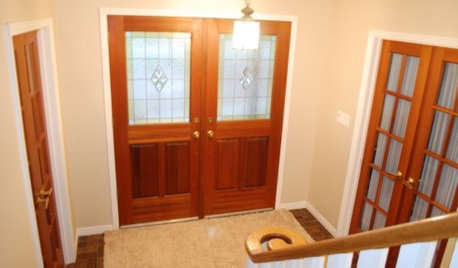

FUN HOUZZDecorated Houses Help Save a Detroit Neighborhood
Art's a start for an inner-city community working to stave off urban blight and kindle a renaissance
Full Story
BATHROOM WORKBOOKStandard Fixture Dimensions and Measurements for a Primary Bath
Create a luxe bathroom that functions well with these key measurements and layout tips
Full Story


qdognj