


2 years after remodel...Grout cracking..advice needed
yoda888
10 years ago
Sort by:Oldest
Comments (14)
Related Stories

REMODELING GUIDES9 Ways Grout–Yes, Grout–Can Add to Your Design
Choose From a Palette of Grout Colors for a Warm, Unified Look
Full Story
TILEWhy Bathroom Floors Need to Move
Want to prevent popped-up tiles and unsightly cracks? Get a grip on the principles of expansion and contraction
Full Story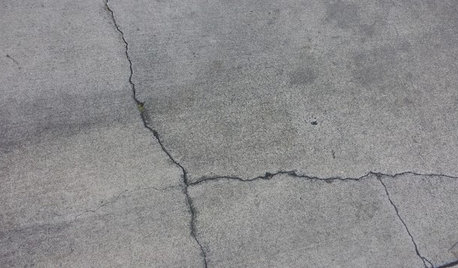
CONCRETEWhy Concrete Wants to Crack
We look at the reasons concrete has a tendency to crack — and what you can do to help control it
Full Story
BATHROOM DESIGNDreaming of a Spa Tub at Home? Read This Pro Advice First
Before you float away on visions of jets and bubbles and the steamiest water around, consider these very real spa tub issues
Full Story
TILEEpoxy vs. Cement Grout — What's the Difference?
Grout is grout, right? Nope. Cement and epoxy versions have different appearances, durability and rules of installation
Full Story
DISASTER PREP & RECOVERYRemodeling After Water Damage: Tips From a Homeowner Who Did It
Learn the crucial steps and coping mechanisms that can help when flooding strikes your home
Full Story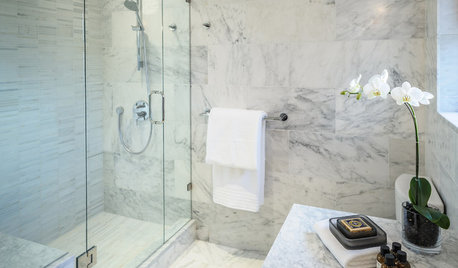
BATHROOM DESIGNConvert Your Tub Space Into a Shower — the Tiling and Grouting Phase
Step 3 in swapping your tub for a sleek new shower: Pick the right tile and test it out, then choose your grout color and type
Full Story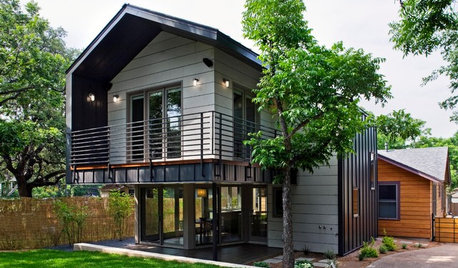
CONTRACTOR TIPSContractor Tips: 10 Home Areas That Likely Need a Pro
Safety, less cost and better aesthetics on a home improvement project may rest in the hands of an expert
Full Story
REMODELING GUIDESContractor Tips: Advice for Laundry Room Design
Thinking ahead when installing or moving a washer and dryer can prevent frustration and damage down the road
Full Story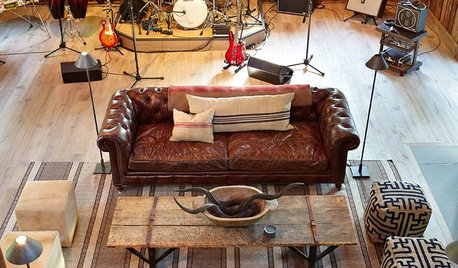
THE ART OF ARCHITECTURESound Advice for Designing a Home Music Studio
How to unleash your inner guitar hero without antagonizing the neighbors
Full Story

enduring
Karenseb
Related Professionals
Baltimore Kitchen & Bathroom Designers · Barrington Hills Kitchen & Bathroom Designers · Clarksburg Kitchen & Bathroom Designers · Rancho Cordova Kitchen & Bathroom Remodelers · Southampton Kitchen & Bathroom Remodelers · Spokane Kitchen & Bathroom Remodelers · Pittsburg Glass & Shower Door Dealers · Issaquah Glass & Shower Door Dealers · Bon Air Cabinets & Cabinetry · Holt Cabinets & Cabinetry · Radnor Cabinets & Cabinetry · Red Bank Cabinets & Cabinetry · Short Hills Cabinets & Cabinetry · Bellwood Cabinets & Cabinetry · Seattle Window TreatmentsMongoCT
yoda888Original Author
MongoCT
yoda888Original Author
MongoCT
yoda888Original Author
enduring
MongoCT
yoda888Original Author
MongoCT
yoda888Original Author
yoda888Original Author