


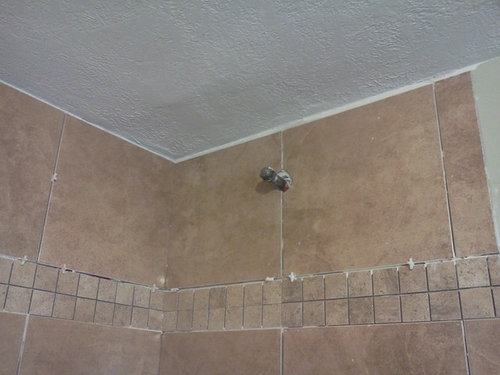
oh no, now what do I do?
barbcollins
11 years ago
Sort by:Oldest
Comments (19)
Related Stories
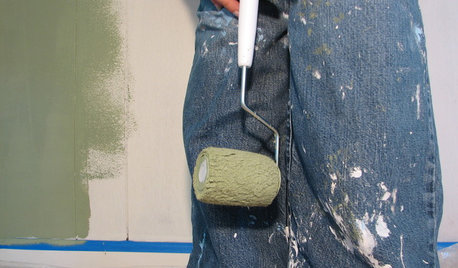
PAINTINGHelp! I Spilled Paint on My Clothes — Now What?
If you’ve spattered paint on your favorite jeans, here’s what to do next
Full Story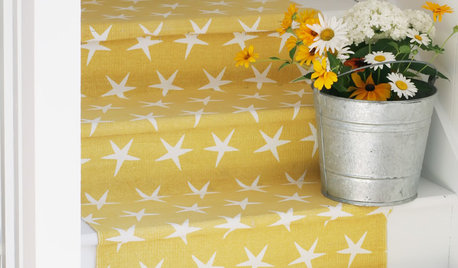
BEFORE AND AFTERSOh Say, Can You Believe These $200 Star-Spangled Stairs?
Once sporting a mucky 1970s look, this staircase can now proudly be hailed for its beach cottage charm
Full Story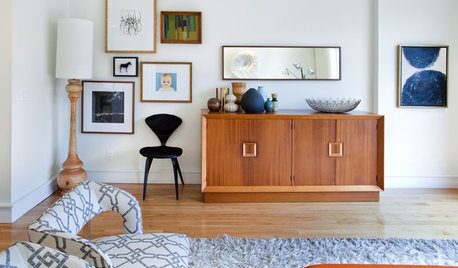
DECORATING GUIDES12 Antique Store Finds to Nab Now, Place Later
See the accessories one decorator always buys when she spots them — as long as she gets there first
Full Story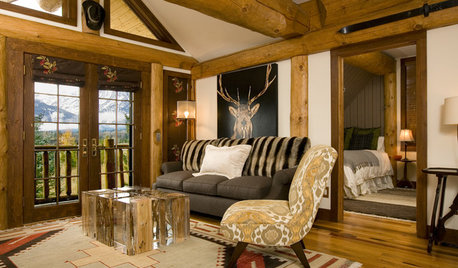
HOLIDAYSOh Deer! Antler-Inspired Décor for the Holidays and More
Enjoy the grace and beauty of deer at home — no taxidermy needed
Full Story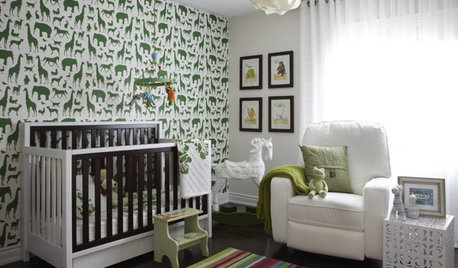
KIDS’ SPACESOh, Baby! 12 Ideas to Get a Chic Nursery Rolling
Nest to your heart's content with these starting points for gorgeous nursery designs
Full Story
FUN HOUZZ14 Things You Need to Start Doing Now for Your Spouse’s Sake
You have no idea how annoying your habits at home can be. We’re here to tell you
Full Story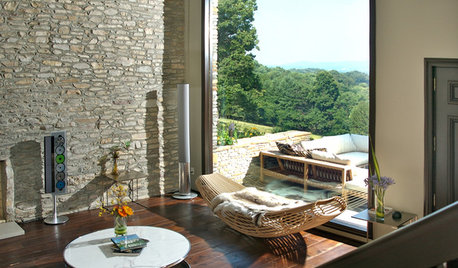
REMODELING GUIDESYour Floors: Zebra, Tiger, and Teak Wood, Oh, My!
Get the Pros and Cons of Exotic Woods: Hickory, Cherry, Rosewood and More
Full Story
PRODUCT PICKSGuest Picks: French-Inspired Pieces for an 'Oh La La' Home
Bring French flair to every room in the house with furniture, lighting and accessories from affordable to investment worthy
Full Story
GARDENING GUIDESOh, Deer! 10 Native Flowers That Stand Up to the Herds
Keeping a garden amid hungry deer can be hard, but these plants should fare well
Full Story
MOST POPULAR15 Remodeling ‘Uh-Oh’ Moments to Learn From
The road to successful design is paved with disaster stories. What’s yours?
Full Story
MongoCT
barbcollinsOriginal Author
Related Professionals
Palm Harbor Kitchen & Bathroom Designers · Forest Hill Kitchen & Bathroom Remodelers · Bellevue Kitchen & Bathroom Remodelers · Charlottesville Kitchen & Bathroom Remodelers · Chester Kitchen & Bathroom Remodelers · Elk Grove Village Kitchen & Bathroom Remodelers · Green Bay Kitchen & Bathroom Remodelers · Lyons Kitchen & Bathroom Remodelers · Oxon Hill Kitchen & Bathroom Remodelers · Wilmington Kitchen & Bathroom Remodelers · Winchester Kitchen & Bathroom Remodelers · Skokie Glass & Shower Door Dealers · North Plainfield Cabinets & Cabinetry · Phoenix Window Treatments · Rockford Window Treatmentsbill_vincent
barbcollinsOriginal Author
bill_vincent
barbcollinsOriginal Author
bill_vincent
bill_vincent
barbcollinsOriginal Author
bill_vincent
barbcollinsOriginal Author
beeps
enduring
sweeby
barbcollinsOriginal Author
coolbeansw
weedyacres
catbuilder
barbcollinsOriginal Author