


I need help with taping plaster to drywall & prep to paint.
enduring
11 years ago
Sort by:Oldest
Comments (5)
Related Stories
BATHROOM DESIGNOut With the Old Tile: 8 Steps to Prep for Demolition
This isn't a light DIY project: You'll need heavy-duty tools and plenty of protection for your home and yourself
Full Story
MATERIALSRaw Materials Revealed: Drywall Basics
Learn about the different sizes and types of this construction material for walls, plus which kinds work best for which rooms
Full Story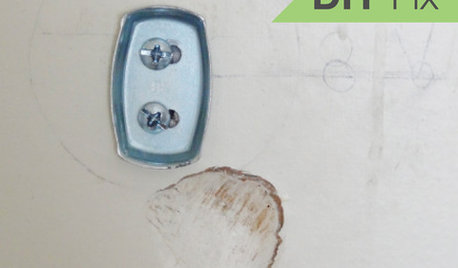
HOUSEKEEPINGQuick Fix: How to Patch a Drywall Hole
Dents and dings disappear, leaving your walls looking brand new, with this fix that even a novice can do
Full Story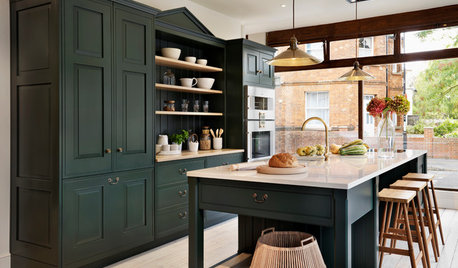
SELLING YOUR HOUSEKitchen Ideas: 8 Ways to Prep for Resale
Some key updates to your kitchen will help you sell your house. Here’s what you need to know
Full Story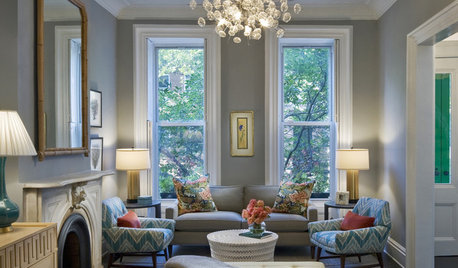
COLORPick-a-Paint Help: How to Quit Procrastinating on Color Choice
If you're up to your ears in paint chips but no further to pinning down a hue, our new 3-part series is for you
Full Story
COLORPick-a-Paint Help: How to Create a Whole-House Color Palette
Don't be daunted. With these strategies, building a cohesive palette for your entire home is less difficult than it seems
Full Story
ENTERTAININGGenius Home Prep: A Guest Room in a Box
No dedicated guest room? Make hosting overnighters easier by keeping the essentials in one place
Full Story
MONTHLY HOME CHECKLISTSYour Checklist for Quick Houseguest Prep
Follow these steps to get your home ready in a hurry for overnight visitors
Full Story
HOLIDAYSHoliday Party Prep: Ready Your Supplies
Take stock of serveware, wash off the dust and clear out the pantry now for low-stress entertaining later
Full Story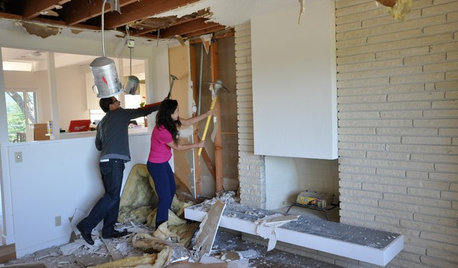
REMODELING GUIDESWisdom to Help Your Relationship Survive a Remodel
Spend less time patching up partnerships and more time spackling and sanding with this insight from a Houzz remodeling survey
Full Story

barbcollins
enduringOriginal Author
Related Professionals
Buffalo Kitchen & Bathroom Designers · Fox Lake Kitchen & Bathroom Designers · Portland Kitchen & Bathroom Designers · Queen Creek Kitchen & Bathroom Designers · Saint Peters Kitchen & Bathroom Designers · Beaverton Kitchen & Bathroom Remodelers · Folsom Kitchen & Bathroom Remodelers · Fremont Kitchen & Bathroom Remodelers · Port Arthur Kitchen & Bathroom Remodelers · Upper Saint Clair Kitchen & Bathroom Remodelers · Mountain View Glass & Shower Door Dealers · Rowland Heights Cabinets & Cabinetry · Brenham Window Treatments · Clinton Window Treatments · North Tustin Window Treatmentshags00
enduringOriginal Author
hags00