


Bathroom Wall Insulation & Vapor Barriers
enduring
10 years ago

Related Stories

HEALTHY HOMEHow to Keep Water Vapor From Ruining Your House and Your Health
We help you find out when it’s happening, what it means and how to fix it
Full Story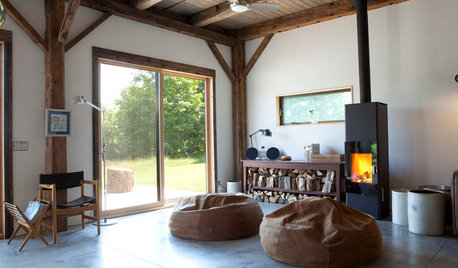
GREEN BUILDINGInsulation Basics: Heat, R-Value and the Building Envelope
Learn how heat moves through a home and the materials that can stop it, to make sure your insulation is as effective as you think
Full Story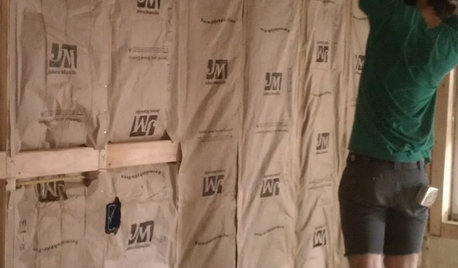
REMODELING GUIDESCool Your House (and Costs) With the Right Insulation
Insulation offers one of the best paybacks on your investment in your house. Here are some types to discuss with your contractor
Full Story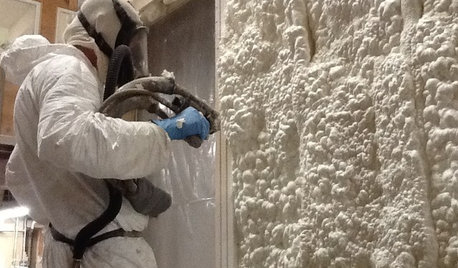
MATERIALSInsulation Basics: What to Know About Spray Foam
Learn what exactly spray foam is, the pros and cons of using it and why you shouldn’t mess around with installation
Full Story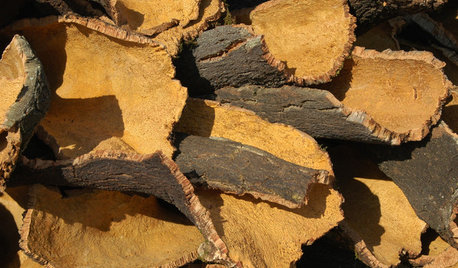
GREEN BUILDINGInsulation Basics: Natural and Recycled Materials
Consider sheep’s wool, denim, cork, cellulose and more for an ecofriendly insulation choice
Full Story
BATHROOM DESIGNHow to Choose Tile for a Steam Shower
In steamy quarters, tile needs to stand up to all that water and vapor in style. Here's how to get it right the first time
Full Story
BATHROOM DESIGN6 Elements of a Perfect Bathroom Paint Job
High-quality paint alone won't cut it. For the best-looking painted bathroom walls, you'll need to get these other details right
Full Story
BATHROOM DESIGNBathroom Surfaces: Ceramic Tile Pros and Cons
Learn the facts on this popular material for bathroom walls and floors, including costs and maintenance needs, before you commit
Full Story
BATHROOM DESIGNKey Measurements to Make the Most of Your Bathroom
Fit everything comfortably in a small or medium-size bath by knowing standard dimensions for fixtures and clearances
Full Story
REMODELING GUIDES11 Reasons to Love Wall-to-Wall Carpeting Again
Is it time to kick the hard stuff? Your feet, wallet and downstairs neighbors may be nodding
Full StoryMore Discussions

geoffrey_b
MongoCT
Related Professionals
Blasdell Kitchen & Bathroom Remodelers · Fort Myers Kitchen & Bathroom Remodelers · Hickory Kitchen & Bathroom Remodelers · Londonderry Kitchen & Bathroom Remodelers · Martha Lake Kitchen & Bathroom Remodelers · Pueblo Kitchen & Bathroom Remodelers · Saint Augustine Kitchen & Bathroom Remodelers · Culpeper Glass & Shower Door Dealers · Danville Glass & Shower Door Dealers · Del Aire Glass & Shower Door Dealers · Denver Glass & Shower Door Dealers · Fremont Glass & Shower Door Dealers · Suwanee Glass & Shower Door Dealers · Crestline Cabinets & Cabinetry · Murray Cabinets & CabinetryenduringOriginal Author
MongoCT
enduringOriginal Author
MongoCT
enduringOriginal Author
weedyacres
enduringOriginal Author
weedyacres
enduringOriginal Author