


Work in Progress Pictures - Bathroom Renovations
johnfrwhipple
13 years ago
Related Stories
REMODELING GUIDESNew Home Renovation Study Paints Positive Growth Picture
More than two-thirds of industry professionals say 2014 was a good year and 2015 is looking hopeful
Full StoryRANCH HOMESHouzz Tour: An Eclectic Ranch Revival in Washington, D.C.
Well-considered renovations, clever art and treasures from family make their mark on an architect’s never-ending work in progress
Full Story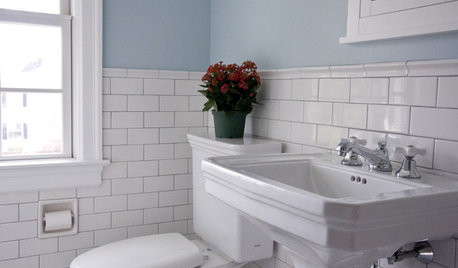
BATHROOM DESIGNRoom of the Day: Renovation Retains a 1920s Bath’s Vintage Charm
A ceiling leak spurs this family to stop patching and go for the gut
Full Story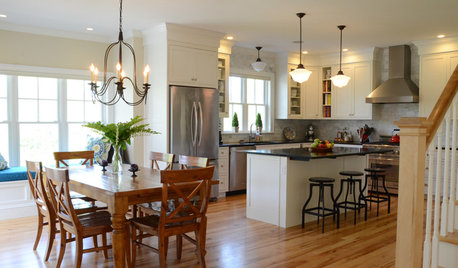
BUDGETING YOUR PROJECTHouzz Call: What Did Your Kitchen Renovation Teach You About Budgeting?
Cost is often the biggest shocker in a home renovation project. Share your wisdom to help your fellow Houzzers
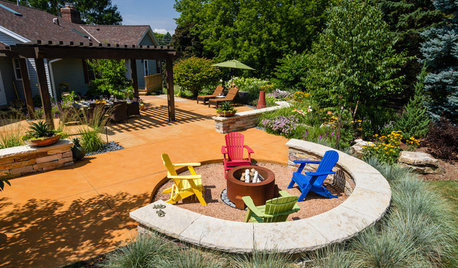
Full StoryHOUZZ TOURSHouzz Tour: Renovations Modernize a 1970s New Jersey Colonial
Better access to a great yard, an opened-up interior and family-friendly features improved this home for a Princeton family
Full Story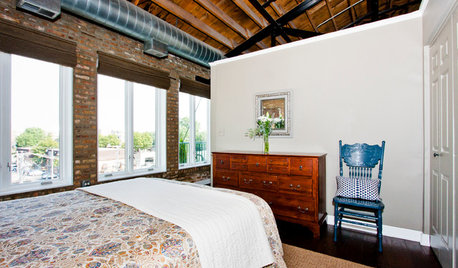
SMALL HOMESHouzz Tour: An Illinois Loft Sparks Renovation Fever
Home improvement newbies (and newlyweds) find joy and a new income source while redoing their space themselves
Full Story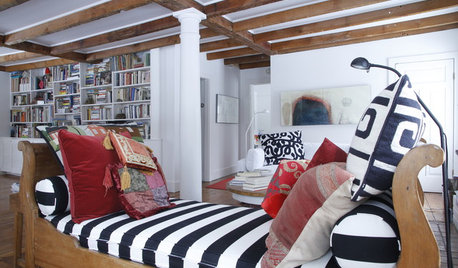
HOUZZ TOURSMy Houzz: 38 Years of Renovations Help Artists Live Their Dream
Twin art studios. Space for every book and model ship. After four decades of remodeling, this farmhouse has two happy homeowners
Full Story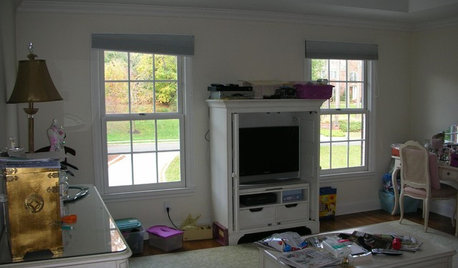
BEDROOMSBefore and After: French Country Master Suite Renovation
Sheila Rich helps couple reconfigure dark, dated rooms to welcome elegance, efficiency and relaxation
Full Story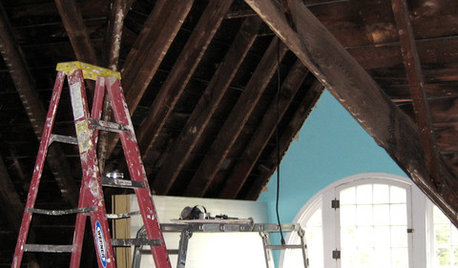
REMODELING GUIDES8 Lessons on Renovating a House from Someone Who's Living It
So you think DIY remodeling is going to be fun? Here is one homeowner's list of what you may be getting yourself into
Full Story
HOUZZ TOURSMy Houzz: Hard Work Pays Off in a DIY Cottage Renovation
First-time homeowners roll up their sleeves and give their midcentury Montreal home an infusion of style and personality
Full Story
johnfrwhippleOriginal Author
maggie200
Related Professionals
Corcoran Kitchen & Bathroom Designers · Cuyahoga Falls Kitchen & Bathroom Designers · Newington Kitchen & Bathroom Designers · United States Kitchen & Bathroom Designers · Saint Charles Kitchen & Bathroom Designers · Creve Coeur Kitchen & Bathroom Remodelers · Barstow Heights Glass & Shower Door Dealers · Salt Lake City Glass & Shower Door Dealers · Kissimmee Glass & Shower Door Dealers · Tallahassee Glass & Shower Door Dealers · Ponte Vedra Glass & Shower Door Dealers · Newcastle Cabinets & Cabinetry · Vermillion Cabinets & Cabinetry · Creve Coeur Window Treatments · Mount Pleasant Window TreatmentsjohnfrwhippleOriginal Author
MongoCT
johnfrwhippleOriginal Author
diynewbie_sf
MongoCT
johnfrwhippleOriginal Author
johnfrwhippleOriginal Author
johnfrwhippleOriginal Author
vampiressrn
chrisvanities
johnfrwhippleOriginal Author
johnfrwhippleOriginal Author
johnfrwhippleOriginal Author
johnfrwhippleOriginal Author