


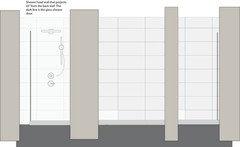
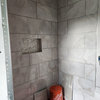
tile layout above bathtub
jess1979
10 years ago
Featured Answer
Comments (10)

catbuilder
10 years agojess1979
10 years agoRelated Professionals
Queen Creek Kitchen & Bathroom Designers · Cherry Hill Kitchen & Bathroom Designers · Grain Valley Kitchen & Bathroom Remodelers · Honolulu Kitchen & Bathroom Remodelers · League City Kitchen & Bathroom Remodelers · Lyons Kitchen & Bathroom Remodelers · Tulsa Kitchen & Bathroom Remodelers · Vista Kitchen & Bathroom Remodelers · Plant City Kitchen & Bathroom Remodelers · Eufaula Kitchen & Bathroom Remodelers · Springville Glass & Shower Door Dealers · Glen Mills Glass & Shower Door Dealers · North Plainfield Cabinets & Cabinetry · Palm Beach Gardens Window Treatments · Rolling Meadows Window Treatmentscatbuilder
10 years ago
enduring
10 years agoMongoCT
10 years agojess1979
10 years agoenduring
10 years agoikea_gw
10 years agoonedog3cats
10 years ago


Related Stories
BATHROOM DESIGNHow to Choose Tile for a Bathtub
Creating a safe, stylish and useful bathtub with tile is all in the details. Here's how to get them right
Full Story
BATHROOM DESIGNFloor-to-Ceiling Tile Takes Bathrooms Above and Beyond
Generous tile in a bathroom can bounce light, give the illusion of more space and provide a cohesive look
Full Story
BATHROOM DESIGNPolish Your Bathroom's Look With Wrapped Tile
Corner the market on compliments for your bathroom renovation by paying attention to where the walls meet and the edges round
Full Story
TILEHow to Choose the Right Tile Layout
Brick, stacked, mosaic and more — get to know the most popular tile layouts and see which one is best for your room
Full Story
BEFORE AND AFTERSA Makeover Turns Wasted Space Into a Dream Master Bath
This master suite's layout was a head scratcher until an architect redid the plan with a bathtub, hallway and closet
Full Story
BATHROOM DESIGNCenter Bathtubs Take Top Billing
Whether you're going for drama or just a clear footpath, setting your tub in the middle of your bathroom can be just the ticket
Full Story
KITCHEN DESIGNHome Above the Range: Smart Uses for Cooktop Space
With pot fillers, shelves, racks and more, you can get the most function out of the space above your kitchen range
Full Story
BATHROOM DESIGNRoom of the Day: New Layout, More Light Let Master Bathroom Breathe
A clever rearrangement, a new skylight and some borrowed space make all the difference in this room
Full Story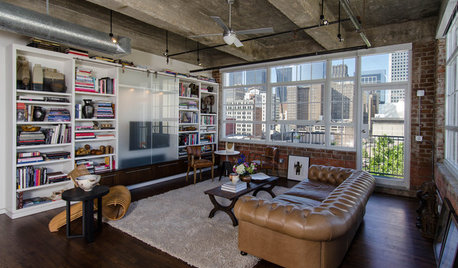
HOUZZ TOURSHouzz Tour: Stellar Views Spark a Loft's New Layout
A fantastic vista of the city skyline, along with the need for better efficiency and storage, lead to a Houston loft's renovation
Full Story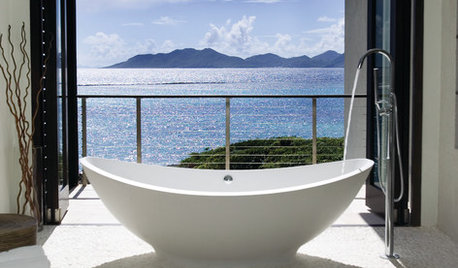
PHOTO FLIP71 Dream Bathtub Views
Soak in the sights with this collection of tantalizing tubs and inspiring vistas
Full StoryMore Discussions

ikea_gw