


Powder Room: First Ditra Installation
oyiwaanoela
9 years ago
Sort by:Oldest
Comments (3)
Related Stories
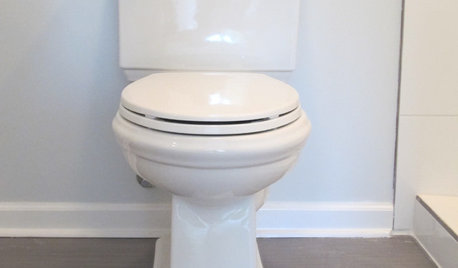
BATHROOM DESIGNHow to Install a Toilet in an Hour
Putting a new commode in a bathroom or powder room yourself saves plumber fees, and it's less scary than you might expect
Full Story
REMODELING GUIDESContractor Tips: How to Install Tile
Before you pick up a single tile, pull from these tips for expert results
Full Story
BATHROOM DESIGNShould You Install a Urinal at Home?
Wall-mounted pit stops are handy in more than just man caves — and they can look better than you might think
Full Story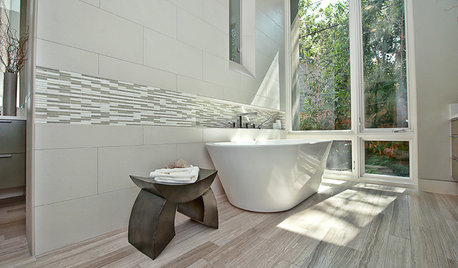
BATHROOM DESIGNHow to Match Tile Heights for a Perfect Installation
Irregular tile heights can mar the look of your bathroom. Here's how to counter the differences
Full Story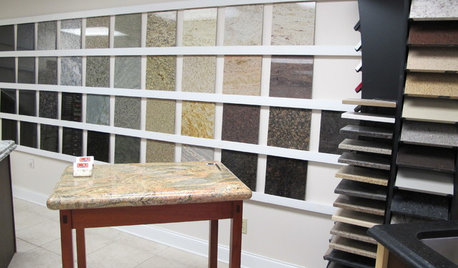
KITCHEN COUNTERTOPSWalk Through a Granite Countertop Installation — Showroom to Finish
Learn exactly what to expect during a granite installation and how to maximize your investment
Full Story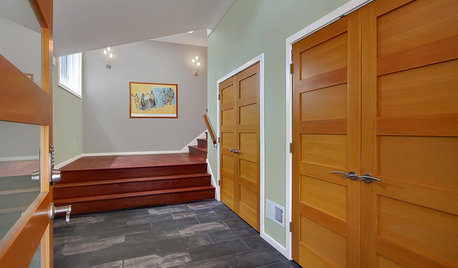
DOORSContractor Tips: Choosing and Installing Doors
Picking a door involves more than just visual appeal. Here's what you need to know to make sure your doors and hardware last
Full Story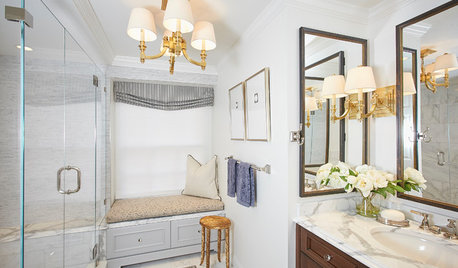
ROOM OF THE DAYRoom of the Day: Small Master Bath Makes an Elegant First Impression
Marble surfaces, a chandelier and a window seat give the conspicuous spot the air of a dressing room
Full Story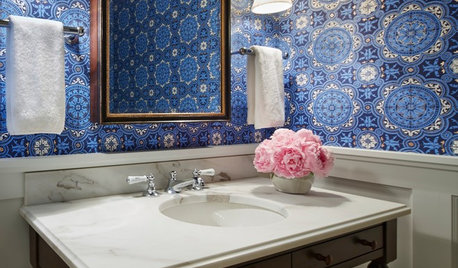
BATHROOM DESIGNYes, You Can Go Bold With Wallpaper in a Powder Room
The smallest room in the house can make the biggest design impact. Here are 10 of our favorite papered powder rooms
Full Story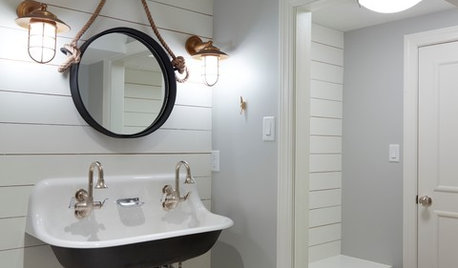
BATHROOM DESIGNRoom of the Day: Basement Bathroom With Nautical Flair
Coastal-inspired details and a one-of-a-kind tile floor tie together this Pennsylvania powder room and changing room
Full Story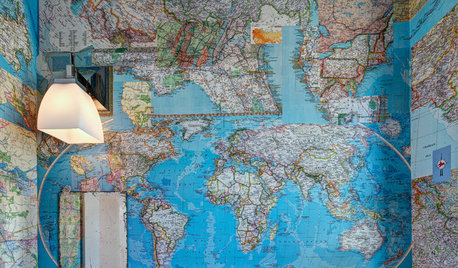
WALL TREATMENTSA Tiny Powder Room Gets a Map-tastic Look
Creative cartography adds cheer and personality to the walls of a compact half bath
Full StorySponsored
More Discussions


MongoCT
oyiwaanoelaOriginal Author
Related Professionals
Lafayette Kitchen & Bathroom Designers · Martinsburg Kitchen & Bathroom Designers · North Druid Hills Kitchen & Bathroom Remodelers · Paducah Kitchen & Bathroom Remodelers · San Juan Capistrano Kitchen & Bathroom Remodelers · Beecher Glass & Shower Door Dealers · Pleasanton Glass & Shower Door Dealers · Cranford Cabinets & Cabinetry · Crestview Cabinets & Cabinetry · Fort Lauderdale Cabinets & Cabinetry · North Massapequa Cabinets & Cabinetry · Spring Valley Cabinets & Cabinetry · Wadsworth Cabinets & Cabinetry · Berkeley Window Treatments · Dallas Window TreatmentsMongoCT