


"Laticrete Strata-Mat" has anyone used this?
enduring
10 years ago
Featured Answer
Sort by:Oldest
Comments (6)

MongoCT
10 years agolast modified: 9 years agoRelated Professionals
Martinsburg Kitchen & Bathroom Designers · Owasso Kitchen & Bathroom Designers · Creve Coeur Kitchen & Bathroom Remodelers · Garden Grove Kitchen & Bathroom Remodelers · Placerville Kitchen & Bathroom Remodelers · Portage Kitchen & Bathroom Remodelers · North Chicago Kitchen & Bathroom Remodelers · Hialeah Glass & Shower Door Dealers · Salt Lake City Glass & Shower Door Dealers · West Valley City Glass & Shower Door Dealers · Windsor Glass & Shower Door Dealers · Palos Verdes Estates Cabinets & Cabinetry · Vermillion Cabinets & Cabinetry · Arden-Arcade Window Treatments · San Jose Window TreatmentsMongoCT
10 years agolast modified: 9 years ago
enduring
10 years agolast modified: 9 years agoMongoCT
10 years agolast modified: 9 years agoenduring
10 years agolast modified: 9 years ago

Related Stories
BUDGET DECORATINGThe Cure for Houzz Envy: Living Room Touches Anyone Can Do
Spiff up your living room with very little effort or expense, using ideas borrowed from covetable ones
Full Story
MUDROOMSThe Cure for Houzz Envy: Mudroom Touches Anyone Can Do
Make a utilitarian mudroom snazzier and better organized with these cheap and easy ideas
Full Story
HOME OFFICESThe Cure for Houzz Envy: Home Office Touches Anyone Can Do
Borrow these modest design moves to make your workspace more inviting, organized and personal
Full Story
LAUNDRY ROOMSThe Cure for Houzz Envy: Laundry Room Touches Anyone Can Do
Make fluffing and folding more enjoyable by borrowing these ideas from beautifully designed laundry rooms
Full Story
BUDGET DECORATINGThe Cure for Houzz Envy: Entryway Touches Anyone Can Do
Make a smashing first impression with just one or two affordable design moves
Full Story
COLORS OF THE YEARPantone Has Spoken: Rosy and Serene Are In for 2016
For the first time, the company chooses two hues as co-colors of the year
Full Story
REMODELING GUIDESOne Guy Found a $175,000 Comic in His Wall. What Has Your Home Hidden?
Have you found a treasure, large or small, when remodeling your house? We want to see it!
Full Story
DECORATING GUIDESThe Right Mat for Your Artwork
Don't skimp on mat size and material to display and protect your framed artwork well
Full Story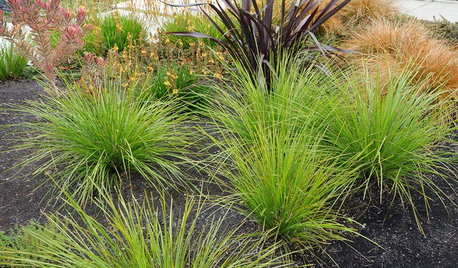
GRASSESVersatile Breeze Mat Rush Sails Into Drought-Tolerant Yards
Grassy Lomandra longifolia thrives year-round in shady and sunny gardens, in containers and in the ground
Full Story
KITCHEN DESIGNYes, You Can Use Brick in the Kitchen
Quell your fears of cooking splashes, cleaning nightmares and dust with these tips from the pros
Full StoryMore Discussions


enduringOriginal Author