


Can I Still Tile this Floor :(
enduring
10 years ago
Sort by:Oldest
Comments (10)
Related Stories
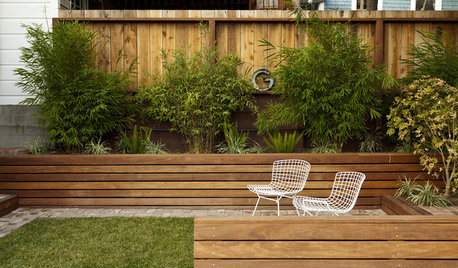
LANDSCAPE DESIGNSmall Garden? You Can Still Do Bamboo
Forget luck. Having bamboo that thrives on a wee plot just takes planning, picking the right variety, and keeping runners in check
Full Story
DECORATING GUIDESDecorating for Fall When It Still Feels Like Summer
Even if sandals and shorts are your year-round attire, you can still subtly dress your home for autumn
Full Story
ART8 Ways Vermeer’s Work Can Make Its Mark in Your Home
Go Dutch with stained glass, Oriental rugs, checkered floors and delft tile
Full Story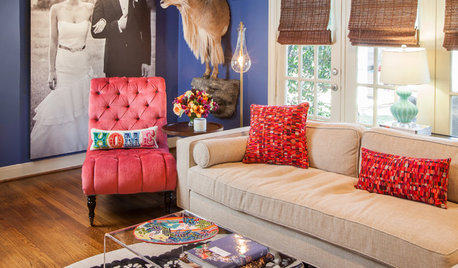
THE POLITE HOUSEThe Polite House: Can I Put a Remodel Project on Our Wedding Registry?
Find out how to ask guests for less traditional wedding gifts
Full Story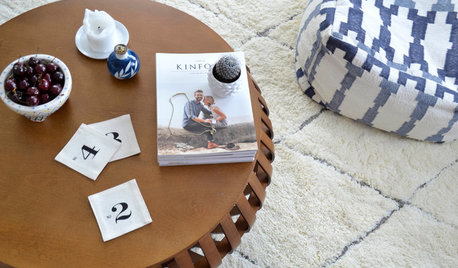
LIFEThe Polite House: How Can I Kindly Get Party Guests to Use Coasters?
Here’s how to handle the age-old entertaining conundrum to protect your furniture — and friendships
Full Story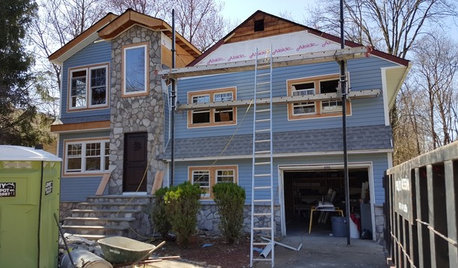
LIFEThe Polite House: How Can I Tell a Construction Crew to Pipe Down?
If workers around your home are doing things that bother you, there’s a diplomatic way to approach them
Full Story
KITCHEN COUNTERTOPSKitchen Counters: Granite, Still a Go-to Surface Choice
Every slab of this natural stone is one of a kind — but there are things to watch for while you're admiring its unique beauty
Full Story
REMODELING GUIDES9 Ways Grout–Yes, Grout–Can Add to Your Design
Choose From a Palette of Grout Colors for a Warm, Unified Look
Full Story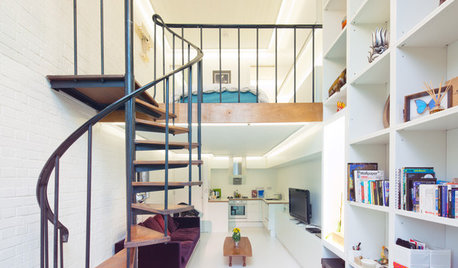
REMODELING GUIDESAsk an Architect: How Can I Carve Out a New Room Without Adding On?
When it comes to creating extra room, a mezzanine or loft level can be your best friend
Full Story
LIVING ROOMSIdeabook 911: How Can I Make My Living Room Seem Bigger?
10 Ways to Make a Small Space Live Large
Full Story
MongoCT
Tim
Related Professionals
Buffalo Kitchen & Bathroom Designers · Beverly Hills Kitchen & Bathroom Remodelers · Cleveland Kitchen & Bathroom Remodelers · Franconia Kitchen & Bathroom Remodelers · Gilbert Kitchen & Bathroom Remodelers · Paducah Kitchen & Bathroom Remodelers · Vienna Kitchen & Bathroom Remodelers · Barstow Heights Glass & Shower Door Dealers · Danville Glass & Shower Door Dealers · Gilbert Glass & Shower Door Dealers · North Miami Glass & Shower Door Dealers · South Miami Heights Glass & Shower Door Dealers · Bellwood Cabinets & Cabinetry · Creve Coeur Window Treatments · Tennessee Window TreatmentsMongoCT
enduringOriginal Author
enduringOriginal Author
enduringOriginal Author
MongoCT
enduringOriginal Author
MongoCT
enduringOriginal Author