

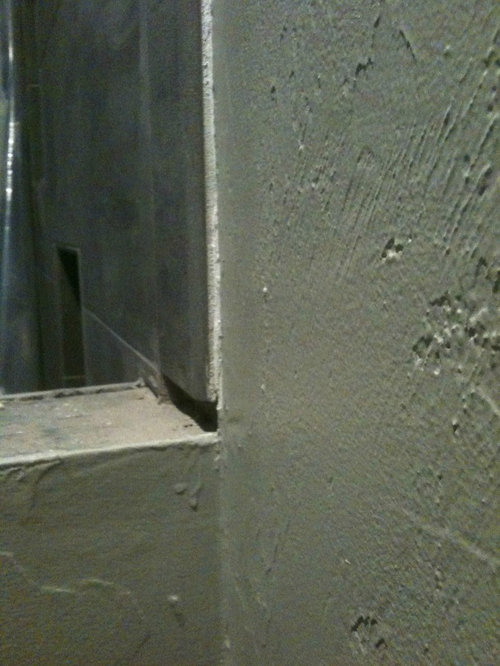
Question About Shower Tile Edge - for tile gurus? [with pics]
ladoladi
12 years ago

Featured Answer
Sort by:Oldest
Comments (12)

ladoladi
12 years agoRelated Professionals
Palm Harbor Kitchen & Bathroom Designers · Woodlawn Kitchen & Bathroom Designers · Biloxi Kitchen & Bathroom Remodelers · Fair Oaks Kitchen & Bathroom Remodelers · League City Kitchen & Bathroom Remodelers · Placerville Kitchen & Bathroom Remodelers · Port Arthur Kitchen & Bathroom Remodelers · Saint Augustine Kitchen & Bathroom Remodelers · North Chicago Kitchen & Bathroom Remodelers · Casas Adobes Cabinets & Cabinetry · Livingston Cabinets & Cabinetry · Richardson Cabinets & Cabinetry · Wildomar Cabinets & Cabinetry · Brenham Window Treatments · El Sobrante Window TreatmentsUser
12 years agodavidro1
12 years agoladoladi
12 years agojohnfrwhipple
12 years agoladoladi
12 years agojohnfrwhipple
12 years agojohnfrwhipple
12 years agojohnfrwhipple
12 years agoladoladi
12 years agojohnfrwhipple
12 years ago
Related Stories
REMODELING GUIDES9 Hard Questions to Ask When Shopping for Stone
Learn all about stone sizes, cracks, color issues and more so problems don't chip away at your design happiness later
Full Story
MOST POPULAR8 Questions to Ask Yourself Before Meeting With Your Designer
Thinking in advance about how you use your space will get your first design consultation off to its best start
Full Story
BATHROOM DESIGNConvert Your Tub Space Into a Shower — the Tiling and Grouting Phase
Step 3 in swapping your tub for a sleek new shower: Pick the right tile and test it out, then choose your grout color and type
Full Story
BATHROOM DESIGNPolish Your Bathroom's Look With Wrapped Tile
Corner the market on compliments for your bathroom renovation by paying attention to where the walls meet and the edges round
Full Story
GREEN BUILDINGConsidering Concrete Floors? 3 Green-Minded Questions to Ask
Learn what’s in your concrete and about sustainability to make a healthy choice for your home and the earth
Full Story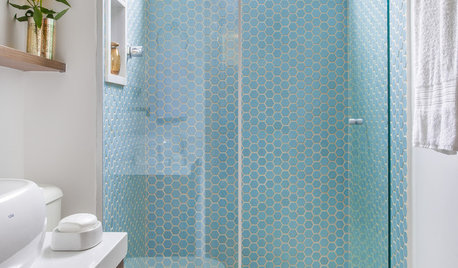
SHOWERSShower Design: 13 Tricks With Tile and Other Materials
Playing with stripes, angles, tones and more can add drama to your shower enclosure
Full Story
DOORS5 Questions to Ask Before Installing a Barn Door
Find out whether that barn door you love is the right solution for your space
Full Story
LIGHTING5 Questions to Ask for the Best Room Lighting
Get your overhead, task and accent lighting right for decorative beauty, less eyestrain and a focus exactly where you want
Full Story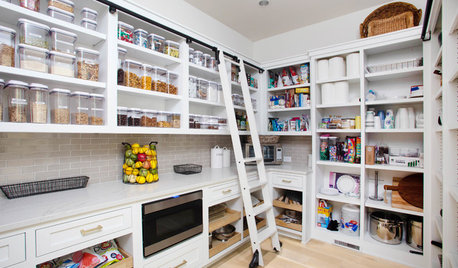
KITCHEN DESIGN9 Questions to Ask When Planning a Kitchen Pantry
Avoid blunders and get the storage space and layout you need by asking these questions before you begin
Full Story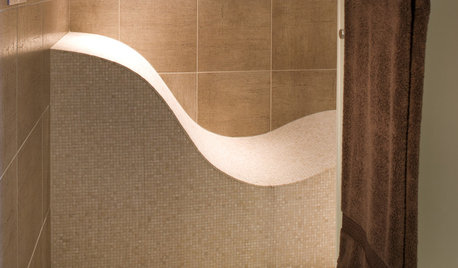
REMODELING GUIDESTop 10 Tips for Choosing Shower Tile
Slip resistance, curves and even the mineral content of your water all affect which tile is best for your shower
Full StoryMore Discussions


johnfrwhipple