


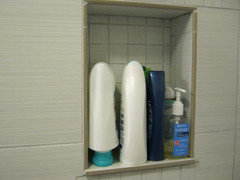
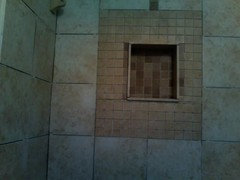
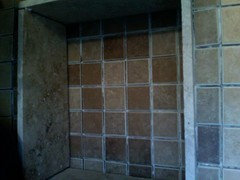
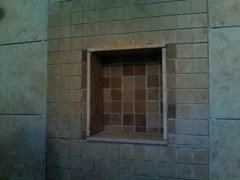
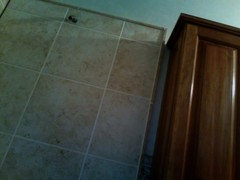
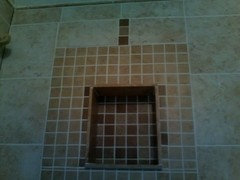
Problems with Niche
mori1
11 years ago

Featured Answer
Sort by:Oldest
Comments (37)

hags00
11 years agomori1
11 years agoRelated Professionals
Verona Kitchen & Bathroom Designers · Forest Hill Kitchen & Bathroom Remodelers · 20781 Kitchen & Bathroom Remodelers · Crestline Kitchen & Bathroom Remodelers · Islip Kitchen & Bathroom Remodelers · Lomita Kitchen & Bathroom Remodelers · Oceanside Kitchen & Bathroom Remodelers · Bonita Springs Glass & Shower Door Dealers · Hayward Glass & Shower Door Dealers · Lakewood Glass & Shower Door Dealers · Windsor Glass & Shower Door Dealers · Ponte Vedra Glass & Shower Door Dealers · Los Altos Cabinets & Cabinetry · West Freehold Cabinets & Cabinetry · Sayreville Window Treatments
golddust
11 years agomori1
11 years ago
Olychick
11 years agomori1
11 years agohags00
11 years agohags00
11 years agomori1
11 years ago
Intoodeep
11 years agoIntoodeep
11 years agomori1
11 years agomori1
11 years agoTileTech
11 years agobill_vincent
11 years agomori1
11 years agobill_vincent
11 years agoTileTech
11 years agomori1
11 years agobill_vincent
11 years agomori1
11 years agobill_vincent
11 years agomori1
11 years agobill_vincent
11 years agomori1
11 years agobill_vincent
11 years agomori1
11 years ago
enduring
11 years agomori1
11 years agohags00
11 years agomori1
11 years agobill_vincent
11 years agomori1
11 years agobill_vincent
11 years agoTileTech
11 years agomori1
11 years ago


Related Stories
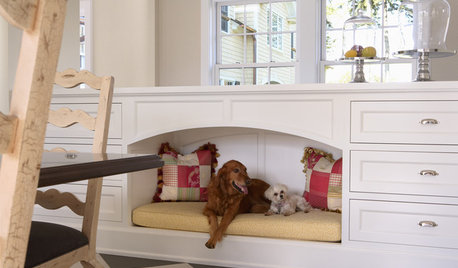
DECORATING GUIDES5 Pet Problems Solved by Design
Design-Friendly Ideas for Pet Beds, Bowls, Doors — and yes, the Litter Box
Full Story
BATHROOM DESIGNHow to Pick a Shower Niche That's Not Stuck in a Rut
Forget "standard." When you're designing a niche, the shelves and spacing have to work for your individual needs
Full Story
DECORATING GUIDES11 Smart Decorating Ideas for Wall Niches
Don’t let an unusual wall space get you down. Fight back with shelves, plants, firewood, bright colors and more
Full Story
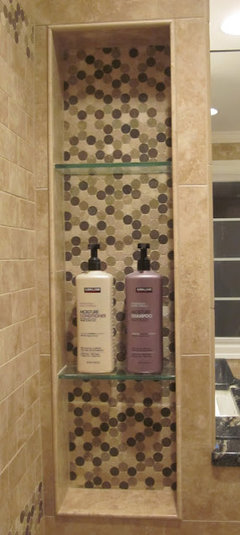
SHOWERSTurn Your Shower Niche Into a Design Star
Clear glass surrounds have raised the design bar for details such as shampoo and soap shelves. Here are 4 standouts
Full StoryBATHROOM DESIGNRecess Time: Boost Your Bathroom Storage With a Niche
Carve out space behind the drywall to add shelves or cabinets, giving you more room for bathroom essentials and extras
Full Story
SHOWERSConvert Your Tub Space Into a Shower — Choosing Accessories
Step 5 in swapping your tub for a sleek new shower: Pick the right niches, benches and bars for the best showering experience
Full Story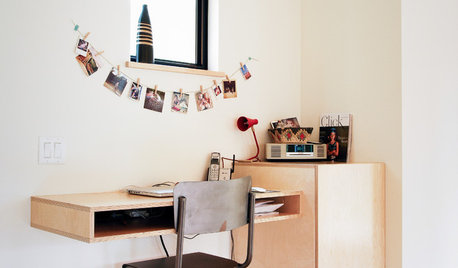
HOME OFFICESThe Home Office Nook: File It Under 'Space Saver'
An entire room is often unnecessary these days. See how these homeowners carved out niches that work
Full Story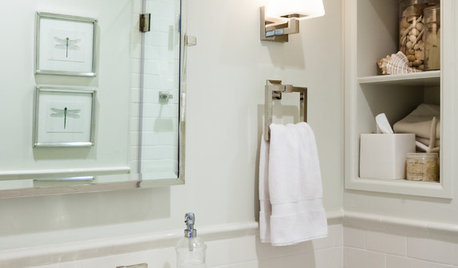
ROOM OF THE DAYRoom of the Day: An 8-by-5-Foot Bathroom Gains Beauty and Space
Smart design details like niches and frameless glass help visually expand this average-size bathroom while adding character
Full Story
DECORATING GUIDESFrom Queasy Colors to Killer Tables: Your Worst Decorating Mistakes
Houzzers spill the beans about buying blunders, painting problems and DIY disasters
Full Story
THE HARDWORKING HOMERoom of the Day: Multifunctional Living Room With Hidden Secrets
With clever built-ins and concealed storage, a condo living room serves as lounge, library, office and dining area
Full StorySponsored
Central Ohio's Trusted Home Remodeler Specializing in Kitchens & Baths
More Discussions

bill_vincent