


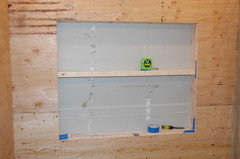
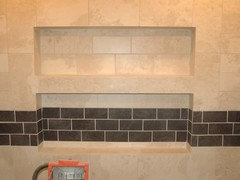
Tiling conundrum - Question about construction of niche
maryann_m
12 years ago


Featured Answer
Sort by:Oldest
Comments (7)

User
12 years agolast modified: 9 years agomaryann_m
12 years agolast modified: 9 years agoRelated Professionals
Euclid Kitchen & Bathroom Designers · Frankfort Kitchen & Bathroom Designers · Pleasanton Kitchen & Bathroom Designers · North Druid Hills Kitchen & Bathroom Remodelers · Camarillo Kitchen & Bathroom Remodelers · Lynn Haven Kitchen & Bathroom Remodelers · North Arlington Kitchen & Bathroom Remodelers · Issaquah Glass & Shower Door Dealers · Red Bank Cabinets & Cabinetry · Universal City Cabinets & Cabinetry · Whitehall Cabinets & Cabinetry · Phelan Cabinets & Cabinetry · El Mirage Window Treatments · Palm Beach Gardens Window Treatments · Tennessee Window TreatmentsMongoCT
12 years agolast modified: 9 years agomaryann_m
12 years agolast modified: 9 years agoMongoCT
12 years agolast modified: 9 years agomaryann_m
12 years agolast modified: 9 years ago


Related Stories
BUDGETING YOUR PROJECTConstruction Contracts: What to Know About Estimates vs. Bids
Understanding how contractors bill for services can help you keep costs down and your project on track
Full Story
REMODELING GUIDESWhat to Know About Budgeting for Your Home Remodel
Plan early and be realistic to pull off a home construction project smoothly
Full Story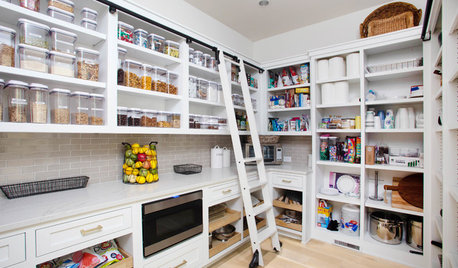
KITCHEN DESIGN9 Questions to Ask When Planning a Kitchen Pantry
Avoid blunders and get the storage space and layout you need by asking these questions before you begin
Full StoryREMODELING GUIDESConsidering a Fixer-Upper? 15 Questions to Ask First
Learn about the hidden costs and treasures of older homes to avoid budget surprises and accidentally tossing valuable features
Full Story
GREEN BUILDINGConsidering Concrete Floors? 3 Green-Minded Questions to Ask
Learn what’s in your concrete and about sustainability to make a healthy choice for your home and the earth
Full Story
MOST POPULAR8 Questions to Ask Yourself Before Meeting With Your Designer
Thinking in advance about how you use your space will get your first design consultation off to its best start
Full Story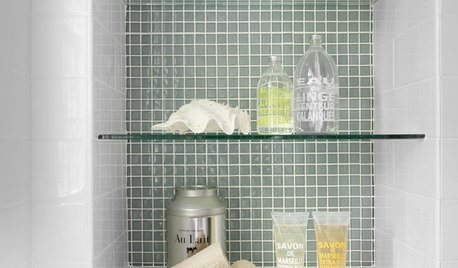
BATHROOM DESIGNHow to Pick a Shower Niche That's Not Stuck in a Rut
Forget "standard." When you're designing a niche, the shelves and spacing have to work for your individual needs
Full Story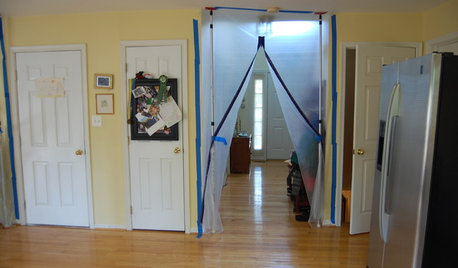
HEALTHY HOMEWhat to Know About Controlling Dust During Remodeling
You can't eliminate dust during construction, but there are ways to contain and remove as much of it as possible
Full Story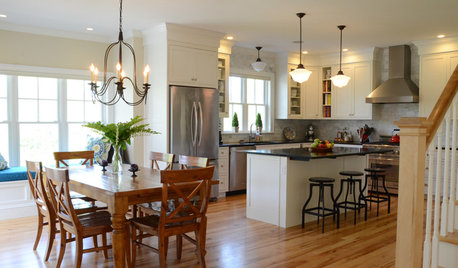
BUDGETING YOUR PROJECTHouzz Call: What Did Your Kitchen Renovation Teach You About Budgeting?
Cost is often the biggest shocker in a home renovation project. Share your wisdom to help your fellow Houzzers
Full Story
REMODELING GUIDESSurvive Your Home Remodel: 11 Must-Ask Questions
Plan ahead to keep minor hassles from turning into major headaches during an extensive renovation
Full Story


mydreamhome