


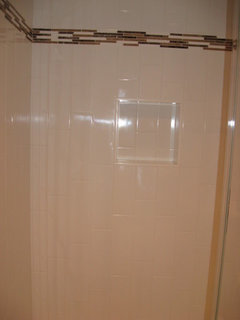
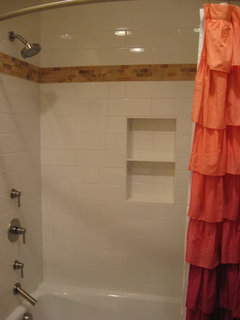
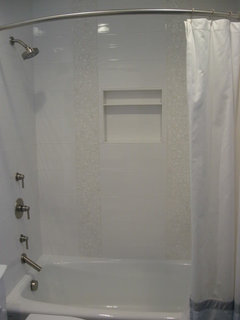
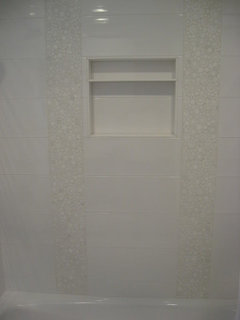
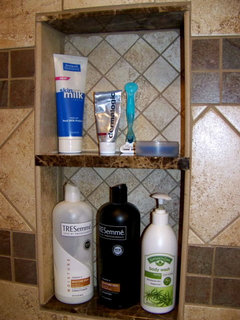
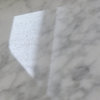
Tile experts - Help, please! Niche with marble shelf
tina_ma
12 years ago
Featured Answer
Sort by:Oldest
Comments (13)

MongoCT
12 years agoRelated Professionals
Everett Kitchen & Bathroom Designers · Hammond Kitchen & Bathroom Designers · Williamstown Kitchen & Bathroom Designers · Park Ridge Kitchen & Bathroom Remodelers · Republic Kitchen & Bathroom Remodelers · Rolling Hills Estates Kitchen & Bathroom Remodelers · Vista Kitchen & Bathroom Remodelers · Emeryville Glass & Shower Door Dealers · Lynnwood Glass & Shower Door Dealers · Salt Lake City Glass & Shower Door Dealers · 77505 Glass & Shower Door Dealers · East Moline Cabinets & Cabinetry · Reading Cabinets & Cabinetry · Wadsworth Cabinets & Cabinetry · Inwood Window Treatments
cat_mom
12 years agotina_ma
12 years agocat_mom
12 years agogbsim1
12 years agoathensmomof3
12 years agoathensmomof3
12 years agoathensmomof3
12 years agotina_ma
12 years agotina_ma
12 years agosusander
2 years agocat_mom
2 years ago
Related Stories
COLORPaint-Picking Help and Secrets From a Color Expert
Advice for wall and trim colors, what to always do before committing and the one paint feature you should completely ignore
Full Story
MOST POPULARPros and Cons of 5 Popular Kitchen Flooring Materials
Which kitchen flooring is right for you? An expert gives us the rundown
Full Story
DECORATING GUIDESAsk an Expert: How to Decorate a Long, Narrow Room
Distract attention away from an awkward room shape and create a pleasing design using these pro tips
Full Story
HOME OFFICESQuiet, Please! How to Cut Noise Pollution at Home
Leaf blowers, trucks or noisy neighbors driving you berserk? These sound-reduction strategies can help you hush things up
Full Story
TASTEMAKERSAsk an Expert: What Is the One Design Rule You Live By?
Eight home experts share their top design rules
Full Story
BATHROOM DESIGNExpert Talk: Frameless Showers Get Show of Support
Professional designers explain how frameless shower doors boosted the look or function of 12 bathrooms
Full Story
DECORATING GUIDESAsk an Expert: What to Do With an Awkward Nook
Discover how to decorate and furnish rooms with oddly shaped corners and tricky roof angles
Full Story
REMODELING GUIDESWhy Marble Might Be Wrong for Your Bathroom
You love its beauty and instant high-quality appeal, but bathroom marble has its drawbacks. Here's what to know before you buy
Full Story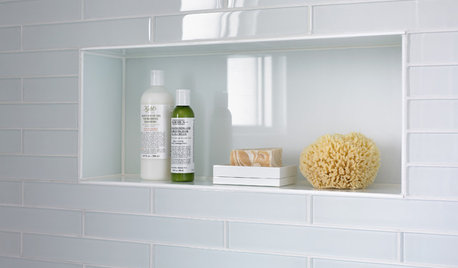
SHOWERSTurn Your Shower Niche Into a Design Star
Clear glass surrounds have raised the design bar for details such as shampoo and soap shelves. Here are 4 standouts
Full Story
SELLING YOUR HOUSE10 Tricks to Help Your Bathroom Sell Your House
As with the kitchen, the bathroom is always a high priority for home buyers. Here’s how to showcase your bathroom so it looks its best
Full Story
shanghaimom