


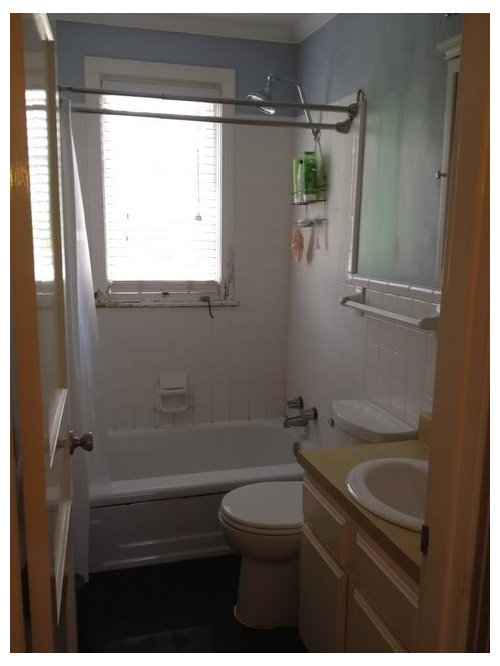
Tile layout choices
albryant
12 years ago
Sort by:Oldest
Comments (4)
Related Stories

KITCHEN DESIGNA Single-Wall Kitchen May Be the Single Best Choice
Are your kitchen walls just getting in the way? See how these one-wall kitchens boost efficiency, share light and look amazing
Full Story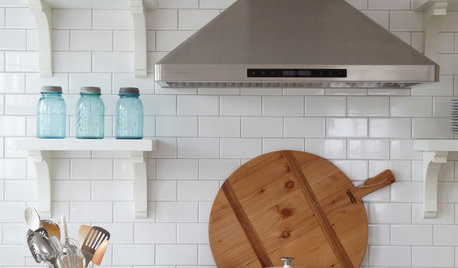
TILEHow to Choose the Right Tile Layout
Brick, stacked, mosaic and more — get to know the most popular tile layouts and see which one is best for your room
Full Story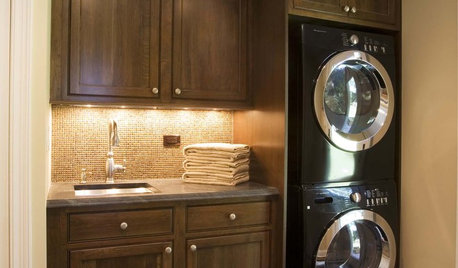
Readers' Choice: The 10 Most Popular Laundry Room Photos of 2012
These washing areas made a clean break with overcrowding and inefficiency, and a tidy number of Houzzers noticed
Full Story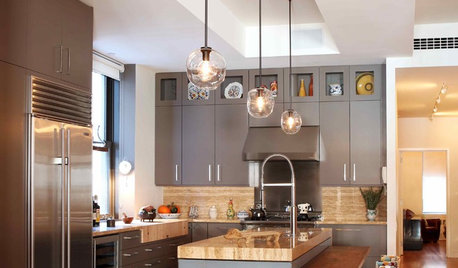
KITCHEN DESIGNReaders' Choice: The Top 20 Kitchens of 2011
Get inspired by the 20 most popular kitchens on Houzz in 2011
Full Story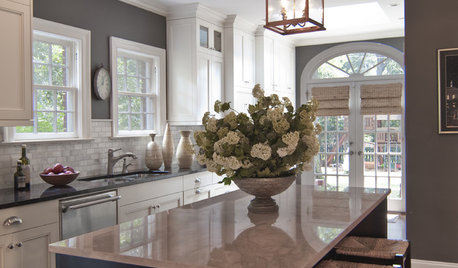
KITCHEN DESIGNReaders' Choice: The 10 Most Popular Kitchens of 2012
Citing savvy organizational solutions, gorgeous lighting and more, Houzzers saved these kitchen photos in droves
Full Story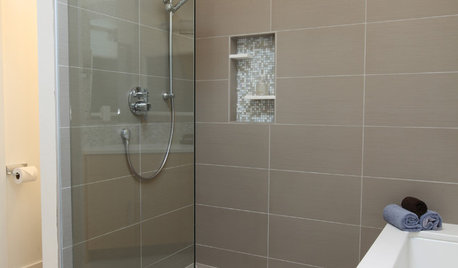
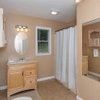
BATHROOM DESIGNReaders' Choice: The 10 Most Popular Bathrooms of 2012
Some commended the colors; others lauded the light. But whatever caught Houzzers' eyes, the features of these bathrooms were in demand
Full Story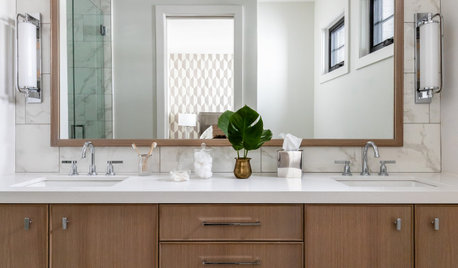
BATHROOM VANITIESShould You Have One Sink or Two in Your Primary Bathroom?
An architect discusses the pros and cons of double vs. solo sinks and offers advice for both
Full Story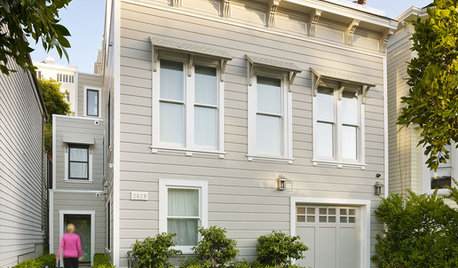
LIFE12 House-Hunting Tips to Help You Make the Right Choice
Stay organized and focused on your quest for a new home, to make the search easier and avoid surprises later
Full Story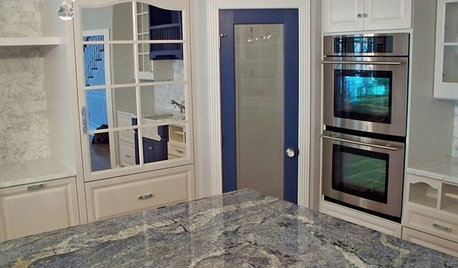
KITCHEN COUNTERTOPSKitchen Counters: Granite, Still a Go-to Surface Choice
Every slab of this natural stone is one of a kind — but there are things to watch for while you're admiring its unique beauty
Full Story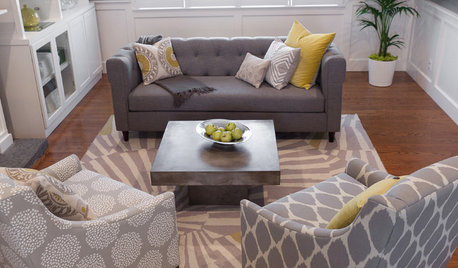
LIVING ROOMSReaders' Choice: The 10 Most Popular Living Rooms of 2012
Every design style gets a shout-out in the most saved living room photos of the past year — see if any elements speak to your own tastes
Full StoryMore Discussions


palimpsest
rufinorox
Related Professionals
Everett Kitchen & Bathroom Designers · Hybla Valley Kitchen & Bathroom Designers · Owasso Kitchen & Bathroom Designers · Roselle Kitchen & Bathroom Designers · Terryville Kitchen & Bathroom Designers · Independence Kitchen & Bathroom Remodelers · Weston Kitchen & Bathroom Remodelers · Emeryville Glass & Shower Door Dealers · Indian Trail Glass & Shower Door Dealers · The Crossings Glass & Shower Door Dealers · Highland Village Cabinets & Cabinetry · Newcastle Cabinets & Cabinetry · Wadsworth Cabinets & Cabinetry · Aurora Window Treatments · Brenham Window TreatmentsalbryantOriginal Author
tina_ma