


Need help designing a shower system
raehelen
11 years ago
Sort by:Oldest
Comments (8)
Related Stories

BATHROOM WORKBOOKStandard Fixture Dimensions and Measurements for a Primary Bath
Create a luxe bathroom that functions well with these key measurements and layout tips
Full Story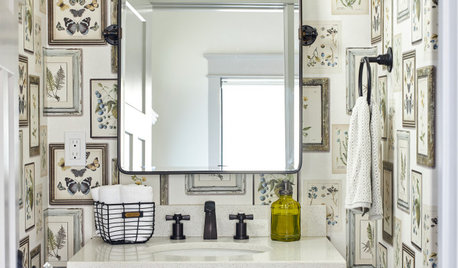
BATHROOM DESIGNKey Measurements to Help You Design a Powder Room
Clearances, codes and coordination are critical in small spaces such as a powder room. Here’s what you should know
Full Story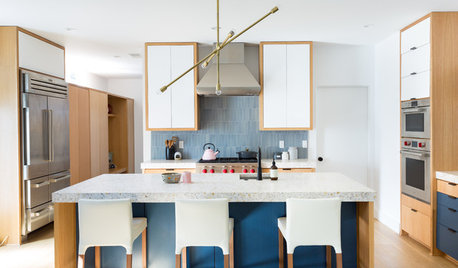
STANDARD MEASUREMENTSKey Measurements to Help You Design Your Home
Architect Steven Randel has taken the measure of each room of the house and its contents. You’ll find everything here
Full Story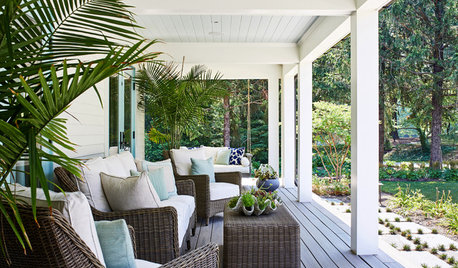
STANDARD MEASUREMENTSThe Right Dimensions for Your Porch
Depth, width, proportion and detailing all contribute to the comfort and functionality of this transitional space
Full Story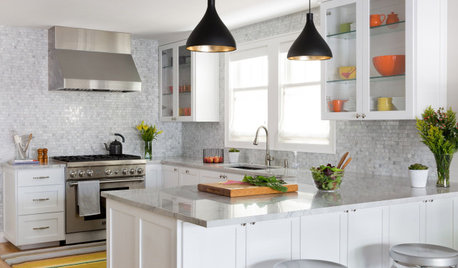
KITCHEN DESIGNKey Measurements to Help You Design Your Kitchen
Get the ideal kitchen setup by understanding spatial relationships, building dimensions and work zones
Full Story
DISASTER PREP & RECOVERY7 Ways to Help Someone Hit by a Hurricane
The best things you can do in the wake of devastation are sometimes the most surprising
Full Story
UNIVERSAL DESIGNMy Houzz: Universal Design Helps an 8-Year-Old Feel at Home
An innovative sensory room, wide doors and hallways, and other thoughtful design moves make this Canadian home work for the whole family
Full Story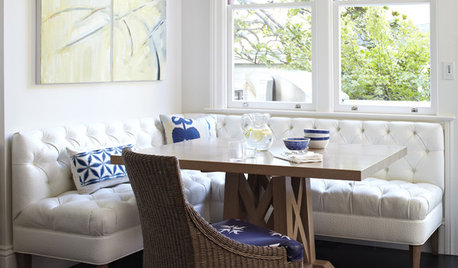
WORKING WITH PROS3 Reasons You Might Want a Designer's Help
See how a designer can turn your decorating and remodeling visions into reality, and how to collaborate best for a positive experience
Full Story
MOST POPULAR7 Ways to Design Your Kitchen to Help You Lose Weight
In his new book, Slim by Design, eating-behavior expert Brian Wansink shows us how to get our kitchens working better
Full Story
8 Ways Dogs Help You Design
Need to shake up a room, find a couch or go paperless? Here are some ideas to chew on
Full StoryMore Discussions


MongoCT
raehelenOriginal Author
Related Professionals
Federal Heights Kitchen & Bathroom Designers · Hershey Kitchen & Bathroom Designers · Normal Kitchen & Bathroom Remodelers · Hopewell Kitchen & Bathroom Remodelers · Forest Hill Kitchen & Bathroom Remodelers · Biloxi Kitchen & Bathroom Remodelers · Fairland Kitchen & Bathroom Remodelers · Shawnee Kitchen & Bathroom Remodelers · South Barrington Kitchen & Bathroom Remodelers · South Lake Tahoe Kitchen & Bathroom Remodelers · Lawndale Kitchen & Bathroom Remodelers · Reston Glass & Shower Door Dealers · Suwanee Glass & Shower Door Dealers · Victorville Glass & Shower Door Dealers · Radnor Cabinets & CabinetryMongoCT
raehelenOriginal Author
MongoCT
MongoCT
raehelenOriginal Author
MongoCT