


What would you do with this bathroom? Pics included
Swiss_Chard_Fanatic
10 years ago

Related Stories
ECLECTIC HOMESMy Houzz: Stylish City Living, Toddler Included
Natural fabrics and nontoxic furniture make for a home that’s as beautiful as it is family friendly
Full Story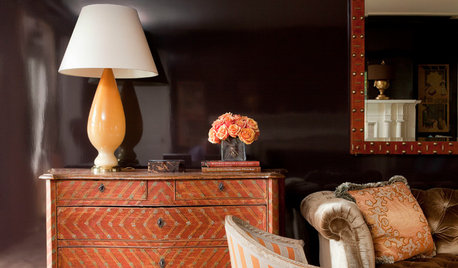
DECORATING GUIDES7 Reasons to Include a Little Gloss in Your Decor
High-shine finishes look good, are practical and can infuse your home with an air of glamour
Full Story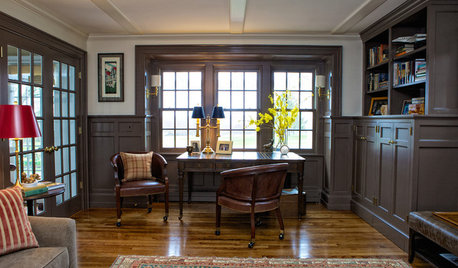
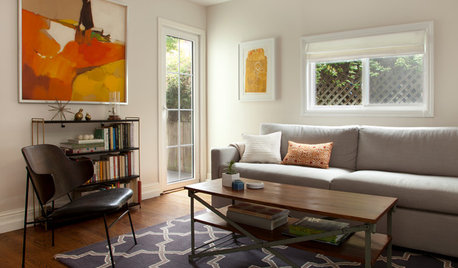
HOME OFFICESRoom of the Day: Stately Study Includes a Cozy Family Space
A new fireplace, windows, millwork and furniture make this room hard to leave
Full Story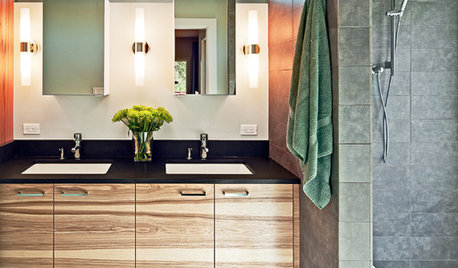
BATHROOM DESIGNA Designer Shares Her Master-Bathroom Wish List
She's planning her own renovation and daydreaming about what to include. What amenities are must-haves in your remodel or new build?
Full Story
Call for DIY Projects: Show Us What You've Got!
Share a Pic of Your Handiwork with the Houzz Community
Full Story
BATHROOM DESIGNHow to Choose the Right Bathroom Sink
Learn the differences among eight styles of bathroom sinks, and find the perfect one for your space
Full Story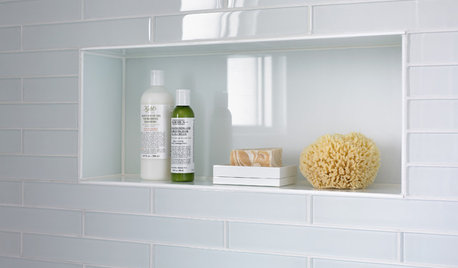
SHOWERSTurn Your Shower Niche Into a Design Star
Clear glass surrounds have raised the design bar for details such as shampoo and soap shelves. Here are 4 standouts
Full Story
BATHROOM DESIGNBathroom Surfaces: Ceramic Tile Pros and Cons
Learn the facts on this popular material for bathroom walls and floors, including costs and maintenance needs, before you commit
Full Story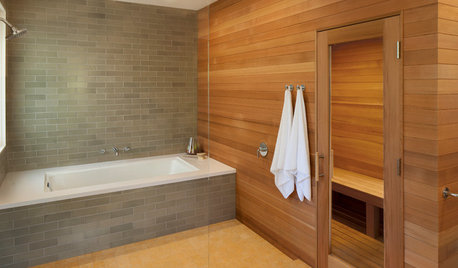
BATHROOM DESIGN18 Dream Items to Punch Up a Master-Bath Wish List
A designer shared features she'd love to include in her own bathroom remodel. Houzz readers responded with their top amenities. Take a look
Full Story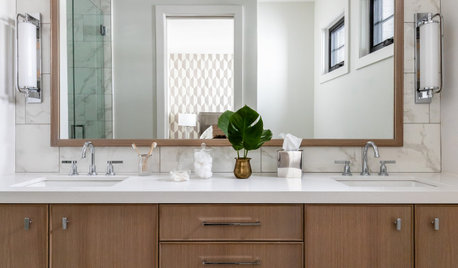
BATHROOM VANITIESShould You Have One Sink or Two in Your Primary Bathroom?
An architect discusses the pros and cons of double vs. solo sinks and offers advice for both
Full Story
Swiss_Chard_FanaticOriginal Author
Swiss_Chard_FanaticOriginal Author
Related Professionals
Verona Kitchen & Bathroom Designers · 93927 Kitchen & Bathroom Remodelers · Gilbert Kitchen & Bathroom Remodelers · Tempe Kitchen & Bathroom Remodelers · Vista Kitchen & Bathroom Remodelers · Westminster Kitchen & Bathroom Remodelers · Ashburn Glass & Shower Door Dealers · Des Plaines Glass & Shower Door Dealers · Reston Glass & Shower Door Dealers · Drexel Hill Cabinets & Cabinetry · Jefferson Valley-Yorktown Cabinets & Cabinetry · Tooele Cabinets & Cabinetry · Fraser Window Treatments · Placerville Window Treatments · Taylor Window TreatmentsSwiss_Chard_FanaticOriginal Author
anna_in_tx
Swiss_Chard_FanaticOriginal Author
anna_in_tx
lascatx
anna_in_tx
dekeoboe
canuckplayer
anna_in_tx
nosoccermom
writersblock (9b/10a)
melle_sacto is hot and dry in CA Zone 9/
Swiss_Chard_FanaticOriginal Author
hunzi
Swiss_Chard_FanaticOriginal Author
Swiss_Chard_FanaticOriginal Author
melle_sacto is hot and dry in CA Zone 9/
anna_in_tx
weedyacres
canuckplayer
hunzi
enduring
anna_in_tx
nosoccermom
anna_in_tx
Swiss_Chard_FanaticOriginal Author