


Mongo, would you give me some specs on your fab bath??
dixiechick_07
15 years ago
Sort by:Oldest
Comments (11)
Related Stories
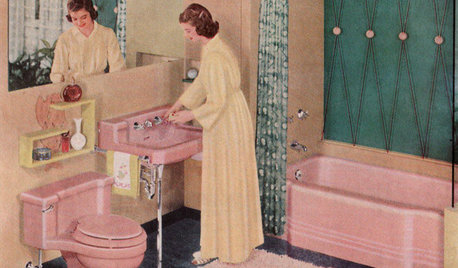
MOST POPULARHomeowners Give the Pink Sink Some Love
When it comes to pastel sinks in a vintage bath, some people love ’em and leave ’em. Would you?
Full Story
BUDGET DECORATING21 Free Ways to Give Your Home Some Love
Change a room’s look or set a new mood without spending anything but a little time
Full Story
BATHROOM DESIGNGive a Little Glitz for the Bath
Houzz Gift Guide 2010: What to Give Your Spa-Loving Friends
Full StoryBATHROOM DESIGN7 Reasons to Give Your Bath Zone a Living Room Vibe
With a few living room–like touches, you can transform your bathroom into a practical, relaxing retreat that’s overflowing with personality
Full Story
DECORATING GUIDESBring in da Funk: How Humble Touches Give a Home Soul
Shake up expectations and stir up interest with pieces that show patina, create contrast or offer a jolt of surprise
Full Story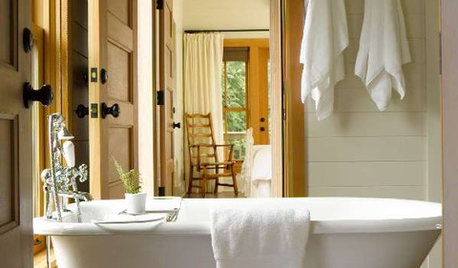
PRODUCT PICKSGuest Picks: Outfit Your Home in Fab Fashion Designer Accents
You don their clothes to look chic. Now your home can have its turn, with decor from some of the world's greatest fashion houses
Full Story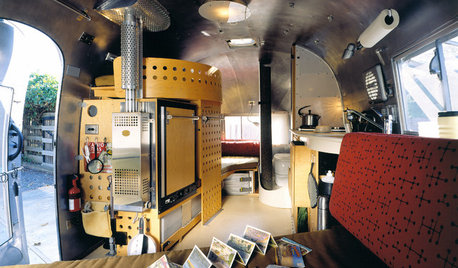
DECORATING GUIDESHaul These Fab Airstream Styles Home
Borrow decorating ideas from these 9 space-savvy vintage trailers to polish a small interior that stays put
Full Story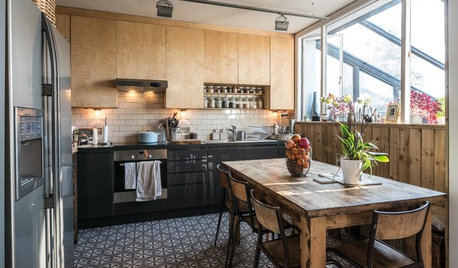
KITCHEN DESIGNA Two-Tone Cabinet Scheme Gives Your Kitchen the Best of Both Worlds
Waffling between paint and stain or dark and light? Here’s how to mix and match colors and materials
Full Story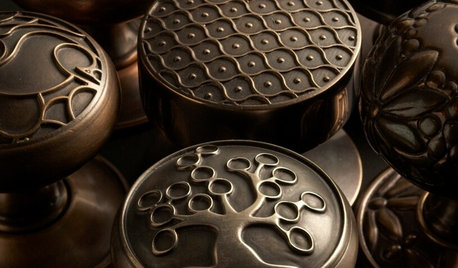
GREAT HOME PROJECTSNew Hardware Gives Doors a Turn for the Better
New project for a new year: Get a handle on how to find the knobs, levers or pulls that will make your doors memorable
Full StoryMore Discussions

MongoCT
MongoCT
Related Professionals
Baltimore Kitchen & Bathroom Designers · Ocala Kitchen & Bathroom Designers · Deerfield Beach Kitchen & Bathroom Remodelers · South Barrington Kitchen & Bathroom Remodelers · Apple Valley Glass & Shower Door Dealers · Fort Worth Glass & Shower Door Dealers · Toms River Glass & Shower Door Dealers · Winnetka Glass & Shower Door Dealers · Skokie Glass & Shower Door Dealers · La Vista Window Treatments · Mount Pleasant Window Treatments · Mount Sinai Window Treatments · Rancho Santa Margarita Window Treatments · Rockford Window Treatments · San Rafael Window Treatmentsdixiechick_07Original Author
MongoCT
dkitchenreno
pupwhipped
dixiechick_07Original Author
hudsonleigh
MongoCT
MongoCT
onelady1dog2girls