


Shower Niche - Stuck in the mud with the "how to"
kelvar
10 years ago
Related Stories
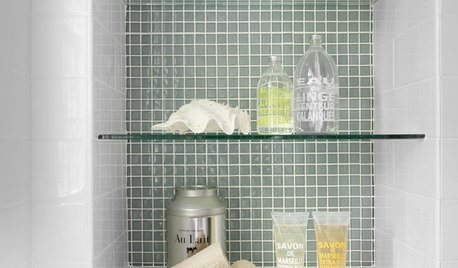
BATHROOM DESIGNHow to Pick a Shower Niche That's Not Stuck in a Rut
Forget "standard." When you're designing a niche, the shelves and spacing have to work for your individual needs
Full Story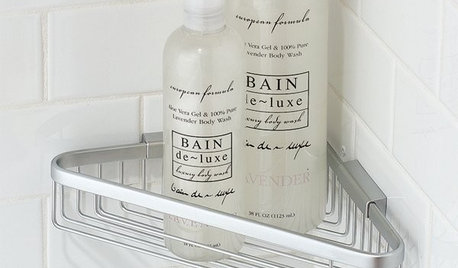
SHOWERSConvert Your Tub Space Into a Shower — Choosing Accessories
Step 5 in swapping your tub for a sleek new shower: Pick the right niches, benches and bars for the best showering experience
Full Story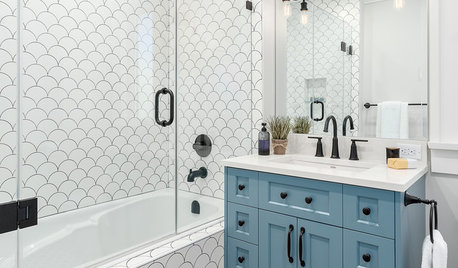
BATHROOM DESIGNShower Curtain or Shower Door?
Find out which option is the ideal partner for your shower-bath combo
Full Story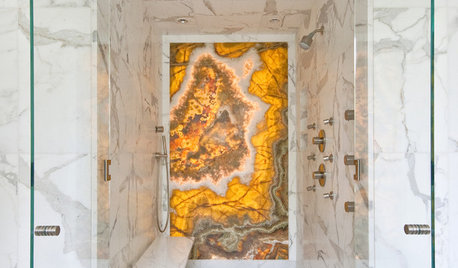
BATHROOM DESIGNHow to Build a Better Shower Curb
Work with your contractors and installers to ensure a safe, stylish curb that keeps the water where it belongs
Full Story
GARDENING AND LANDSCAPINGGarden Musts for April
There's plenty to do in your garden this month without mucking around in the mud. Think seeds and let the rain do its work
Full Story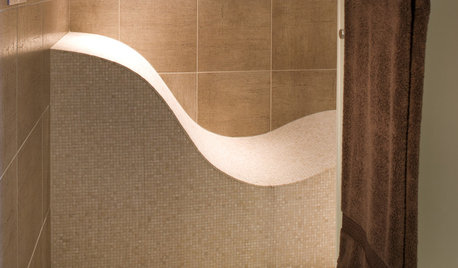
REMODELING GUIDESTop 10 Tips for Choosing Shower Tile
Slip resistance, curves and even the mineral content of your water all affect which tile is best for your shower
Full Story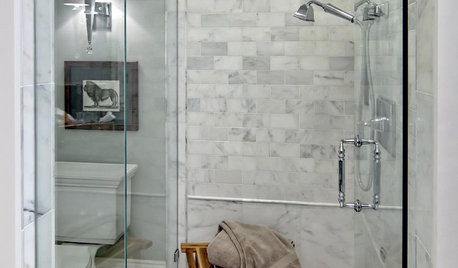
BATHROOM DESIGNHow to Settle on a Shower Bench
We help a Houzz user ask all the right questions for designing a stylish, practical and safe shower bench
Full Story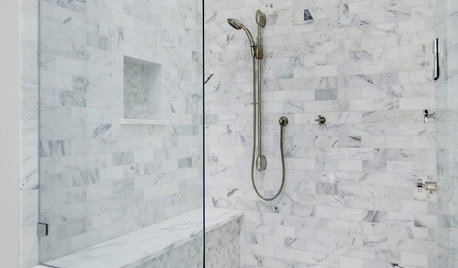
BATHROOM DESIGNConvert Your Tub Space Into a Shower — Waterproofing and Drainage
Step 4 in swapping your tub for a sleek new shower: Pick your waterproofing materials and drain, and don't forget to test
Full Story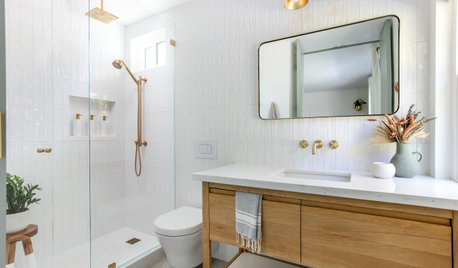
SHOWERS7 Steps to a Stellar Shower Design
Know the important things to consider before tackling your shower remodel
Full Story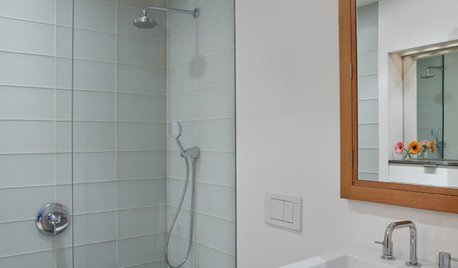
BATHROOM DESIGNConvert Your Tub Space to a Shower — the Planning Phase
Step 1 in swapping your tub for a sleek new shower: Get all the remodel details down on paper
Full Story

enduring
raehelen
Related Professionals
Pleasanton Kitchen & Bathroom Designers · Sunrise Manor Kitchen & Bathroom Remodelers · Newberg Kitchen & Bathroom Remodelers · Olney Kitchen & Bathroom Remodelers · Omaha Kitchen & Bathroom Remodelers · South Plainfield Kitchen & Bathroom Remodelers · South Jordan Kitchen & Bathroom Remodelers · Kendall Glass & Shower Door Dealers · North Miami Glass & Shower Door Dealers · Crestline Cabinets & Cabinetry · Hammond Cabinets & Cabinetry · Rowland Heights Cabinets & Cabinetry · Salisbury Cabinets & Cabinetry · Spring Valley Cabinets & Cabinetry · Tennessee Window Treatmentsenduring
mary_in_sc