


Schluter Designline Profile Question
jaidog
12 years ago

Related Stories
BATHROOM DESIGNConvert Your Tub Space Into a Shower — the Tiling and Grouting Phase
Step 3 in swapping your tub for a sleek new shower: Pick the right tile and test it out, then choose your grout color and type
Full Story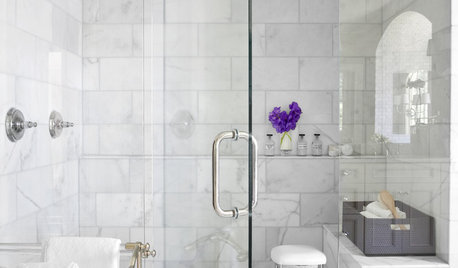
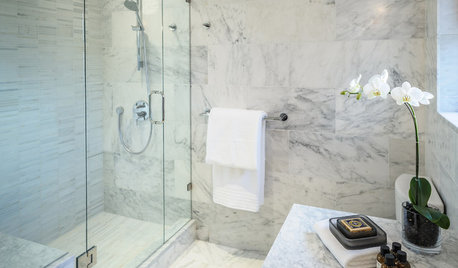
REMODELING GUIDESWhy Marble Might Be Wrong for Your Bathroom
You love its beauty and instant high-quality appeal, but bathroom marble has its drawbacks. Here's what to know before you buy
Full Story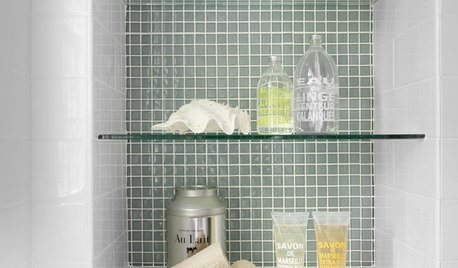
BATHROOM DESIGNHow to Pick a Shower Niche That's Not Stuck in a Rut
Forget "standard." When you're designing a niche, the shelves and spacing have to work for your individual needs
Full Story
REMODELING GUIDESTransition Time: How to Connect Tile and Hardwood Floors
Plan ahead to prevent unsightly or unsafe transitions between floor surfaces. Here's what you need to know
Full Story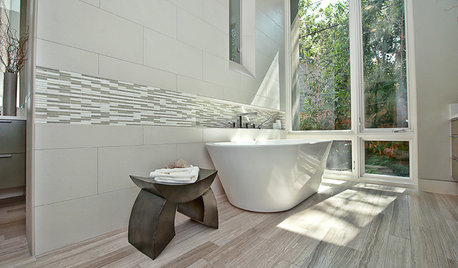
BATHROOM DESIGNHow to Match Tile Heights for a Perfect Installation
Irregular tile heights can mar the look of your bathroom. Here's how to counter the differences
Full Story
BATHROOM DESIGNWarm Up Your Bathroom With Heated Floors
If your bathroom floor is leaving you cold, try warming up to an electric heating system
Full Story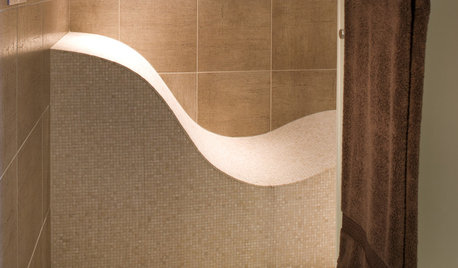
REMODELING GUIDESTop 10 Tips for Choosing Shower Tile
Slip resistance, curves and even the mineral content of your water all affect which tile is best for your shower
Full Story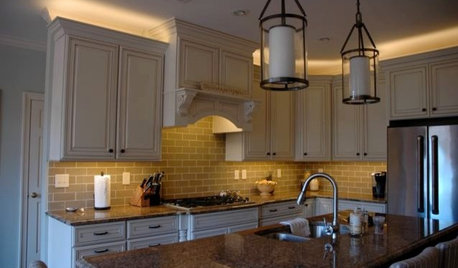
LIGHTINGThe Lowdown on High-Efficiency LED Lighting
Learn about LED tapes, ropes, pucks and more to create a flexible and energy-efficient lighting design that looks great
Full Story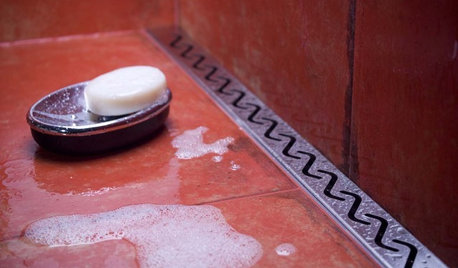
BATHROOM DESIGNHow to Choose the Best Drain for Your Shower
Don't settle for a cheap fix when you can pick a shower drain that suits your style preferences and renovation codes alike
Full Story
ROOM OF THE DAYRoom of the Day: An 8-by-5-Foot Bathroom Gains Beauty and Space
Smart design details like niches and frameless glass help visually expand this average-size bathroom while adding character
Full StoryMore Discussions
MongoCT
jaidogOriginal Author
Related Professionals
Ossining Kitchen & Bathroom Designers · Owasso Kitchen & Bathroom Designers · Forest Hill Kitchen & Bathroom Remodelers · 20781 Kitchen & Bathroom Remodelers · Apex Kitchen & Bathroom Remodelers · Payson Kitchen & Bathroom Remodelers · Richland Kitchen & Bathroom Remodelers · Spokane Kitchen & Bathroom Remodelers · Tuckahoe Kitchen & Bathroom Remodelers · Sharonville Kitchen & Bathroom Remodelers · Pearland Glass & Shower Door Dealers · Daly City Cabinets & Cabinetry · Eureka Cabinets & Cabinetry · Berkley Window Treatments · Lodi Window TreatmentsMongoCT
jaidogOriginal Author
MongoCT