

Leaking ADA compliant shower stall
Jen K.
10 years ago

Featured Answer
Sort by:Oldest
Comments (6)

Jen K.
10 years agolast modified: 9 years agoRelated Professionals
East Islip Kitchen & Bathroom Designers · Bensenville Kitchen & Bathroom Designers · Blasdell Kitchen & Bathroom Remodelers · Cleveland Kitchen & Bathroom Remodelers · Lynn Haven Kitchen & Bathroom Remodelers · North Arlington Kitchen & Bathroom Remodelers · Port Angeles Kitchen & Bathroom Remodelers · Weymouth Kitchen & Bathroom Remodelers · Fort Myers Glass & Shower Door Dealers · Fort Worth Glass & Shower Door Dealers · Hialeah Glass & Shower Door Dealers · Hialeah Glass & Shower Door Dealers · Waco Glass & Shower Door Dealers · Milford Mill Cabinets & Cabinetry · Atascocita Cabinets & Cabinetryanna_in_tx
10 years agolast modified: 9 years agoJen K.
10 years agolast modified: 9 years agoMongoCT
10 years agolast modified: 9 years agothingreen
9 years agolast modified: 9 years ago

Related Stories
BATHROOM DESIGNHow to Settle on a Shower Bench
We help a Houzz user ask all the right questions for designing a stylish, practical and safe shower bench
Full Story
BATHROOM DESIGNThe Case for a Curbless Shower
A Streamlined, Open Look is a First Thing to Explore When Renovating a Bath
Full Story
BATHROOM DESIGNThe No-Threshold Shower: Accessibility With Style
Go curbless between main bath and shower for an elegant addition to any home
Full Story
BATHROOM DESIGNHow to Build a Better Shower Curb
Work with your contractors and installers to ensure a safe, stylish curb that keeps the water where it belongs
Full Story
BATHROOM DESIGN5 Common Bathroom Design Mistakes to Avoid
Get your bath right for the long haul by dodging these blunders in toilet placement, shower type and more
Full Story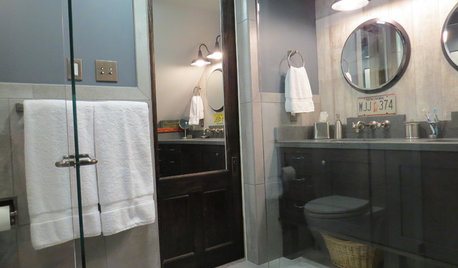
BATHROOM DESIGNSee the Clever Tricks That Opened Up This Master Bathroom
A recessed toilet paper holder and cabinets, diagonal large-format tiles, frameless glass and more helped maximize every inch of the space
Full Story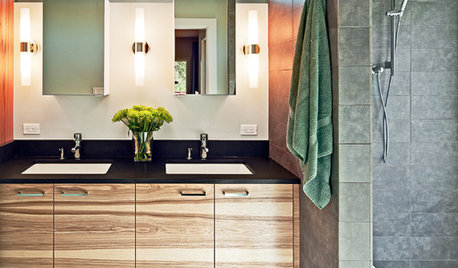
BATHROOM DESIGNA Designer Shares Her Master-Bathroom Wish List
She's planning her own renovation and daydreaming about what to include. What amenities are must-haves in your remodel or new build?
Full Story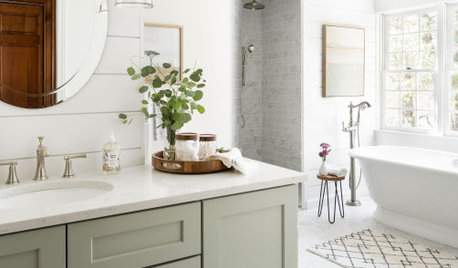
BATHROOM DESIGN14 Design Tips to Know Before Remodeling Your Bathroom
Learn a few tried and true design tricks to prevent headaches during your next bathroom project
Full Story
BATHROOM WORKBOOKStandard Fixture Dimensions and Measurements for a Primary Bath
Create a luxe bathroom that functions well with these key measurements and layout tips
Full Story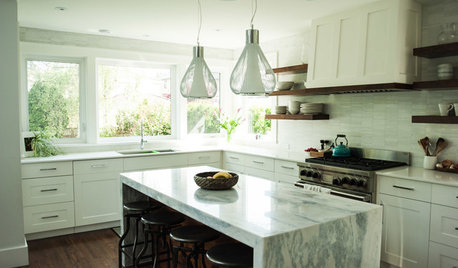
MOST POPULAR15 Remodeling ‘Uh-Oh’ Moments to Learn From
The road to successful design is paved with disaster stories. What’s yours?
Full Story

MongoCT