


Pre-Slope, Slope, Drains, Membranes....I'm confused.
itltrot
10 years ago
Featured Answer
Sort by:Oldest
Comments (12)

anna_in_tx
10 years agocatbuilder
10 years agoRelated Professionals
East Islip Kitchen & Bathroom Designers · King of Prussia Kitchen & Bathroom Designers · White House Kitchen & Bathroom Designers · Woodlawn Kitchen & Bathroom Designers · Saint Charles Kitchen & Bathroom Designers · Mesquite Kitchen & Bathroom Remodelers · Cave Spring Kitchen & Bathroom Remodelers · Santa Rosa Glass & Shower Door Dealers · Citrus Heights Cabinets & Cabinetry · Palm Beach Gardens Window Treatments · Shiloh Window Treatments · The Woodlands Window Treatments · Walnut Creek Window Treatments · Bell Window Treatments · La Jolla Window Treatmentsitltrot
10 years agoanna_in_tx
10 years agoitltrot
10 years agoitltrot
10 years agoMongoCT
10 years agoitltrot
10 years agoMongoCT
10 years agoitltrot
10 years agoMongoCT
10 years ago


Related Stories

GREEN BUILDINGLet’s Clear Up Some Confusion About Solar Panels
Different panel types do different things. If you want solar energy for your home, get the basics here first
Full Story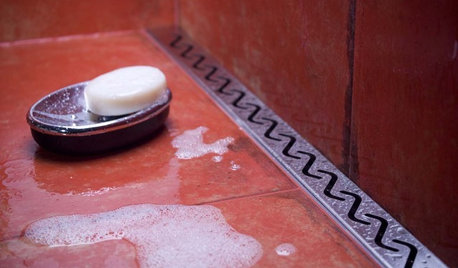
BATHROOM DESIGNHow to Choose the Best Drain for Your Shower
Don't settle for a cheap fix when you can pick a shower drain that suits your style preferences and renovation codes alike
Full Story
ARCHITECTUREHow to Artfully Build a House on a Hillside
Let your site's slope inspire your home's design, rather than fight it
Full Story
GARDENING GUIDESGreat Design Plant: Halesia Tetraptera
Carolina silverbell is a Southeastern native tree that adds spring blooms to a shady slope, a woodland edge or even a lawn
Full Story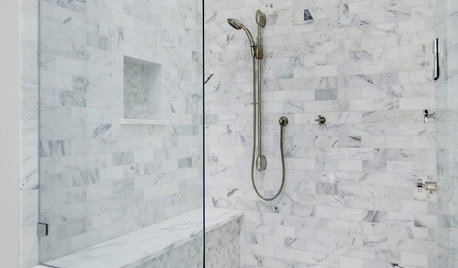
BATHROOM DESIGNConvert Your Tub Space Into a Shower — Waterproofing and Drainage
Step 4 in swapping your tub for a sleek new shower: Pick your waterproofing materials and drain, and don't forget to test
Full Story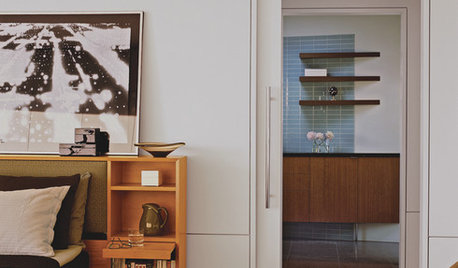
ARCHITECTUREThe Truth About 'Simple' Modern Details
They may look less costly and easier to create, but modern reveals, slab doors and more require an exacting hand
Full Story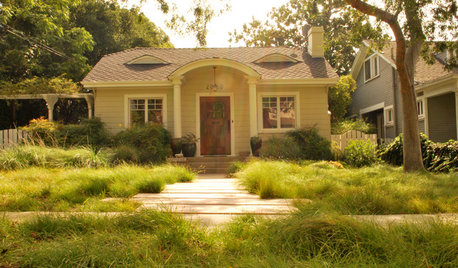
MOST POPULARMeet a Lawn Alternative That Works Wonders
Carex can replace turfgrass in any spot, is low maintenance and adjusts easily. Add its good looks and you’ve got a ground cover winner
Full Story
BATHROOM DESIGNThe Case for a Curbless Shower
A Streamlined, Open Look is a First Thing to Explore When Renovating a Bath
Full StoryBATHROOM DESIGNWhat to Use for the Shower Floor
Feeling Good Underfoot: Shower Tiles, Mosaics, Teak Slats and Pebbles
Full Story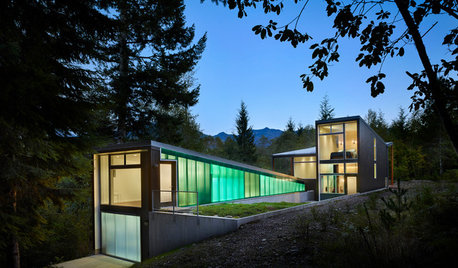
HOUZZ TOURSHouzz Tour: Cascades Retreat Blends In and Stands Out
A mountain getaway’s simple design echoes the landscape, while green polycarbonate cladding adds drama
Full StorySponsored
Your Custom Bath Designers & Remodelers in Columbus I 10X Best Houzz
More Discussions


MongoCT