


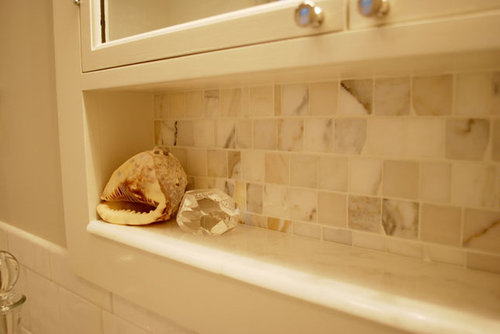
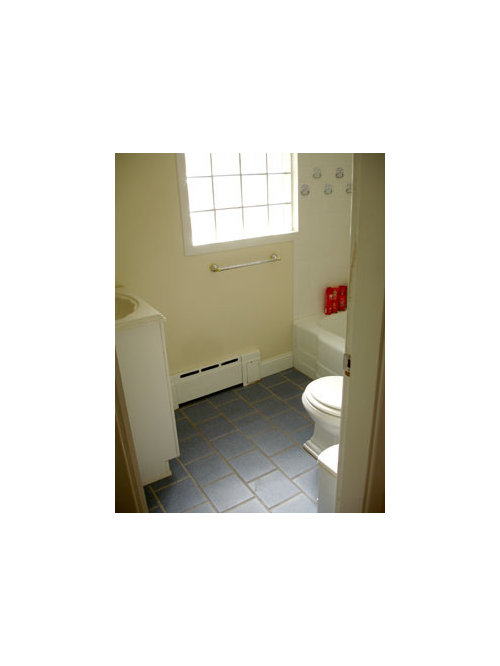
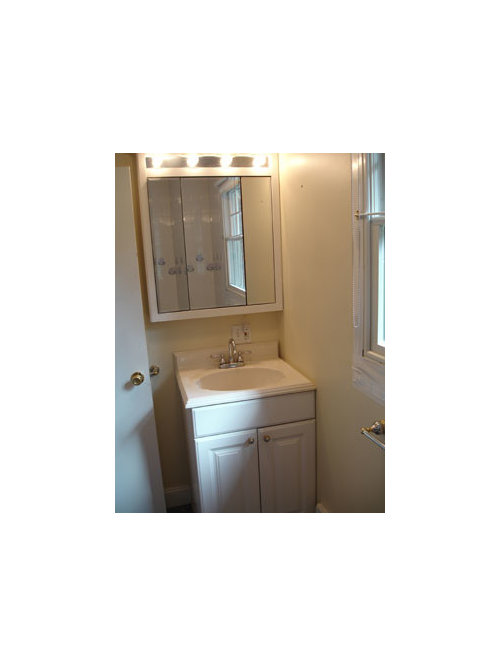
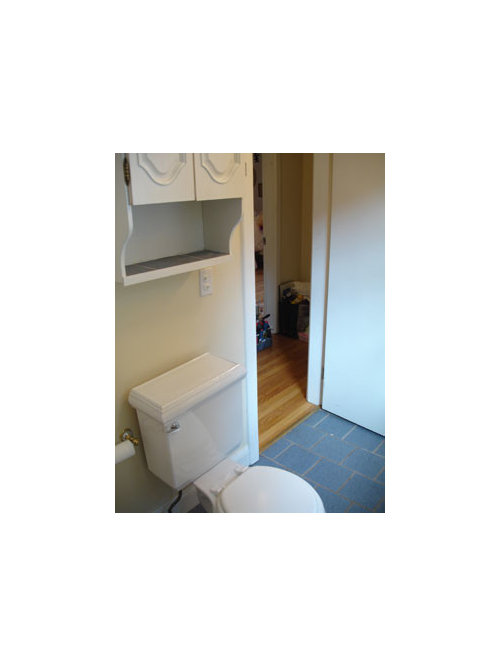
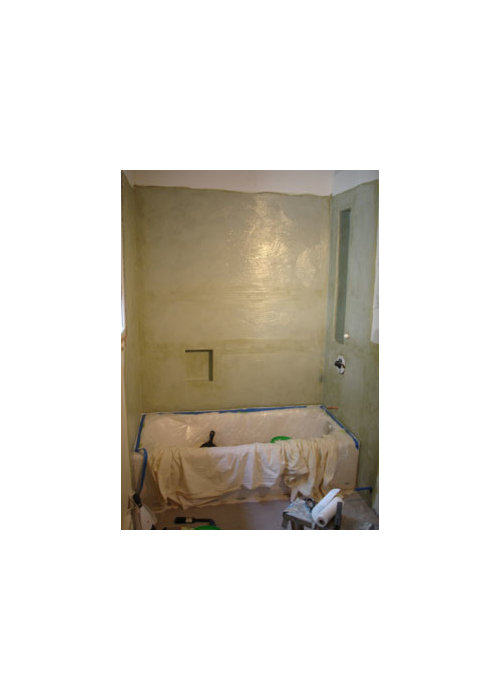
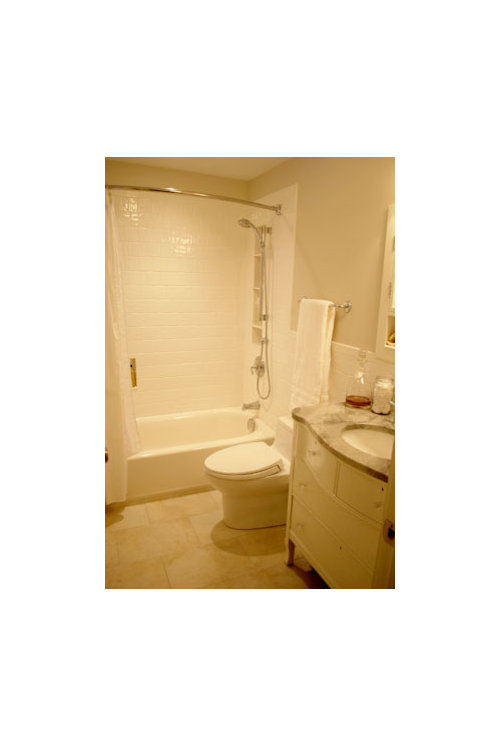
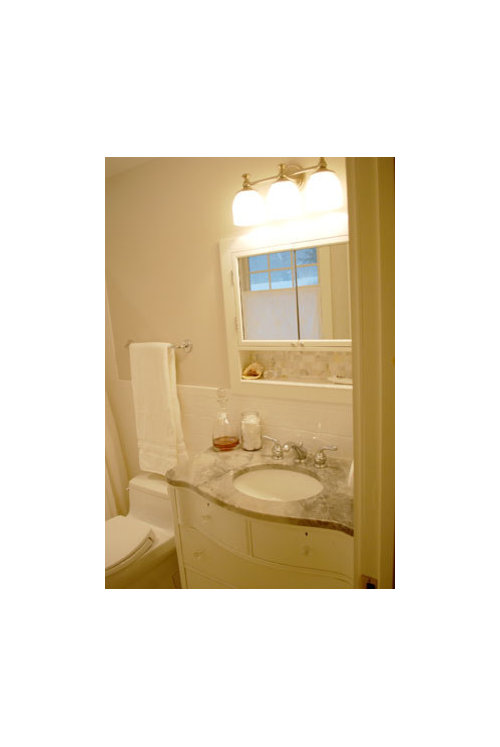
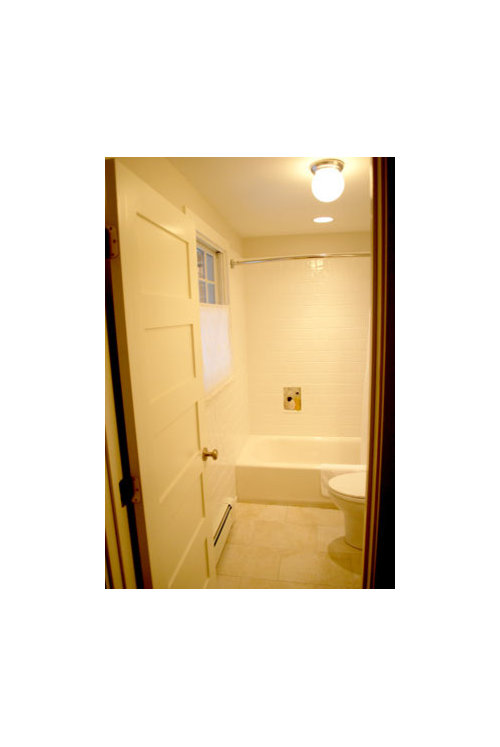
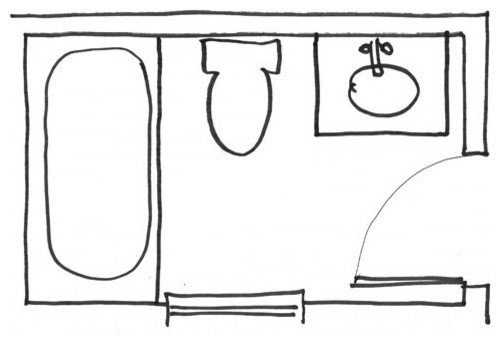
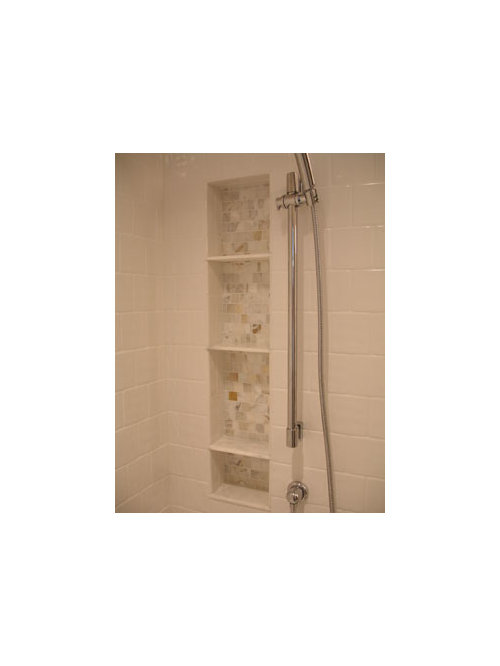
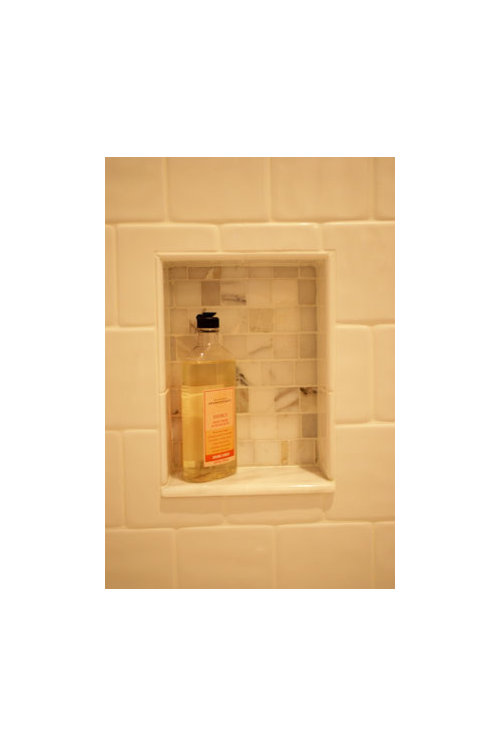
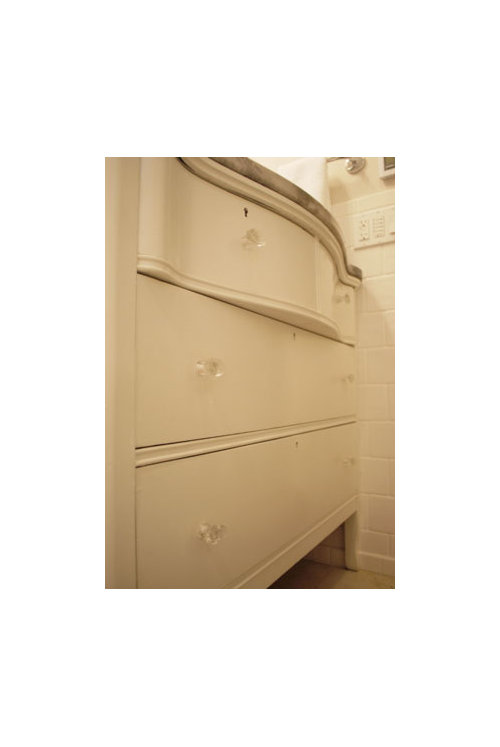
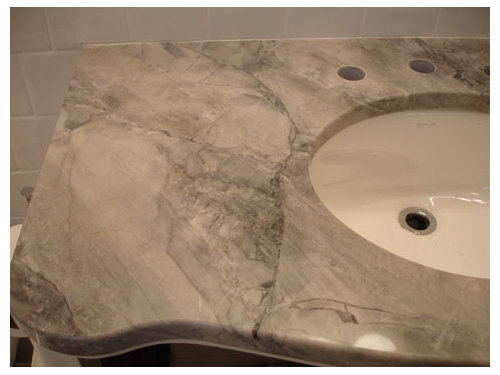
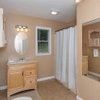
DIY budget elegant bathroom, almost done: pics...
Stacey Collins
13 years ago


Featured Answer
Sort by:Oldest
Comments (95)

Fori
13 years agolast modified: 9 years ago
positano
13 years agolast modified: 9 years ago
Stacey Collins
13 years agolast modified: 9 years agopositano
13 years agolast modified: 9 years agoonelady1dog2girls
13 years agolast modified: 9 years agosunshinetm
13 years agolast modified: 9 years agoStacey Collins
13 years agolast modified: 9 years agosandsonik
13 years agolast modified: 9 years agoonelady1dog2girls
13 years agolast modified: 9 years agolamki
13 years agolast modified: 9 years agoshelayne
13 years agolast modified: 9 years agoStacey Collins
13 years agolast modified: 9 years agowolfgang80
13 years agolast modified: 9 years agoStacey Collins
13 years agolast modified: 9 years agowolfgang80
13 years agolast modified: 9 years agohomey_bird
13 years agolast modified: 9 years agoStacey Collins
13 years agolast modified: 9 years agohomey_bird
13 years agolast modified: 9 years agostephanie_and_tim
12 years agolast modified: 9 years agostephanie_and_tim
12 years agolast modified: 9 years agoStacey Collins
12 years agolast modified: 9 years agorosieo
12 years agolast modified: 9 years ago
westleyandbuttercup
12 years agolast modified: 9 years agowritersblock (9b/10a)
12 years agolast modified: 9 years agoStacey Collins
12 years agolast modified: 9 years agowritersblock (9b/10a)
12 years agolast modified: 9 years agoStacey Collins
12 years agolast modified: 9 years agowritersblock (9b/10a)
12 years agolast modified: 9 years agowritersblock (9b/10a)
12 years agolast modified: 9 years agobirdgardner
12 years agolast modified: 9 years agoStacey Collins
12 years agolast modified: 9 years agoellenm08
12 years agolast modified: 9 years agoStacey Collins
12 years agolast modified: 9 years agokelvar
12 years agolast modified: 9 years agowritersblock (9b/10a)
12 years agolast modified: 9 years agoStacey Collins
12 years agolast modified: 9 years agowritersblock (9b/10a)
12 years agolast modified: 9 years agowalkin_yesindeed
11 years agolast modified: 9 years agowalkin_yesindeed
11 years agolast modified: 9 years agosandsonik
11 years agolast modified: 9 years agosandsonik
11 years agolast modified: 9 years agokirkhall
11 years agolast modified: 9 years agoSparklingWater
11 years agolast modified: 9 years agoMrsD
9 years agojoygreenwald
9 years agoMaya Eoff
7 years agoStacey Collins
6 years ago
enduring
6 years agoPj
5 years ago PRO
PRODesigner Drains
5 years ago
Related Stories
MOST POPULARHow to Refine Your Renovation Vision to Fit Your Budget
From dream to done: When planning a remodel that you can afford, expect to review, revise and repeat
Full Story
WORKING WITH PROSHow to Find Your Renovation Team
Take the first steps toward making your remodeling dreams a reality with this guide
Full Story
DECORATING GUIDESBudget Decorator: How to Save When You Don’t DIY
You don’t have to be crafty to decorate your home inexpensively. Here are other ways to stretch your design dollars
Full Story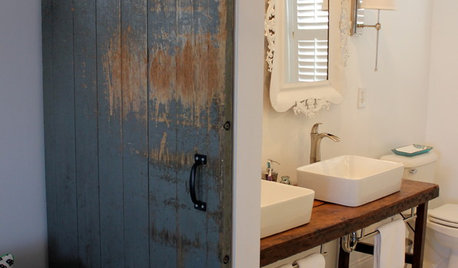
DIY PROJECTSReinvent It: Salvage Savvy Keeps an Urban-Farmhouse Bath on Budget
See how resourceful shopping and repurposing gave a homeowner the new bathroom she wanted at the right price
Full Story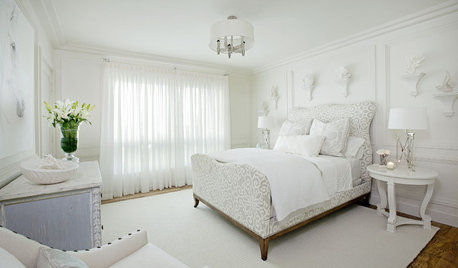
BEDROOMS10 Ways With (Almost) All-White Bedrooms
White rooms need a thoughtful tweak or two to bring on the sweet dreams
Full Story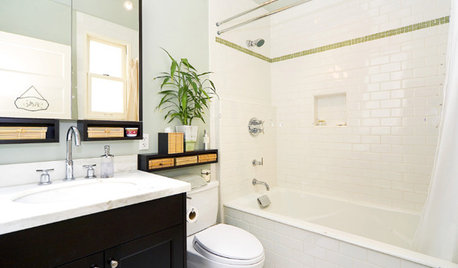
BATHROOM DESIGN7 Tile Tips for Baths on a Budget
How to Add Style to Your Bathroom Without Breaking the Budget
Full Story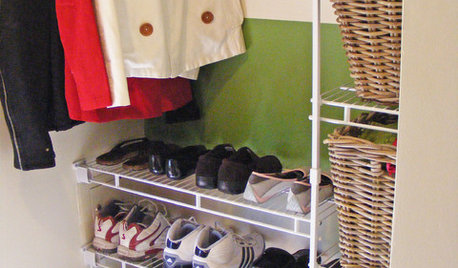
CLOSETSGet It Done: Attack the Coat Closet
With a concrete plan and a little elbow grease, you can tame your jumble of jackets in a single afternoon
Full Story
HOUZZ TOURSMy Houzz: Elegant DIY Updates for a 1970s Dallas Home
Patiently mastering remodeling skills project by project, a couple transforms their interiors from outdated to truly special
Full Story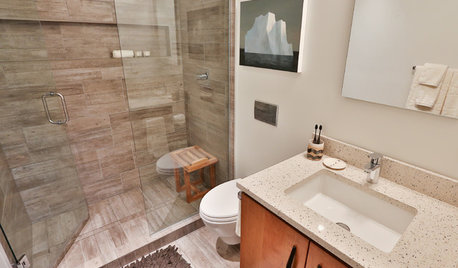
BATHROOM DESIGNSee 2 DIY Bathroom Remodels for $15,500
A little Internet savvy allowed this couple to remodel 2 bathrooms in their Oregon bungalow
Full Story
KITCHEN DESIGNKitchen Remodel Costs: 3 Budgets, 3 Kitchens
What you can expect from a kitchen remodel with a budget from $20,000 to $100,000
Full Story


Olychick