


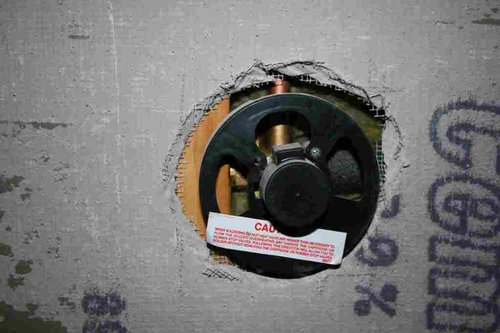
Is this gap around valve too large?
jaidog
12 years ago
Featured Answer
Sort by:Oldest
Comments (16)

MongoCT
12 years agoRelated Professionals
Frankfort Kitchen & Bathroom Designers · Lenexa Kitchen & Bathroom Designers · Manchester Kitchen & Bathroom Designers · Reedley Kitchen & Bathroom Designers · Saint Charles Kitchen & Bathroom Designers · University City Kitchen & Bathroom Remodelers · Athens Kitchen & Bathroom Remodelers · Buffalo Grove Kitchen & Bathroom Remodelers · Camarillo Kitchen & Bathroom Remodelers · Linton Hall Kitchen & Bathroom Remodelers · Oklahoma City Kitchen & Bathroom Remodelers · Black Forest Cabinets & Cabinetry · Newcastle Cabinets & Cabinetry · Rowland Heights Cabinets & Cabinetry · Inwood Window Treatmentsjaidog
12 years agobill_g_web
12 years agojaidog
12 years agoMongoCT
12 years agojaidog
12 years agoMongoCT
12 years agojaidog
12 years agoMongoCT
12 years agojaidog
12 years agojaidog
12 years agobill_g_web
12 years agojaidog
12 years agobill_g_web
12 years agoMongoCT
12 years ago
Related Stories
DECORATING GUIDES13 Strategies for Making a Large Room Feel Comfortable
Bigger spaces come with their own layout and decorating challenges. These ideas can help
Full Story
DECORATING GUIDESHouzz Tour: Parisian Flat’s Redo Revolves Around a Terrace View
A Parisian apartment is transformed from a dark and closed space into an open, airy and colorful home
Full Story
WOODThe Power of Plywood All Around the House
Of course you've heard of it, but you might not know all the uses and benefits of this workhorse building material
Full Story
ARCHITECTUREWorld of Design: 10 Homes That Lap Up the Landscape Around Them
As building techniques develop, architects all over the globe are finding new ways — and new places — to integrate houses with nature
Full Story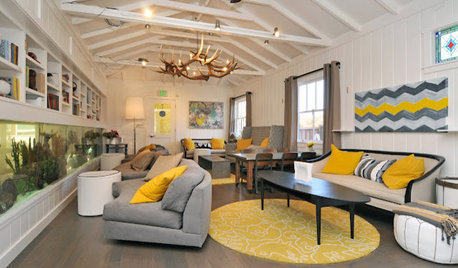
MORE ROOMSPlay-Space Secrets for All-Ages Homes
Don't let a generation gap put holes in your interior design. These tips from family-friendly businesses can give your rooms all-ages appeal
Full Story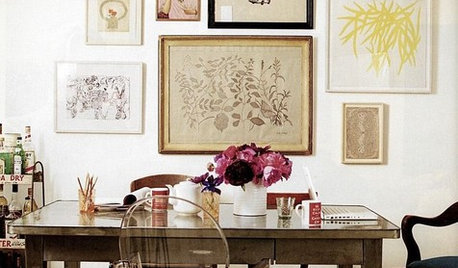
DECORATING GUIDESSo Your Style Is: Eclectic
This playful, personal home design style shakes up conventions and bridges the gap between other looks. Here's how to master the mix
Full Story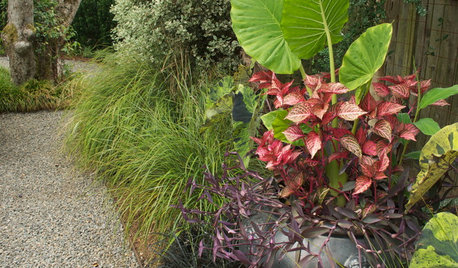
CONTAINER GARDENSSolve Your Garden Border Dilemmas With Planted Pots
Set your containers free from the patio — placed among plantings in the ground, they fill unsightly gaps, let you experiment and more
Full Story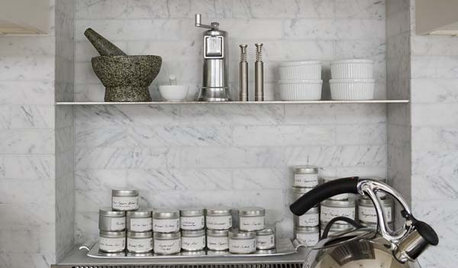
KITCHEN DESIGN24 Hot Ideas for Stashing Spices
Create a Mini Spice Pantry in a Wall, Drawer, Island or Gap Between Cabinets
Full Story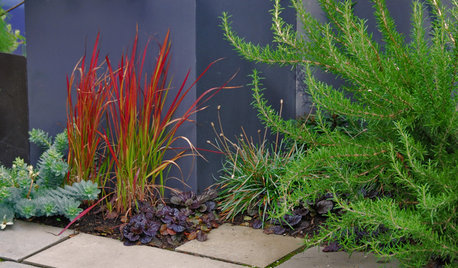
RED FOLIAGEGreat Design Plant: Japanese Blood Grass
This dramatic, ruby-tinged grass bridges the gap between red and green, short and tall plants
Full Story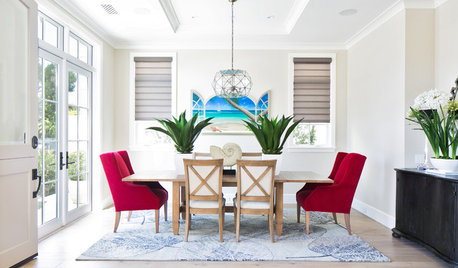
DINING ROOMSNew This Week: 4 Casual-Meets-Formal Modern Dining Rooms
These spaces bridge the gap between laid-back family meals and elegant occasions
Full StoryMore Discussions

User