


Space Between Bathroom Tiles Widening?
ammorgan
11 years ago
Related Stories
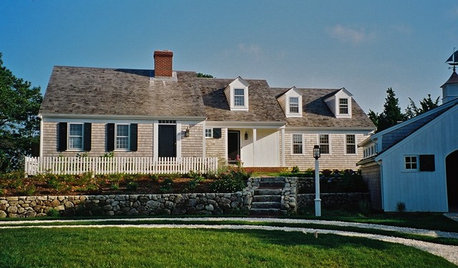
REMODELING GUIDESWiden Your Space Options With a Dormer Window
Small wonders: Bump out your upper floor with a doghouse, shed or eyebrow dormer — we give you the benefits and budget tips
Full Story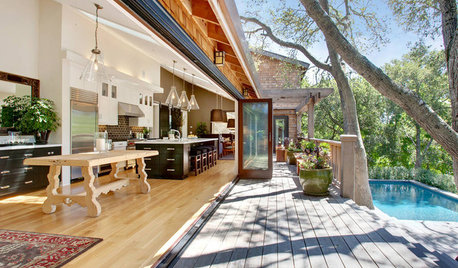
WINDOWSOpen Walls Widen Home Possibilities
Doing away with the boundary between indoor and outdoor living, open walls add space, light and drama to a home
Full Story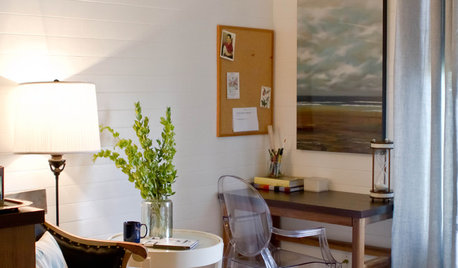
WALL TREATMENTSHorizontal Wainscoting Widens Wall Appeal
Turn beadboard or paneling 90 degrees and watch it wake up your walls in a whole new way
Full Story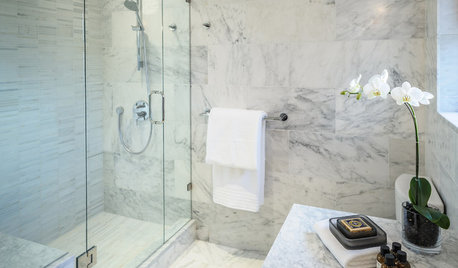
BATHROOM DESIGNConvert Your Tub Space Into a Shower — the Tiling and Grouting Phase
Step 3 in swapping your tub for a sleek new shower: Pick the right tile and test it out, then choose your grout color and type
Full Story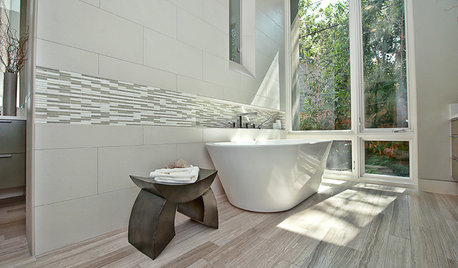
BATHROOM DESIGNHow to Match Tile Heights for a Perfect Installation
Irregular tile heights can mar the look of your bathroom. Here's how to counter the differences
Full Story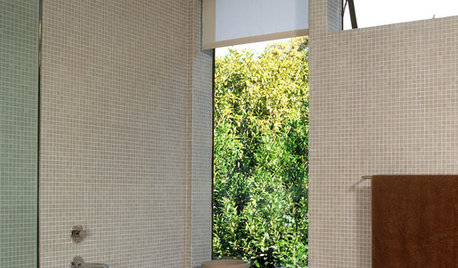
BATHROOM DESIGNFloor-to-Ceiling Tile Takes Bathrooms Above and Beyond
Generous tile in a bathroom can bounce light, give the illusion of more space and provide a cohesive look
Full Story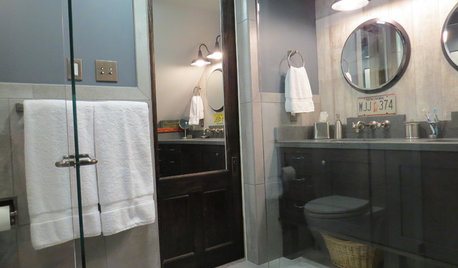
BATHROOM DESIGNSee the Clever Tricks That Opened Up This Master Bathroom
A recessed toilet paper holder and cabinets, diagonal large-format tiles, frameless glass and more helped maximize every inch of the space
Full Story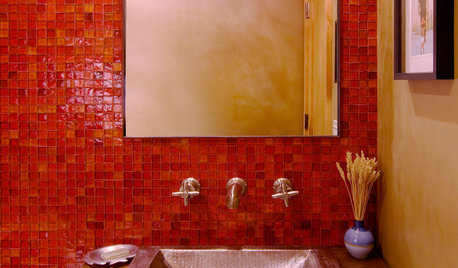
BATHROOM DESIGNYour Bath: Boost Your Tile Style
Tile Accents Large and Small Make Your Bathroom Beautiful
Full Story
DREAM SPACESDream Tile, Sensational Style
From intricate mosaics to large-scale porcelain, splurgeworthy tiles create a luxurious air in the bath and beyond
Full Story
BATHROOM COLOR12 Gorgeous Black and White Bathrooms
Luxurious materials, vintage touches and thoughtful color splashes make these chic spaces worth borrowing ideas from
Full StorySponsored
Professional Remodelers in Franklin County Specializing Kitchen & Bath
More Discussions

_sophiewheeler
djlandkpl
Related Professionals
Alpine Kitchen & Bathroom Remodelers · Durham Kitchen & Bathroom Remodelers · Hoffman Estates Kitchen & Bathroom Remodelers · Idaho Falls Kitchen & Bathroom Remodelers · Islip Kitchen & Bathroom Remodelers · Waukegan Kitchen & Bathroom Remodelers · Barrington Glass & Shower Door Dealers · Hayward Glass & Shower Door Dealers · Paradise Valley Glass & Shower Door Dealers · Springfield Glass & Shower Door Dealers · Trumbull Glass & Shower Door Dealers · Cranford Cabinets & Cabinetry · East Moline Cabinets & Cabinetry · Marco Island Cabinets & Cabinetry · Wadsworth Cabinets & Cabinetryenduring
catbuilder
enduring
ammorganOriginal Author
ammorganOriginal Author
djlandkpl
ammorganOriginal Author
_sophiewheeler
catbuilder
ammorganOriginal Author
catbuilder
ammorganOriginal Author