


Results of XPS install in basement, so far
tigerninety
11 years ago

Related Stories
TILE6 Questions to Answer Before You Install Tile Flooring
Considering these things before tackling your floors can get you a better result
Full Story
BATHROOM DESIGNShould You Install a Urinal at Home?
Wall-mounted pit stops are handy in more than just man caves — and they can look better than you might think
Full Story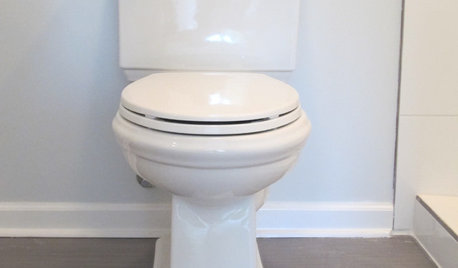
BATHROOM DESIGNHow to Install a Toilet in an Hour
Putting a new commode in a bathroom or powder room yourself saves plumber fees, and it's less scary than you might expect
Full Story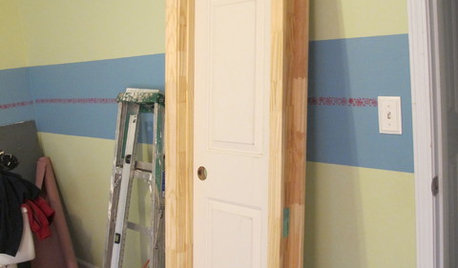
REMODELING GUIDESDIY: How to Install a Door
Homeowners who aren't afraid of nail guns can tackle their own pre-hung door project in a couple of hours
Full Story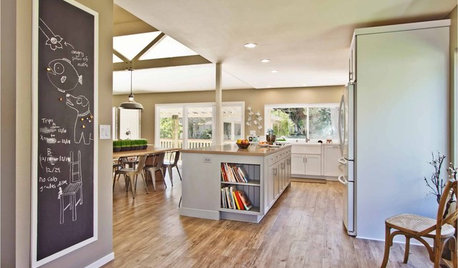
FLOORSWhat's the Right Wood Floor Installation for You?
Straight, diagonal, chevron, parquet and more. See which floor design is best for your space
Full Story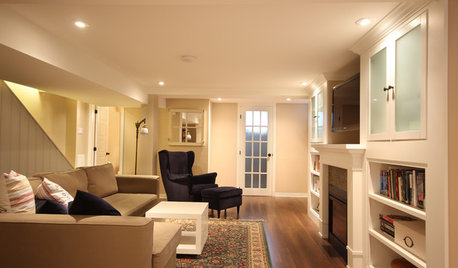
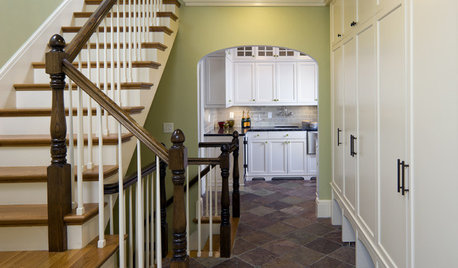
BASEMENTSBasement of the Week: Smart Cost Cutting, Beautiful Results
A stylish multipurpose basement for less than half the usual cost? See the budget-saving tricks that helped this underground space
Full Story
DOORS5 Questions to Ask Before Installing a Barn Door
Find out whether that barn door you love is the right solution for your space
Full Story
BATHROOM DESIGNHow to Match Tile Heights for a Perfect Installation
Irregular tile heights can mar the look of your bathroom. Here's how to counter the differences
Full Story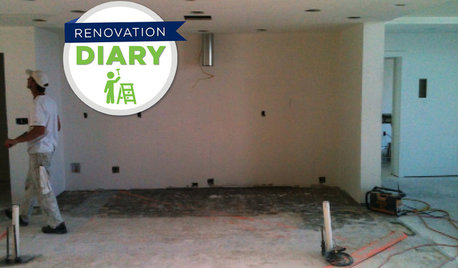
REMODELING GUIDESRanch House Remodel: Installing the Interior Finishes
Renovation Diary, Part 5: Check in on a Florida remodel as the bamboo flooring is laid, the bathroom tiles are set and more
Full Story
KITCHEN DESIGNSurvey Results: Kitchen Trends That Seem Here to Stay
More than a third of respondents in Houzz’s annual kitchen trends report now have the means to remodel. Here’s what else they told us
Full Story


worthy
Related Professionals
Buena Park General Contractors · Enumclaw General Contractors · Jackson General Contractors · Tabernacle General Contractors · Vincennes General Contractors · Warrenville General Contractors · Wolf Trap General Contractors · Rosaryville Interior Designers & Decorators · Apopka Flooring Contractors · Lake Elsinore Flooring Contractors · Medway Flooring Contractors · Menifee Flooring Contractors · Monroe Flooring Contractors · Oswego Flooring Contractors · Pflugerville Flooring Contractors