


attaching stud wall under steel I-beam ?
blueberrier1
16 years ago
Featured Answer
Comments (9)

worthy
16 years agoRelated Professionals
Goodlettsville General Contractors · Coshocton General Contractors · Murrysville General Contractors · Waimalu General Contractors · Woodmere General Contractors · Washington Interior Designers & Decorators · Cartersville Flooring Contractors · Cleveland Flooring Contractors · Kansas City Flooring Contractors · Little Rock Flooring Contractors · Medway Flooring Contractors · San Bruno Flooring Contractors · South Lake Tahoe Flooring Contractors · Valencia Flooring Contractors · Waltham Flooring Contractors
michman
16 years agoUser
16 years agoblueberrier1
16 years agoworthy
16 years agoUser
15 years agonoplacelikehome
15 years agoblueberrier1
13 years ago
Related Stories
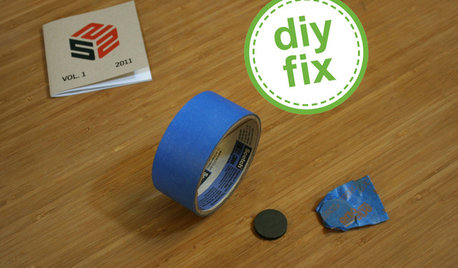
DECORATING GUIDESQuick Fix: Find Wall Studs Without an Expensive Stud Finder
See how to find hidden wall studs with this ridiculously easy trick
Full Story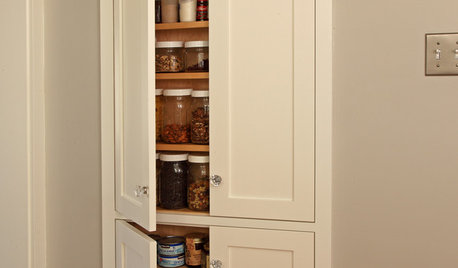
STORAGETap Into Stud Space for More Wall Storage
It’s recess time. Look to hidden wall space to build a nook that’s both practical and appealing to the eye
Full Story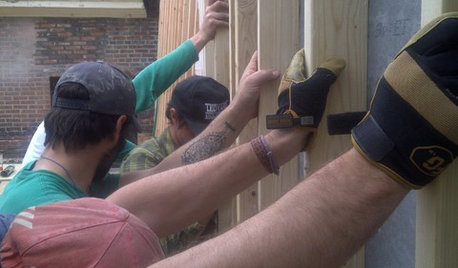
KNOW YOUR HOUSEMeet the Studs
Two-by-fours are just the kind of strong, silent type every home needs. Get to know studs — and how they lie about their size — right here
Full Story
MATERIALSCor-Ten Steel Brings Enduring Texture to Landscapes
With its rich color and rusty patina, this material makes for an arresting and long-lasting choice for garden walls and more
Full Story
WINDOWSSteel-Framed Windows Leap Forward Into Modern Designs
With a mild-mannered profile but super strength, steel-framed windows are champions of design freedom
Full Story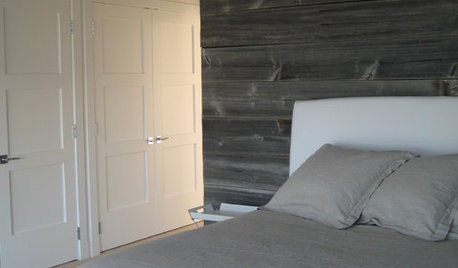
REMODELING GUIDESDesign Dilemma: How Do I Modernize My Cedar Walls?
8 Ways to Give Wood Walls a More Contemporary Look
Full Story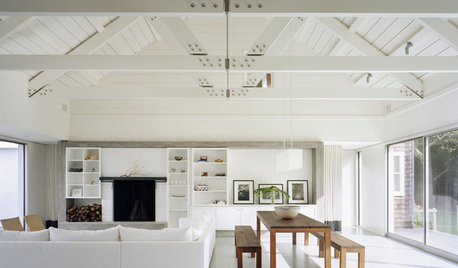
REMODELING GUIDESSupporting Act: Exposed Wood Trusses in Design
What's under a pitched roof? Beautiful beams, triangular shapes and rhythm of form
Full Story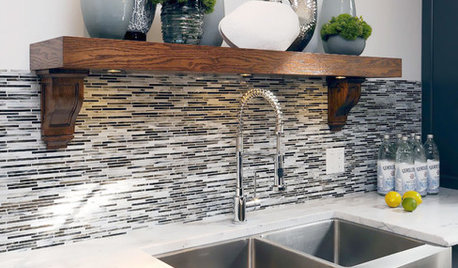
KITCHEN DESIGNKitchen Sinks: Stainless Steel Shines for Affordability and Strength
Look to a stainless steel sink for durability and sleek aesthetics at a budget-minded price
Full Story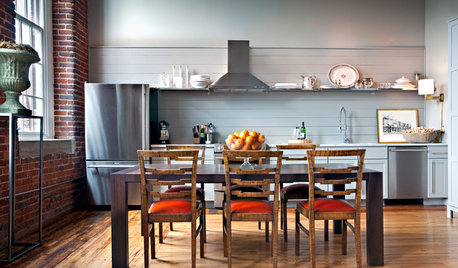
KITCHEN DESIGNSingle-Wall Galley Kitchens Catch the 'I'
I-shape kitchen layouts take a streamlined, flexible approach and can be easy on the wallet too
Full Story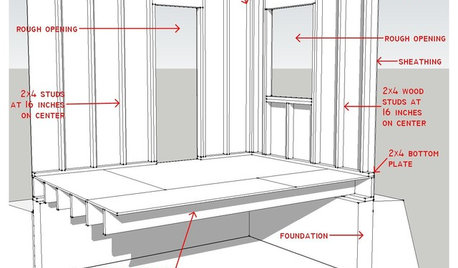
REMODELING GUIDESKnow Your House: Components of Efficient Walls
Learn about studs, rough openings and more in traditional platform-frame exterior walls
Full StoryMore Discussions

mike_kaiser_gw