


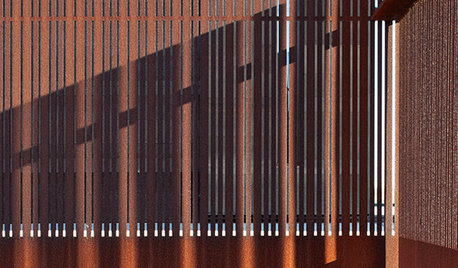
ideas....something to put over drywall
andrelaplume2
14 years ago
Sort by:Oldest
Comments (11)
Related Stories
ARCHITECTUREDesign Workshop: 10 Reasons to Put Craft Into Modern Architecture
Technology has led us to expect perfection, but handcrafted details can provide something even better
Full Story
MATERIALSRaw Materials Revealed: Drywall Basics
Learn about the different sizes and types of this construction material for walls, plus which kinds work best for which rooms
Full Story
HOLIDAYSHalloween and Fall Decorating Ideas to Put You in the Spirit
From easy to involved, for the garden and all over the home, these projects and party ideas will conjure a frightfully festive mood
Full Story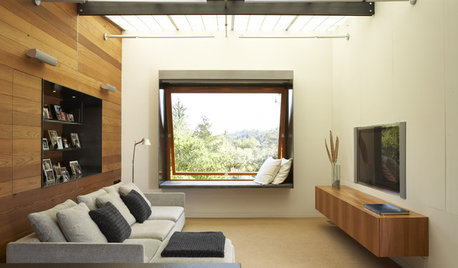
HOME TECHDesign Dilemma: Where to Put the Flat-Screen TV?
TV Placement: How to Get the Focus Off Your Technology and Back On Design
Full Story
THE POLITE HOUSEThe Polite House: Can I Put a Remodel Project on Our Wedding Registry?
Find out how to ask guests for less traditional wedding gifts
Full Story
DECORATING GUIDES23 Ways to Put Your Home in Hipster City
Be one of the cool kids no matter what your age, with these tips for giving your home a creative, colorful or edgy vibe
Full Story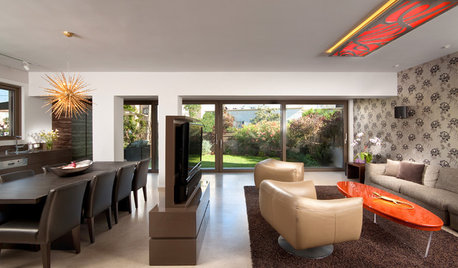
MORE ROOMSWhere to Put the TV When the Wall Won't Work
See the 3 Things You'll Need to Float Your TV Away From the Wall
Full Story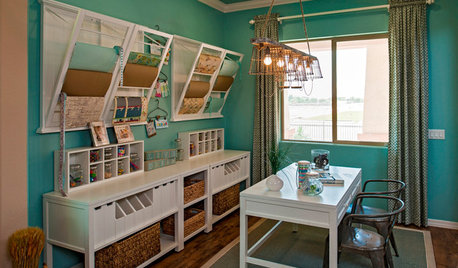
STUDIOS AND WORKSHOPS8 Rooms That Say 'Let's Make Something'
Stock up on ideas for craft room storage and workspaces from deluxe home workshops
Full Story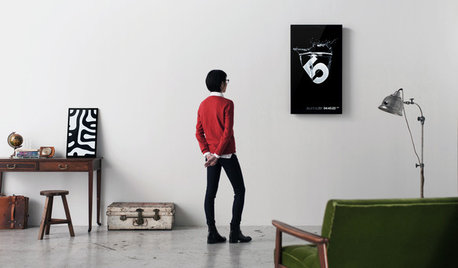
ARTNew Digital Art Frame Gets Put to the Test
Our writer sets up the EO1 at home, then invites artist friends over for a look — at images of their own work. See what they have to say
Full Story
LIFEYou Said It: ‘Put It Back’ If It Won’t Help Your House, and More Wisdom
Highlights from the week include stopping clutter from getting past the door, fall planting ideas and a grandfather’s gift of love
Full StoryMore Discussions

homebound
andrelaplume2Original Author
Related Professionals
Brownsville General Contractors · Clive General Contractors · Dover General Contractors · Fort Pierce General Contractors · Arvada Architects & Building Designers · Beachwood Architects & Building Designers · Brushy Creek Architects & Building Designers · Pembroke Architects & Building Designers · Albuquerque Flooring Contractors · Covington Flooring Contractors · Hudson Flooring Contractors · Murfreesboro Flooring Contractors · North Tustin Flooring Contractors · Panama City Beach Flooring Contractors · Tucson Flooring Contractorsbrickeyee
sniffdog
worthy
andrelaplume2Original Author
sniffdog
andrelaplume2Original Author
sniffdog
worthy
sniffdog