review of samsung washer dryer dv457evgsgr/wf457argswr
Thanks to the forum members who have helped me as a lurker over the years. I'd like to give back. I was unable to find the information I wanted prior to purchasing my washer and dryer. So here is what I have learned since purchasing. First what it takes to install the units and then a little about my experience with the units. The photos are uploaded small as per this sites instructions, but double clicking will take you to the host site where they are seen larger.
Samsung DV457EVGS 4.5 cubic foot front load washing machine. DV457EVGSGR/AA
Samsung WF457ARGS 7.5 cubic foot dryer WF457ARGSWR/AA
In preparation for installing there are several things you must do and things you may want to have or purchase.
Box cutter
Heavy duty hand truck
slip joint pliers
Good quality Teflon tape
felt pads 1½ round
Good quality 6 ft washer hoses
Appropriate dryer electrical plug
Phillips head screwdriver or electric one
Flat head screwdriver or electric one
Bucket and towels
Know where your water cut off is for your house.
Plastic zip ties
Quick connect hose adapters for the hot and cold outlets
#10 socket and ratchet
metal 4 inch duct work for the dryer and worm drive clamps
stacking kit if you are going to stack
mini resister water-hammer arresters two for each washer
Here is what the washingWF457ARGS comes with:
The washer units come with 2 4-foot hoses. They are basic with straight ends. One is labeled hot and the other cold. These are basic hoses that are functional but not usable for my purposes. I had purchased on my own “FSP accessories by Whirlpool” braided hose, http://www.youtube.com/watch?v=rSFw456h6Ns two six-foot braided hoses. One of the ends is a gooseneck and the other end straight. I also purchased felt pads for the bottom of the washer. I recommend the 6 ft hoses for ease of working with and moving the units.
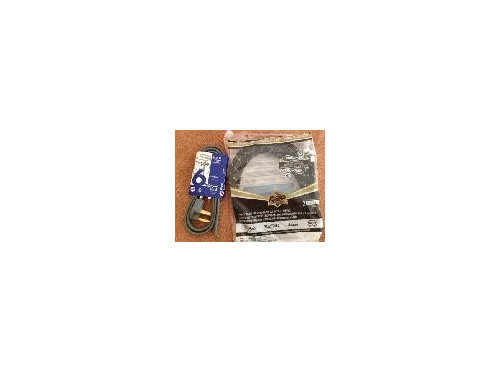
I also purchased 6 ft dryer electric plugs in the configuration of the existing wall plugs. I also purchased “orbit” quick connect sets to hook up the hoses to the water on the wall. These are made of brass and are used for garden equipment to attach a hose to the spicket easily and disconnect. They are about five dollars at the hardware store. I find having these makes it easy to remove hoses at the wall rather than having to unscrew the hoses with a wrench. I also made sure to purchase good-quality Teflon tape.
Before installing the washer and dryer, I hired a plumber to redo the water and drainage. Previously I only had one washer and dryer and I wanted to second. When you add a second washer you have to have a second drainage pipe and I believe code calls for at least a 2 inch pipe for each unit. You could put one drain into the existing drainage and one to the sink. You also only need one hot and cold water supply which you can spit. I chose to add new water and new drains in the wall. The old water hookup had the old compression style handles where you would have to screw the handle down to turn off the water. Those are very cheap and often times the insides deteriorate and fail and cause trouble. I had these replaced with quarter turn fittings. You may be able to do this on your own. Many new wall boxes come with this type of fitting. You may need a plumber to help.
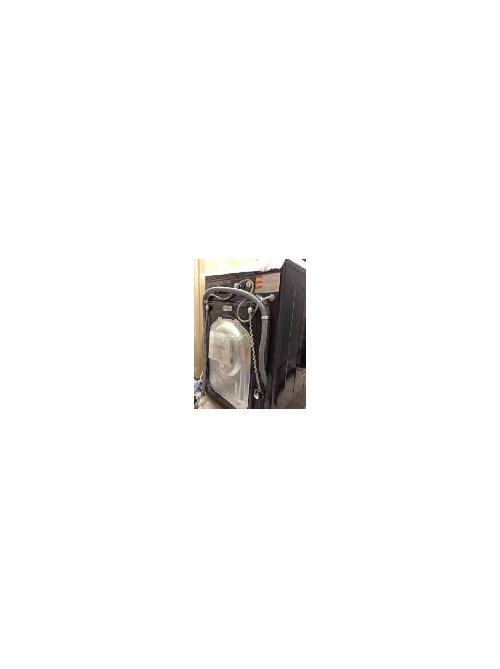
Your washing machineWF457ARGS will come with a plastic fitting to wrap the end of the drainage hose around before you put it into the drain. It keeps it from straightening out and falling out. I'm not sure if the plastic tie that is included in the set is used to attach this plastic piece too one of the faucets on the wall?
Your washing machine WF457ARGS also comes with a wrench tool that you can use to remove the shipping bolts on the back and also to turn the washer feet to balance the washer. If you do not use what is included you can always use a number 10 socket on a ratchet which works a lot better. You will also have to purchase the metal duct work for your dryer as well as the worm clamps. You will also have to purchase a stacking kit from Samsung which are around $30. The kit comes with two plastic pieces that go into the bottom of the dryer and brackets that you affix to the back of the washer and dryer. I recommend purchasing a set of mini resister water hammer arresters. I purchased one made by Sioux Chief. I purchased one for the hot and one for the Colts sides. They are anywhere from $10-$15 apiece at the hardware store. I found mine at Lowes' for around $10 apiece.
Also you want to have on hand a good box cutter tool to assist in cutting away some of the plastic. Also a nice Crescent wrench or plumbers slip joint pliers are helpful. A flathead screwdriver and a Phillips head screwdriver are also necessary.
The dryer will come with a brass splitter (to get water to the steam dryer) for the water as well as two hoses, I believe a 4 foot hose and a smaller one foot hose. The dryer also comes with a large plastic piece that you can put your shoes or sweaters on in the dryer. That is at the top of the packing so do no throw that way.
The units particularly the washer are very large and very heavy. They are tested at the factory and have some left over water with makes them even more heavy. The units come packed very well in plastic so that you can pretty much see the entire machines without unpacking when they're delivered. These are not packed in cardboard boxes, rather only in Styrofoam and wrapped in plastic. Mine came delivered on a large semi on pallets. When it came off the packages were pristine. I did not unpack them as is recommended prior to signing the shipping papers. This is easier then it sounds and very stressful if you try to unpack the units and inspect with the driver standing there. The driver just dropped them into the house. You definitely need a large professional hand truck to carry these.
I had an old Frigidaire Kenmore frontload washing machine that seemed to weigh about half of what this washer weighs. Leaving the units in the packing may help with moving the units. I moved them both ways.
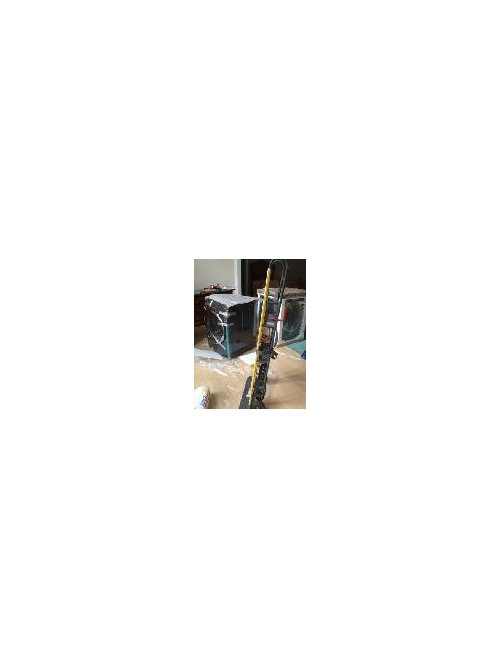
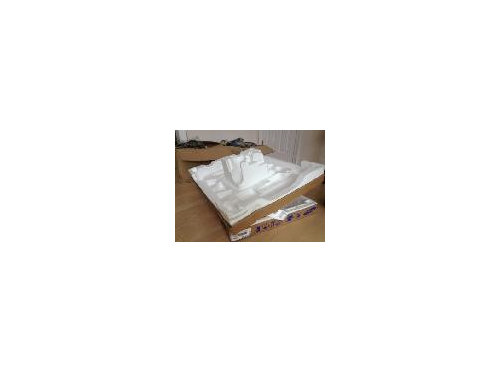
The best way to unpack them I found was actually in the living room where there was plenty of space. The first set I unpacked in the small washer dryer area and it was very difficult. The washer is packed on a large Styrofoam pallet. The Styrofoam has a large piece in the center the Jets up into the lower portion of the washing machine. In order to remove the lower Styrofoam pallet when unpacking these machines you may need two very strong people to lift the machine and one person to pull the Styrofoam off the bottom.
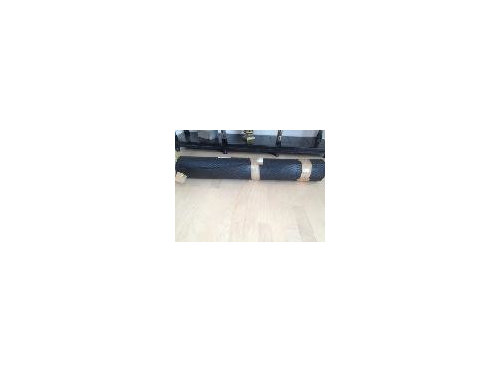
I worked around this with the second set of washer dryers. The first set I basically tried to tilt up the machines and rip apart the packing removing pieces and chunks of Styrofoam. This was messy. The second unit which I opened in the living room, I cut the plastic off stripping it from top to bottom on four sides and peeling it down like a banana. Then the Styrofoam top and sides came off very easily. No mess. I had a large rolled up rubber mat or you can also use a rolled up carpet that I then used to tilt the pieces on to remove the bottom packaging.
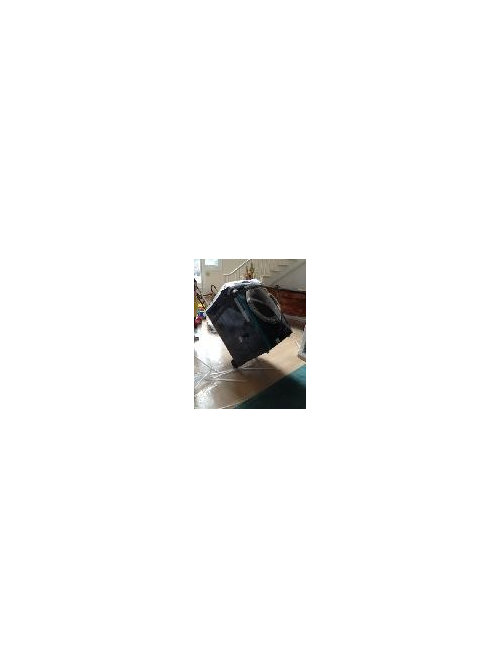
Make sure to have the rolled up mat or rug in the back portion of the machine and plenty of room to tilt the machine back onto the rug or mat. Tilt the machine backwards so that the back wall of the machine lays down onto the mat or carpet. The mat or carpet should be placed about a foot from the washer when you start the tilt the washer. This way, when the washer goes down it is sort of Lifted up at the bottom. You can either have someone help you or as I did it by myself just be careful not to let it drop all the way down. As it leans back the rug acts like a fulcrum like a seesaw. You can easily or more easily remove the bottom piece of Styrofoam this way as the machine is on its side. Having the rolled up mat or rug under it means that not only it's on that side but the bottom is also lifted up off the ground and the Styrofoam piece comes off much more easily. Working by yourself it's not too difficult but having another strong person to work with you will make the chore much easier.
From there once the Styrofoam packing was removed, I placed the hand truck at the back of the machine. I put the strap around the machine at the top going just across the top of the door and strapped in tightly. I closed the latch and the machine was secure on the hand truck. From there it was relatively easy to move the machine. Going across carpet was not easy but it is manageable. When you get the machine to the area, remember that in order to go through most doors it has to go through facing front to back. You may have to take the hand truck off and reposition the machine to to get it into the laundry room. Keep in mind that the laundry units are real beasts. The dryers are a bit easier. It is not a job for the fainthearted. While one guy can do it, it can be done safer with two strong people and there is less chance for damage. I don't think these units just come into the house and get placed easily.
Again, my units were pristine when they were delivered and the packing of these units is very good. All the hardware and everything is either taped to the machine on the back in the top packing and also within the machine. Remember for the dryer the top Styrofoam contains an important piece it don't throw that away.
Once the unit is in the laundry room, I found it difficult to move the units as they are so heavy. My floor is a vinyl floor and it sort of sticks and does not slide. At the hardware stores they make these plastic bottoms that slide that they are really for sliding things are carpet not hard floors. I purchased some felt pads.
So what I did once I got the washer unit into the laundry room I tilted it up from front to back and back to front and slapped the felt pads onto the feet. Again, these units are so heavy that even with the felt pads it is difficult to slide them. The felt pads do make a good bit of difference though.
Now that the felt pads are on, this is a good time to start taking off all of the instructions and everything and cleaning off all the tape off of the unit. They used tape that does not leave a residue so that's a good thing. Keep the tape on the top of the unit until you're ready to stack them if you plan on stacking them.
At this point it's a good idea to discuss what you will find in the instructions. Instructions actually state that if you plan on stacking these units, the manufacturer does not recommend standing the 457 dryer on the 457 washer as you will not be able to see the computer because of the angle. Unfortunately nobody told me about this before purchased these two units. Nobody says this anywhere on the Internet. Even the people I purchased from did not say this. Had I had known about this issue I would have not purchased the dryer with the computer screen on the front and I would've purchased the old-fashioned one with the dial. Because of this we now have to have a small stool in the washer room in order to be able to see the computer on the dryer. Now the units can be controlled somewhat from a smart phone app. This may make having to see the screen on the dryer not necessary. I'm not at that point right now. My wife says she had to use a stool the first few times, but now knows just which area to push and no longer needs the stool. She says if she wants to use any of the other functions, she will need the stool.
So at this point I'm ready to take out the shipping bolts. There are four of them on the back. The washing machine comes with a tool. A ratchet is probably the easiest way to do it. I used a small number 10 socket and they come right out. People that are new to front load washers don't realize these bolts must be removed, so I want to emphasize this. Remove your bolts.
Once you've unscrewed the bolts, pull out the Rubber plugs with the plastic piece in him and keep them somewhere safe. For me, I purchased the stacking kits. There's a nice box that the stacking kits come with. Make sure to put all your shipping bolts in there so that you can find them later. I just sold my old front load washer. I actually remembered where my shipping bolts were from 10 years ago. I actually still had the old energy label from that. The old Kenmore front load washer I believe had a $23 a year estimated energy cost. This washer uses approximately 7 dollars a year of energy for eight loads a week. That's not including the cost of water. That's really amazing the difference in size of the equipment and in 10 years they cut the cost of using it by three times. Also this one spins a lot faster than the old front load that I had. The cost of the washers about three times more than the old washer too.

The machine actually comes with caps to put on the holes after you remove the shipping bolts. I'm not sure why they did this as nobody really is looking in the back of the machine. Nice touch though. Oh, you will see six caps. You may think wow they gave me extra. They're actually six holes on the back of the machine that you use the caps for. They did not give you extra.
Now is when you want to Hook up your plumbing. The first thing you want to do is attach the plastic adapter as shown in one of the pictures above to the gray drainage hose. Use a plastic zip tie to attach it to one of the hot or cold plumbing lines as you don't want this coming out when draining. The next thing you want to do is get your water-hammer arresters and put Teflon tape on the threads.
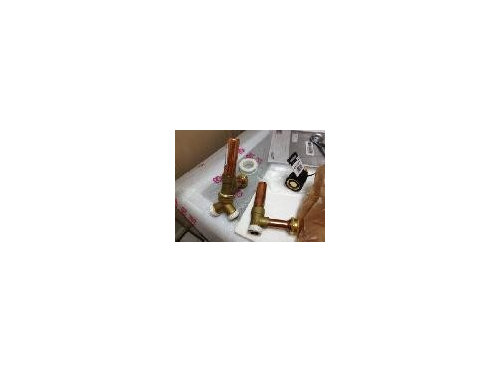
The picture above shows the splitter attached to one of the water hammer arresters and the quick connect is the black and copper piece towards the right.
The actual manufacture of the water hammer arresters recommends hooking them up directly to the back of the washing machine. For me and for this setup I feel that this works best. If this is not possible you can also hook them directly to the wall. There is quite a water hammer effect without them and I believe that this actually dampens that once they are put on. The manufacture of the water-hammer arrester says it protects the machine and the hose better if it's closer to the machine.
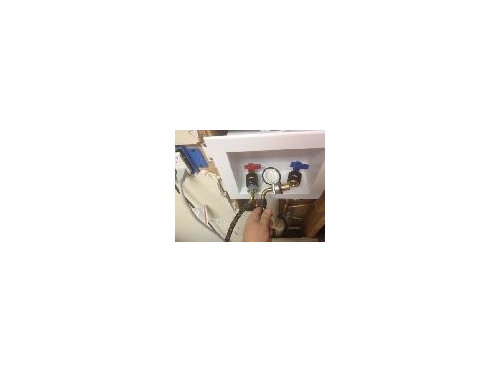
For the cold water, take your water hammer arrester with the Teflon taped threads and attach the water splitter that comes with the dryer to the bottom of the water-hammer arrester as shown in the picture above. To the splitter, wrap the threads with Teflon tape and then attach the hose (a two foot hose comes with the Dryer WF457ARGS) that comes with the dryer to one of the ends of the cold water splitter. Attach one of your 6 ft hoses to the other end of the splitter. The straight end of the hose goes to the splitter, and the goose neck will go to the wall outlet in this configuration. The goose neck end will go to the wall. On the wall spigot male ends (hot and cold), wrap your Teflon tape. Attach one of the quick connect sets to the hot water and to the cold water outlets on the wall. The reason I chose to use these quick connects is that on my set up the goose neck was not long enough to hang over the side comfortably. I needed approximately 1/2 inch more of space. These quick connects are inexpensive and work well and have the added benefit of being a quick disconnect and connect. I know that I will have to move the washer and dryers in the near future to do some work on my washroom and drywall so this will make getting the hoses off-the-wall quick and easy. It also gives me the room I need to have the hose fit comfortably. It adds one more point of potential lead, but it is a risk I am willing to take. When you take the hose off the quick connect, there will be no flow of water from the wall even with the quarter turn handles turned on. Attach the goose neck into the other end of the quick connect adapter applying the appropriate amount of Teflon tape. Then attach the other Goose-neck to the other quick connect for the hot water hose to the hot water outlet after applying Teflon tape. The straight end of the hot water hose is then attached to male end of your other mini resistor which has Teflon tape on it. There are plastic male ends and do not require Teflon tape. Remember not to over tighten. Hand tighten and then an extra ½ to ¾ with a wrench.
The instructions say not to put Teflon tape on the plastic threads on the back of your washer. I did it anyway. You may choose not to. Attach both of your mini resistors to the appropriate hot and cold side on the back of your washer. Then from the split end of the cold side that of the washer take the hose that came with the dryer, which should be attached to the splitter, and attach that hose to the back of your dryer. (Do this only after your dryer is stacked if you are stacking the units.) There is an outlet (plastic male end) on the back of your dryer to attach this hose. If you are stacking, wait till you've stacked her washer and dryer to connect this hose. Remember to hook up your hoses onto the splitter before you attach the water hammer arrester to the back of the machine. The reason is that the male end on the back of the washer is plastic and you don't want to be torquing hoses onto the splitter with it attached risking breaking the plastic.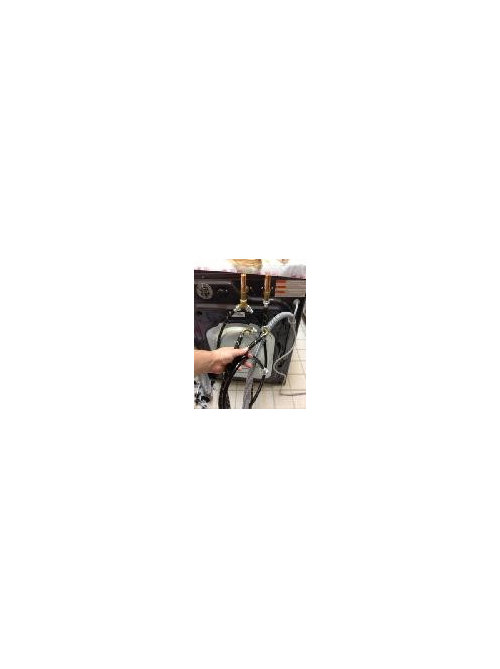
For the dryer, if you are stacking, you wont need to put the felt pads onto the legs. The legs will easily be removed. Tilt your dryer all the way on its side onto a blanket to prevent it from damage. The legs will come off by hand. Remove all four legs. Put the legs in the stacking box along with the shipping bolts.
I forgot to take a picture of the stacking kit. The kit includes 4 brackets. Two for one kind of machine and two for another kind. It also comes with two large plastic pieces that fit onto the sides of the bottom of the dryer after you remove the legs. The instructions that come with the kit are easy to follow. The plastic pieces go on with two screws each. Once the plastic pieces are on, bolt the appropriate brackets loosely onto the back of your washer. The next step requires two strong people. You will lift the dryer gently onto the washer. The plastic allows the dryer to slide gently back on the washer tip without scratching it. You will then complete the bolting process by tightening the bolds in the back of the washer and dryer. This is what it will look like when you are finished.
Attaching the electrical plug (not supplied) to the back of the dryer is easy. Make sure to not lose any of the screws when installing the wires. For the three wire plug, the middle is the ground and the other two are hot usually. Getting the plug in takes a bit of working to get the clamp pieces just right, so take your time.
Now for the connecting the dryer exhaust. In my case I have only one exhaust leading through the wall to the outside. In order to have two dryers exiting into one exhaust line, you may have to rig up a special exhaust line. I purchased a “T” adapter at the hardware store. I also purchased two one way dryer exhaust valves. These are plastic pieces that cost about $6 that fit into the end of a 4 inch line and have a little plastic valve that allows air to flow only one way. I put two of these at either end of the “T” and I hooked up the leg of the T to the exhaust line. I affixed everything with worm clamps. The plastic one way valves have holes in the corners. I used twine to hold the two plastic pieces together across the T as the worm clamps did not hold well. I purchased the expandable hard tin exhaust lines for the dryer with the adapter ends. One end fit well onto the back of the dryer, but I had to remove the other adapter end to fit onto the T. The bottom line is that it works great. This is not permanent, but it could be. I plan on putting a separate line out when I finish working on the room. Remember the space limiting piece is the 4 inch duct work in the back of the machine. The dryer has ports on either side of the lower end of the sides in the back that can be knocked out to switch the exiting of the exhaust to either side.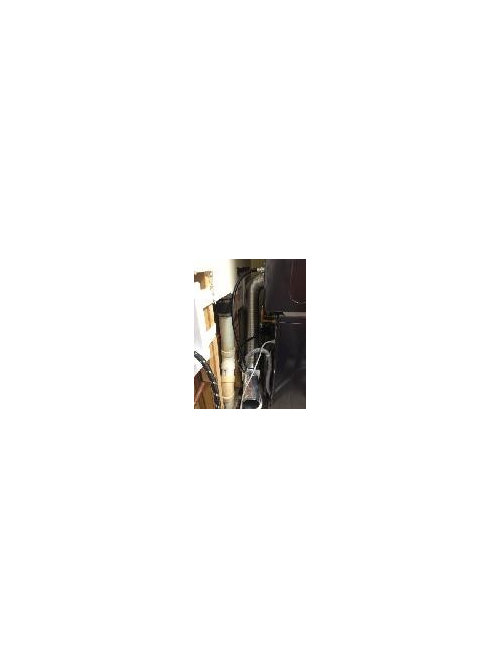
The final product looks like this when it is all done.
We like these units. I have had other front load washers in the past, including Miele. These are not as nice of machines as the Miele units, but cost less and clean more than twice the amount. They do not require 220 volt sockets but they do heat the water and have steam. (I don't think Miele require 220 anymore for the washers.) They are extremely quiet and at 1300 rmp very still and quiet. At maximum there is no jet taking off sound like my other units. Finding a person to work on Miele in my area was impossible. All this with a better warranty then Miele, it was an easy decision to choose these units. I like the idea of a “diamond drum” similar to the honeycomb design of the Miele. The drum design was one of the major reasons to choose Samsung. Unfortunately not much is written about this on the internet. The design seems to increase the surface area and also decrease the amount of clothing being sucked into the tiny holes.
I can attest to cleaner fresher clothing than our old Kenmore Frigidaire units. I can tell you that having all the different cycles is worthless as I expected as my wife will only use maybe three cycles. I was hoping having the internet function would allow Samsung to update and diagnose my machine on line, but I'm not sure this is possible or if they plan on using the internet access this way.
My wife loves the sanitize mode for the sheets and the baby clothing. It takes longer but she believes things come out fresher and cleaner. Clothing is also dryer after the spin cycle then in our last machine, similar to what I remember with the Miele. Drying takes ½ the time it did in the units I just replaced. The clothing is not over heated. My wife had to change a setting, the “completely dry” setting for the sheets. For regular clothing she has it on “not completely dry” and she can't tell the clothing is not completely dry. For sheets she has to put the setting on “completely dry” as things can get wrapped up in the sheets and bedded and not completely dry. So by changing the setting for the sheets, everything get dried just right.
The units have lights in the washer and dryer. The dryer lint compartment has less lint on loads that are larger than our old units. This means that either the old units got all the lint out already or these units are more gentle or they don't trap as much lint as the old units. I'm going with more gentle.
My wife thinks the units are “pretty” and she likes this the best. I chose the onyx color as it cost less than the white when I purchased them. She says she can wash 2 king sized flat sheets, 2 full flat sheets and a full comforter and a crib sheet and 6 pillow cases in one load with some room to spare.
As far as time for a particular wash cycle, I'm a believer that longer is better as far as cleaning and getting all the soap out from my Miele days. Having two washer and dryers makes longer cycles more doable. I'm not a believer of the steam foam thing and feel this is a marketing ploy. I feel you should be using liquid detergent with these units in the first place. Also, less suds is better in the front load units. I believe that the enzymes in the modern detergents is what gets the clothing clean, and you don't need suds for this. People still think suds are better, so I think manufacturers of the machines and soaps play on this belief. I remember when I first got my front load Miele and we could wash clothing without soap as there was so much left on the clothing from the previous top load washers. This taught me an invaluable lesson that less soap and suds may be best. More time to wash out all the detergent and the dirt the detergents hold is better.
I did not purchase an extended warranty. I purchased with an AMEX card which will give me an extra year after the warranty is up. After that, there is enough information on the internet to fix these machines on your own.











weedmeister
Related Professionals
Grafton Kitchen & Bathroom Designers · Hershey Kitchen & Bathroom Designers · Mount Prospect Kitchen & Bathroom Designers · Piedmont Kitchen & Bathroom Designers · Biloxi Kitchen & Bathroom Remodelers · Charlottesville Kitchen & Bathroom Remodelers · Fairland Kitchen & Bathroom Remodelers · Overland Park Kitchen & Bathroom Remodelers · Roselle Kitchen & Bathroom Remodelers · Turlock Kitchen & Bathroom Remodelers · Waukegan Kitchen & Bathroom Remodelers · West Palm Beach Kitchen & Bathroom Remodelers · Wilmington Kitchen & Bathroom Remodelers · Jefferson Valley-Yorktown Cabinets & Cabinetry · New Castle Cabinets & Cabinetry