


Fisher & Paykel DD603I
Silversilverado
10 years ago
Related Stories
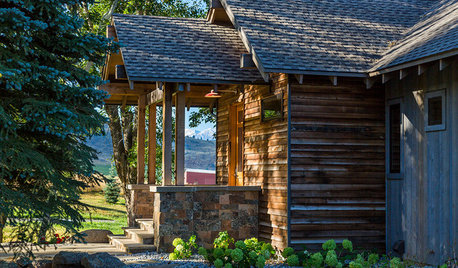
RUSTIC STYLEHouzz Tour: A Fly Fisher’s Dream Along the Yellowstone River
This new home combines local ranch style with contemporary elements, including energy efficiency
Full Story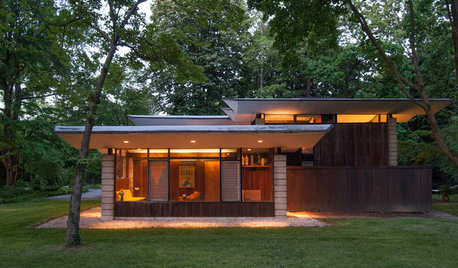
HOUZZ TOURSMy Houzz: A Paean to the 1950s and '60s in Pennsylvania
With vintage furniture, a sunken den and pristine original details, this home is a true homage to midcentury style
Full Story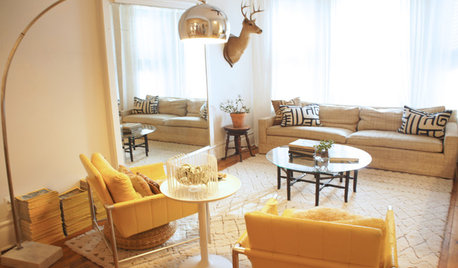
HOUZZ TOURSHouzz Tour: Vintage Treasure Trove in Chicago
Almost every piece in this eclectic two-bedroom came with a story. Even the ones the owner made herself
Full Story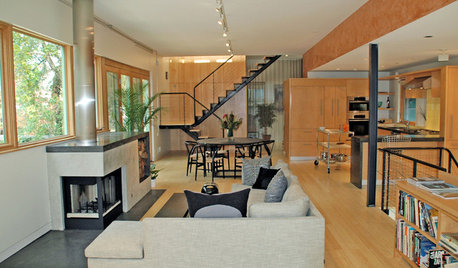
HOUZZ TOURSMy Houzz: Industrial-Edged Comfort in Pittsburgh
Copper, cantilevers and a cat named Mr. Martin come together in this contemporary homage to regional style
Full Story
HOUZZ TOURSHouzz Tour: Undone in the French Quarter
Color and history abound in this ‘unrenovated’ pied-à-terre in the Big Easy
Full Story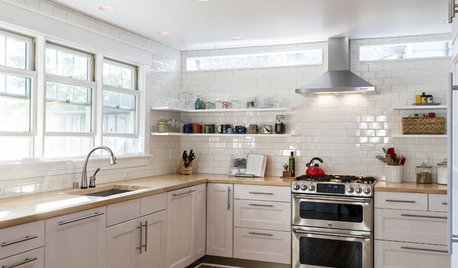
KITCHEN DESIGNBetter Circulation for a Family Kitchen and Bathroom
An architect’s smart design moves helped rearrange this Louisville kitchen to create a more sensible workflow
Full Story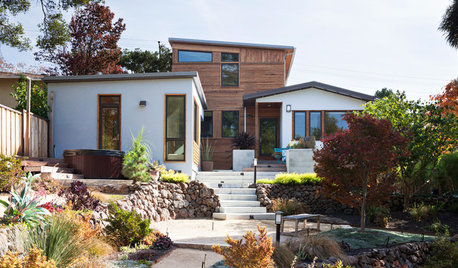
HOUZZ TOURSHouzz Tour: Finding the Flow in Berkeley
A bigger kitchen, a better connection to the outdoors and a new second story put a bay-view home in a California state of mind
Full Story
KITCHEN DESIGNDesign an Easy-Clean Kitchen
"You cook and I'll clean" might no longer be a fair trade with these ideas for low-maintenance kitchen countertops, cabinets and floors
Full Story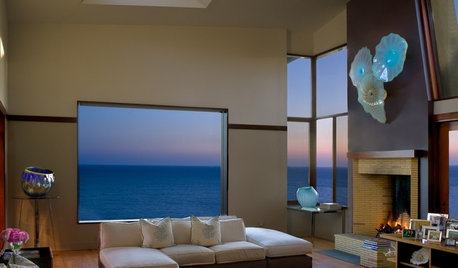
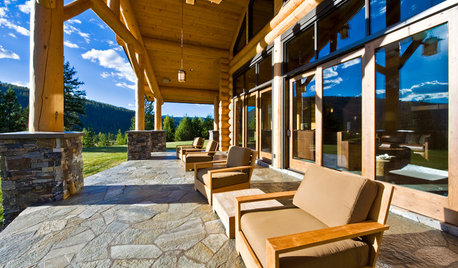
HOUZZ TOURSHouzz Tour: A Luxurious Log Home in the Canadian Mountains
Live-edge wood and other details reflect nature's gifts in a spacious family getaway nestled in the Canada's Okanagan Valley
Full StoryMore Discussions
dadoes
SilversilveradoOriginal Author
Related Professionals
Midvale Kitchen & Bathroom Designers · Redmond Kitchen & Bathroom Designers · Town 'n' Country Kitchen & Bathroom Designers · Waianae Kitchen & Bathroom Designers · Cloverly Kitchen & Bathroom Remodelers · Bellevue Kitchen & Bathroom Remodelers · Folsom Kitchen & Bathroom Remodelers · Hoffman Estates Kitchen & Bathroom Remodelers · Hunters Creek Kitchen & Bathroom Remodelers · Oxon Hill Kitchen & Bathroom Remodelers · Roselle Kitchen & Bathroom Remodelers · Shaker Heights Kitchen & Bathroom Remodelers · Casas Adobes Cabinets & Cabinetry · Bon Air Cabinets & Cabinetry · Homer Glen Cabinets & Cabinetrydadoes